
Painting 1/35 Scale Heads Using Oils "The Bannerman Way" Part 2
Mark Bannerman

FRAME 6
The next step is to apply another dark shadow using Raw Umber with a touch of
Lamp black oils mixed with Humbrol paint thinner (the yellow bottle). Remember
to keep it tainted thinner and not thinned paint ! I applied selectively with a
sharp "OO" brush in all creases, in mouth, dropped a speck in
each eye socket, nostrils, around the nose, in and around the ear and along the
hair line. You can see face looks very blotchy but essentially, you can actually
see two shadows - the original reddish one and the new one which is considerably
darker. Note that the eye sockets are completely dark while the bags under the
eyes are lighter darker shade
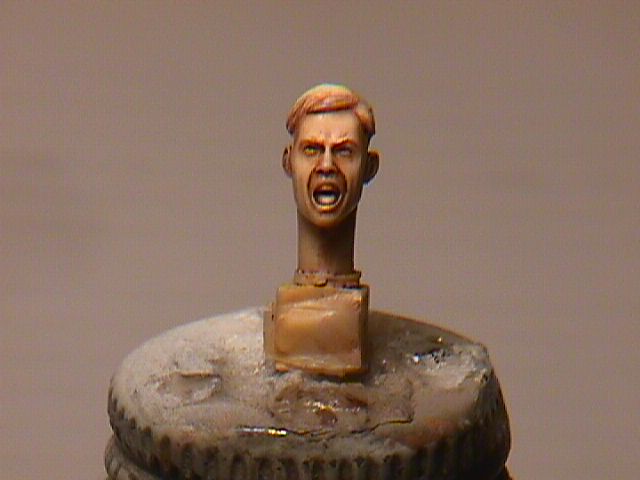
FRAME 7
Just as the new wash is getting dry (8-10 minutes), moisten your brush and go
over those areas which overlapped or look overdone. This is simply to clear up
the face and sharpen up the details. Wipe away excess or push dark paint back in
to creases. Use your moist brush and lightly stroke to protruding parts of the
face to remove any dark wash from the highlight points. The photo shows the
results once this step has been done. Now all the deep shadows are done.
This figure is starting to look a lot like...Paul Fraser ?! One of my local
modelling colleagues :)
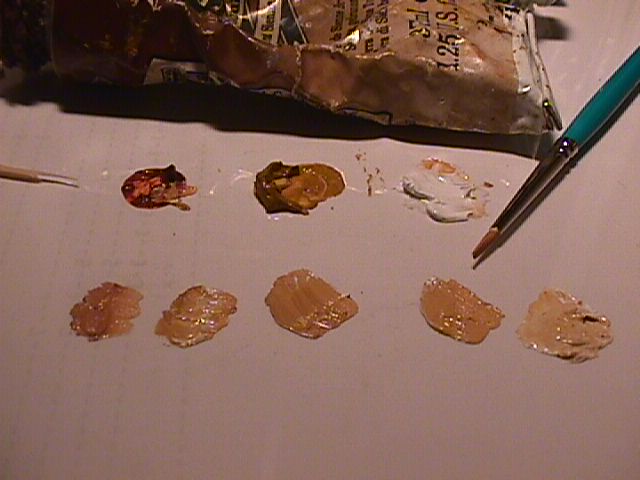
FRAME 8
On to the application of flesh. On a piece of plastic sheet, I dab a blob of
Titanium White, Burnt Sienna, and Gold Ochre. Prepare flesh mix by adding Ochre,
Sienna, and White to a 2:1:4 ratio (middle blob). Fiddle until you like the
colour. Remember, wet oil colours tend to dry to a slightly darker shade so be
liberal with the white! I transfer two little blobs of the base flesh to
the right and two more to the left right. I add 30% more white to the first blob
on right and the extreme right gets 2/3 more white. These are the highlights.
Same applies to the left side accept with Burnt Sienna which will be the shadow
paints.
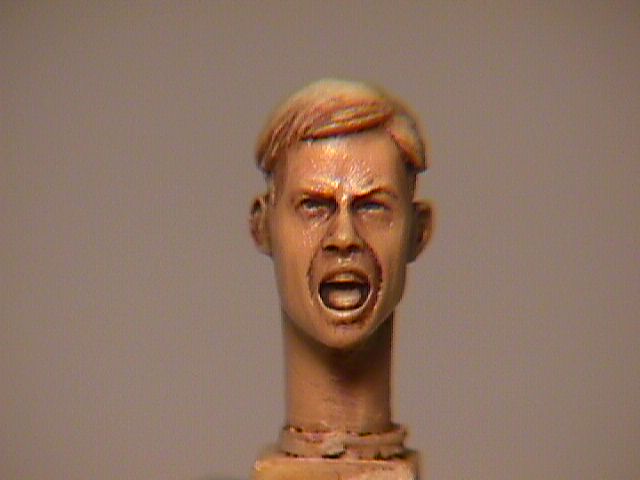
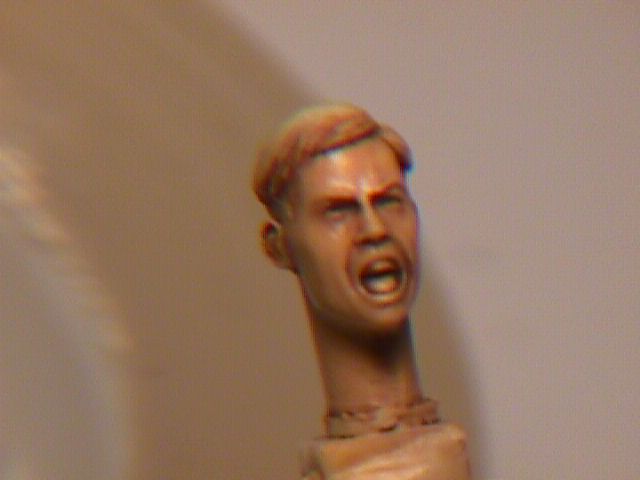
FRAME 9
I apply a very thin layer of paint from the middle blob which is the base. A
*very* thin layer by jabbing the paint on softly to the entire face , neck and
hands, always avoiding both the eye sockets and avoid directly painting in flesh
where you have residue from your second shadow/wash application. It should be
thinly spread out and translucent enough so that the base colour be visible
through the fresh flesh oil paint. Oil colours in general, and particularly
white, are translucent in nature and this is favourable. Let this dry for two
hours under direct light. The photo was taken right after the paint was applied
- hence it is shiny and this will dull down as it dries.
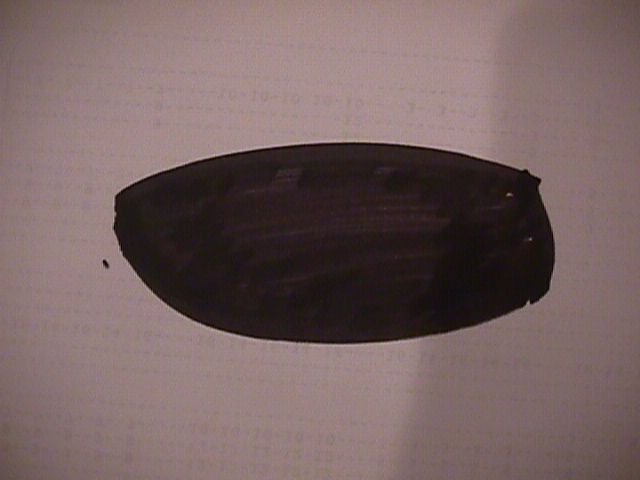
FRAME 10
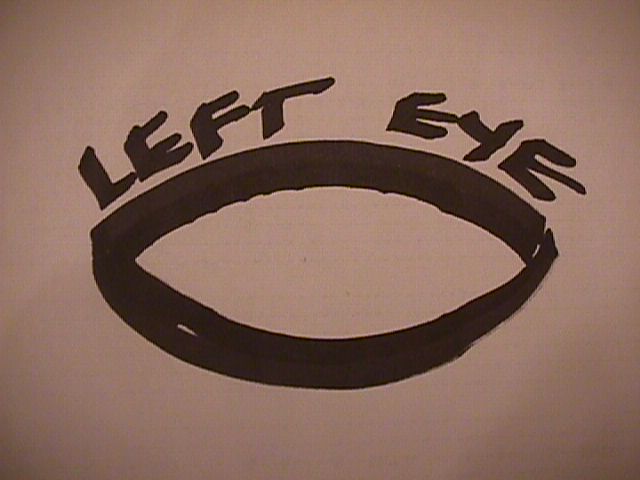
Before I get into highlights, shadows, lips, 5'o clock etc... Let's do the eyes.
Because my digital cannot actually zoom in on the eye, I have to resort to paper
and pen to show you how I approach the eyes. The photo represents a drawing of
the left eye socket. If you look in the previous frames, you will see that the
sockets are a very dark colour as a result of your wash.
FRAME 11
With a toothpick and optivisor, I add a spec of white oil mixed with Humbrol
Flesh in the centre of the socket and with my toothpick, pull a bit of paint
from both ends of the spec to fill the inside of the shape as the socket,
always leaving a thin line of the dark colour intact. This is a bit meticulous
but a little patience will really do it.
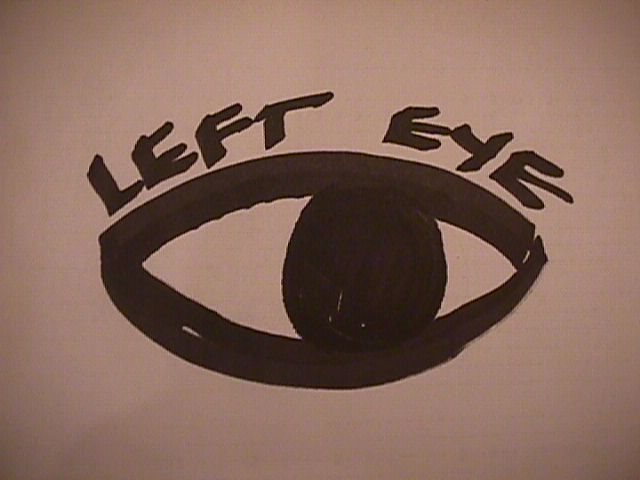
FRAME 12
Once the whitish paint is dry, I add a spec of dark brown for the iris. I
usually go on left side or right side because dead on looks never quite work
out. You will note the iris is not a perfect circle but rather and a circle with
its top and bottom cropped off. That is the look you want and the way to achieve
this is simply moving paint around with the tip of your toothpick. There is no
magic in this. Just a little practice and it will work
FRAME 13
...and the toothpick splinters that make this last task so much easier.
Next week , we'll wrap up this project by adding more shadows, applying highlights and shadows, "rosy" the cheeks, 5 o'clock shadow, hair, teeth, lips, hi-highlights and essentially finish him off. Wrap your oil paints in Saran Wrap, place in freezer so that you can use same paints in future.
| Main | What's New | Articles | Reviews | Gallery | Think Tank | Contests |