
2S1 Gvozdika in Finnish Service
Antti Tuurala
This article is mostly made for reference about 2s1 Gvozdika Self Propelled Guns in Finnish army use. Finland bought these SPG from ex-NVA surplus stocks in 1991. I got interested in these beasts during my conscript time when I was ordered to Jääkäritykistörykmentti (JTR), which by own words means Jaeger Atrillery Regiment. There I was trained to repair 2S1’s and the command versions of MT-LB, the MT-LBu. I also drived them few times and I can tell you that it was one of the most enjoyable things I’ve ever done.
Finnish modifications of the 2s1 include some changes, mostly external. Most notable of these modifications is the turret basket. Some reflectors are also added as well as rear mudguards. The technique of these machines is very simple and robust which is an advantage here in Finland. They work in any weather. Personally I’ve seen them operating at –40 Celsius to +30 Celsius. When in action they are very precise weapons. Shooting from about 10 clicks with six guns, everyone of them shooting six rounds, they all fell to on area less than 50 meters of diameter.
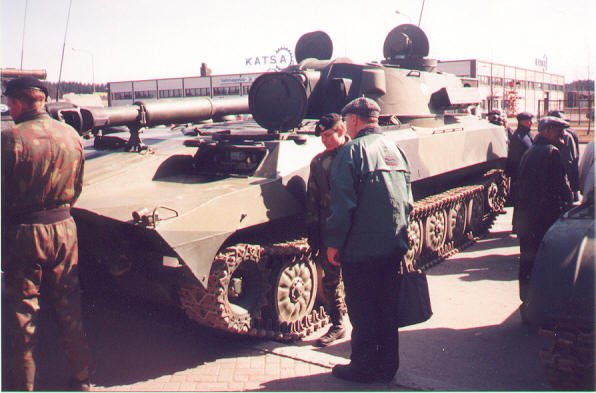
That’s the basics, here is some reference. The photos don’t include any precise details and are mostly "action" photos. I took them with a basic camera so close ups weren’t possible and the meaning was that one could get some picture of how they look in real enviroment. Some of the photos were taken by Jim Carswell from Canada, and the one B&W showing the rear basket from Esa Muikku’s and Jukka Purhonen’s The Finnish Armoured Vehicles published by Apali.(The must for Finnish armor enthusiast)
1. I took this picture of refuelling the 2s1 during the summer artillery camp at Rovajärvi in central Lapland. (Look from maps to find Finland and Rovaniemi. It’s just north from there.) Rovajärvi is the biggest shooting range in Europe and the Finnish army holds most of it’s artillery drills there. I was responsible of repairing these beauties along with two mechanics under my command. The vehicle to the left of the Gvozdika is a Sisu heavy off-road truck, the basic vehicle in Finnish ground forces which is towing a fuel carrier. The mudguard showing at the front belongs to repair truck MTO-80 built on the chassis of Zil-151 off-road truck.
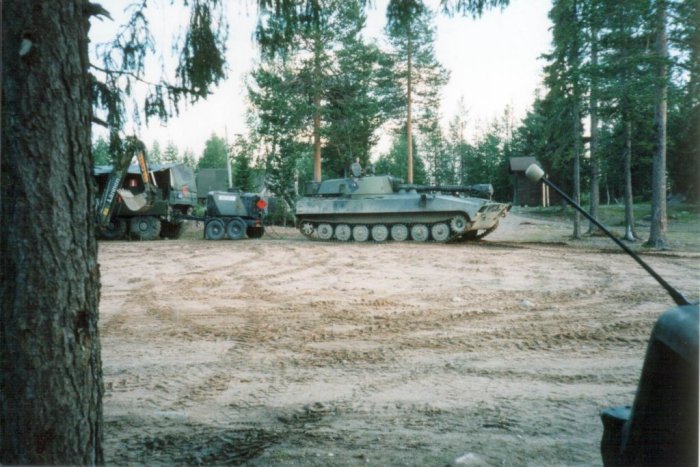
2. This is a photo of MT-LBu and our repair truck MTO-80 at Rovajärvi. This particular tank is the one that measures artillery firing positions. As you can see the MT-LBu is based on the chassis of 2s1. It has a box like upper structure added to it. Almost everything inside these vehicles has been rebuilt in Finland. They have been ripped off of any soviet or NVA equipment and western radios, GPS-systems and electronics are added. As you can see the idler wheel of this tank isn’t quite where it should be. The suspension arm was broken and the vehicle came to an abrubt halt. We had to replace the suspension arm and put the tracks back to where they belong. This would be a good diorama if someone made these models.
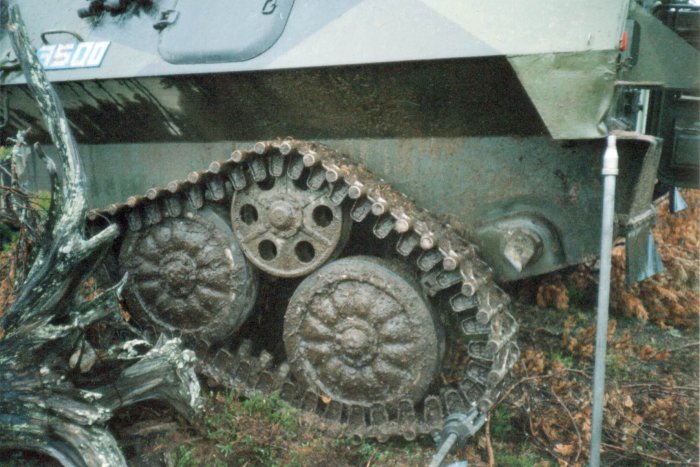
3. A close-up of the broken suspension arm showing that even thick metal can be broken. We repaired this from about 7pm to 3am. It took quite long because we had never before changed one in "cross-country" conditions. The meaning of this whole 2 week exercise was to train us to become capable war time units. The picture shows some detail of the idler wheel as well as the road wheels.

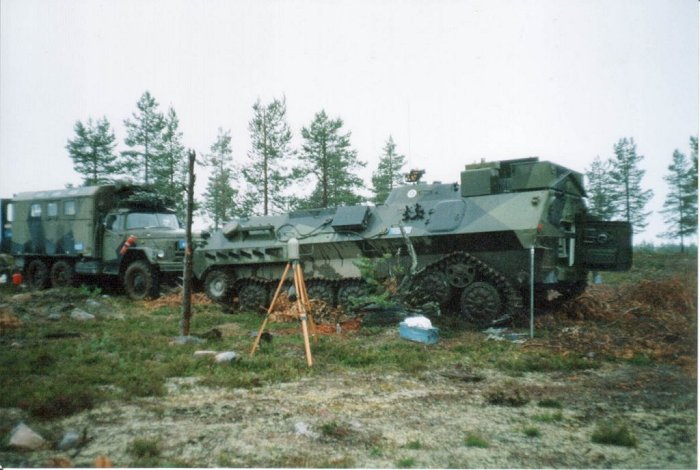
4. This was taken in the repair hall at Parola Finland. It’s the most important military base when it comes to training of Panzer Brigades in Finland. On the picture (which isn’t very good) you can see some track detail and the exhaust pipe.
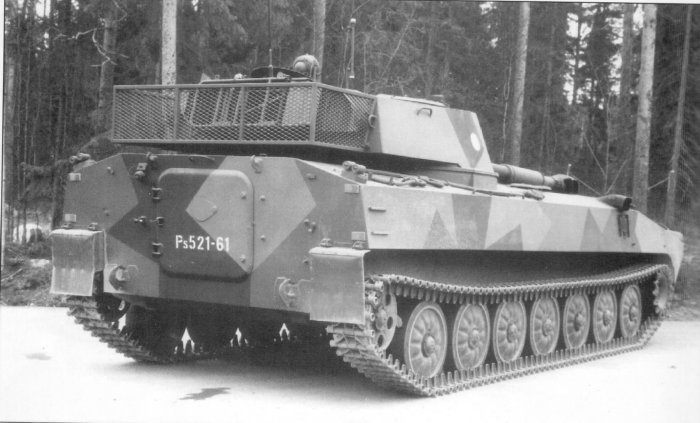
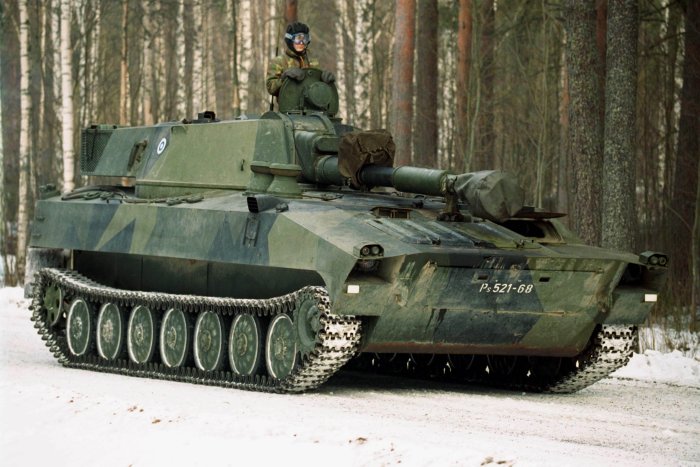
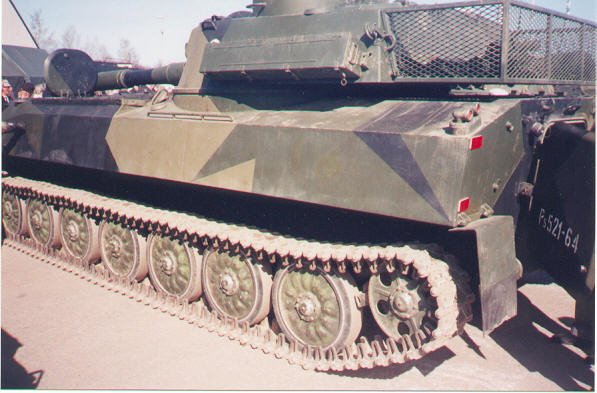
5. This picture has some details of the turret basket modification. The junk that hangs on the back wall of the turret has been nowadays removed. Only the basket remains. You can also see the reflectors added (four of them, the squery things). Also the structure of the mudguards is very evident.
6. This is the one I have been driving. A good quality picture of 2s1 during winter manouvres at Parola. You can see some good details. For example the covers of the indicator lights which by the way differ from the ones in the Skifs Gvozdika.
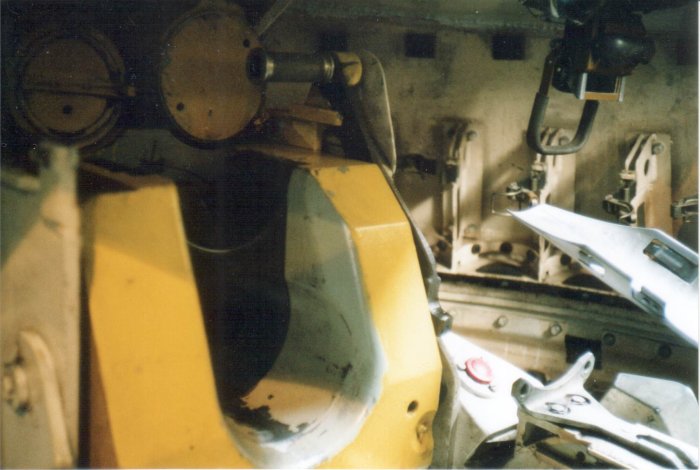
7. This is a view from inside the turret of 2s1. The picture shows the breech of the gun and the half-automatic ammo ramming system as well as some ammo racks. Also the loaders periscope is visible. This picture was taken just because of curiosity but you can get some idea of the interior.
8-9. Some more of the turret basket details and a general reference photo showing again a different cover for indicators. The track pattern is also visible on these pictures as well as the mudguards. Photos taken by Jim Carswell.
PAINT SCHEME
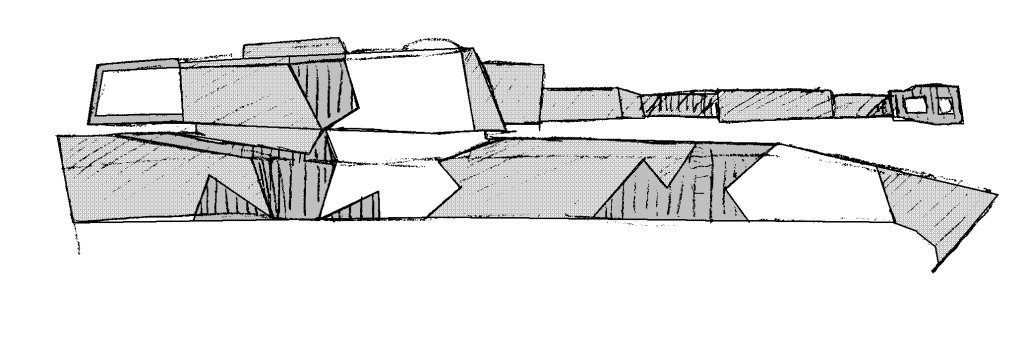
The paint scheme of Finnish army is a three coloured splinter camouflage which uses the following paints (everyone can make their own decicions of which paints to use): Fs 37038 Matt Black ; Fs 34077 Dark Green ; Fs 34102 Light Green. I personally use Humbrols 33, 75,and 117. I’ve included a hand made scheme of the 2s1 Gvozdika. It’s quite robust and should only be used as a reference of the paint scheme but it gives you the hint. (Paint1.bmp ; Paint2.bmp)
SKIFS KIT
The most notable error of the kit is that the suspension arms are a mirror image of the right thing. On the real thing the first five suspension arms are tilted backwards and the two rest forwards. On Skifs kit this has gone wrong. The original paint scheme shows the real direction of the suspension arms. The only way to correct this is to schratchbuild or lots of sawing. I personally didn’t do it as they don’t show out very notably. The other thing that should be corrected is the "bulge" on the turret front. It’s wrongly shaped. I made a new one from plasticard. The lack of latches and handles is also disturbing. The Eduard PE set has some handels but they are shaped wrong. I made them from brass wire. For a Finnish modication the indicator covers have to be scratchbuilt as well as two extra indicators. The axle of the drivers windshield is also badly out of shape. It can be rebuilt from sprue.
One of the most notable modifications is the turret basket.The basket is easy to make from Evergreen strips, as it is very basic in shape, and some plastic net from scratch box. (Old Tamiya kits!!). The mudguards are also easy to make from straight plastic sheet. With some work the kit can be made to very authentic one. But beware: the PE set of the Eduard includes some parts I recommend you do not use. For example the air intakes are something I have never seen. Throw them away. The grille of the radiator in opposite is very good and should be used.
That’s it. Hope you enjoyed it and got something out of this. Remember that this article was written in the spirit of action, not superdetailing.
ANTTI TUURALA
Reserve Mechanic Sergeant
| Main | What's New | Articles | Reviews | Gallery | Think Tank | Contests |