|
|
| Home > Articles > Other > Making buckets |
|
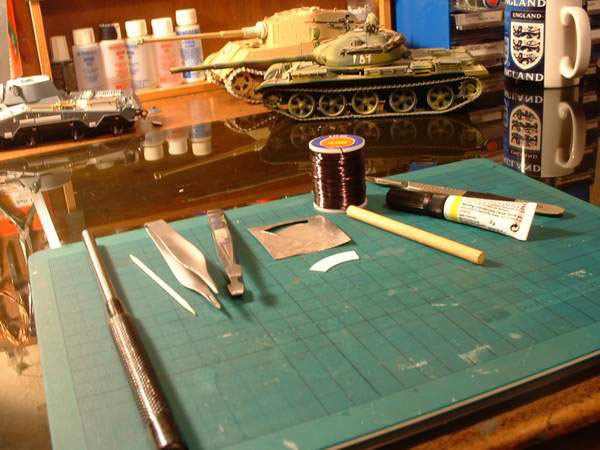 |
Tools you will need are (from L to R): a punch for the making the base of the bucket (I use a 7mm engineers drill); a cocktail stick for burnishing; tweezers; some clean foil; a template as described below; some wire for making a handle, a piece of 6mm dowel, superglue and a scalpel. |
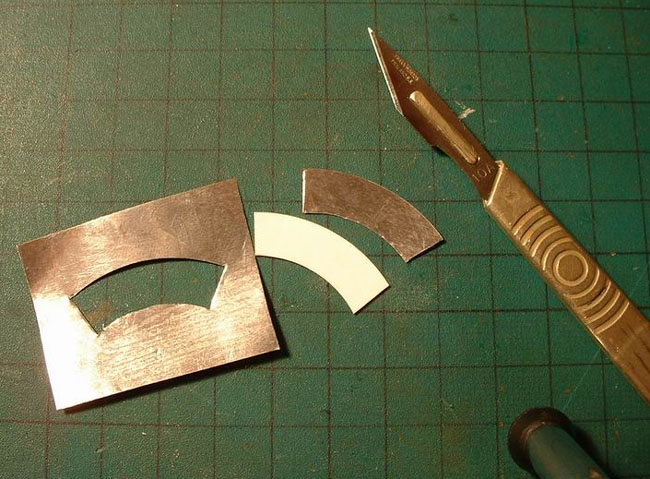 |
First up, make yourself a template from 30-thou plastic card or similar. I’ve based these measurements on an old galvanised fire bucket at work. Using a compass cutter set it up at 34mm and cut your outside circle first, then an inner one of 25mm. Now measure 30mm in a straight line across the top and make an angled cut at about 20° each side. This should give you the template shown in the pic. |
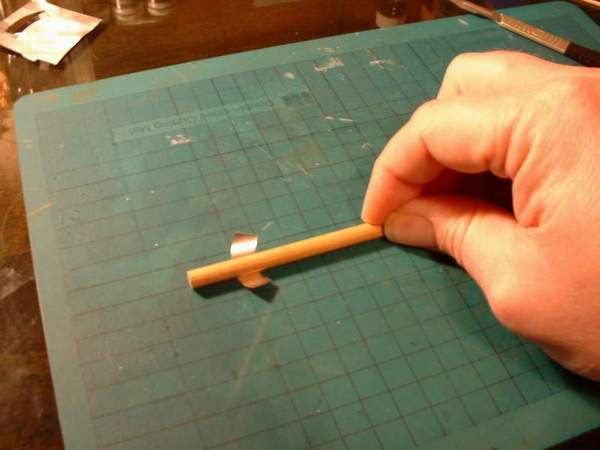 |
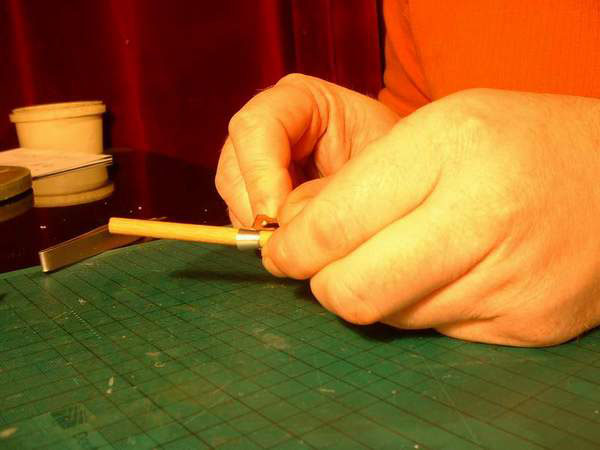
My buckets are nice and shiny in these shots but before you use the foil you may want to treat it with something to dull the shine. Using the template cut out your shape. Using your dowel, hold down one end firmly between the fingers of your right hand as a pivot point and with your other hand gently but firmly roll the dowel over the foil, describing an arc. The foil should start to curl. |
 |
Gently roll the bucket in your fingers so the ends and top and bottom are all parallel and, with a small touch of cyano, stick together. A tip is to use your dowel to help roll the bucket and to keep the top and bottom square to each other. |
 |
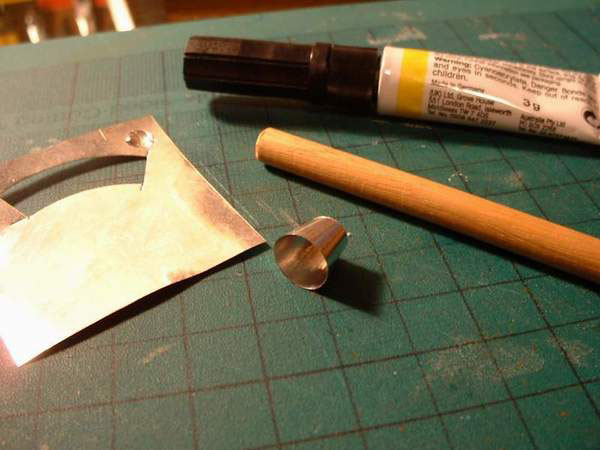
Now comes the time to strengthen your bucket. We will now form the base of the bucket which, on my old fire bucket, flares out slightly. Using your dowel and, with care to keep your line parallel, press down with the back of a scalpel blade so you get an indentation right at the bottom of the bucket. You may want to repeat this about halfway up the bucket. You’ll feel the structure of the bucket get stronger after this important step. Please be careful with the blade and you may want to use an alternative if you have slippery fingers. |
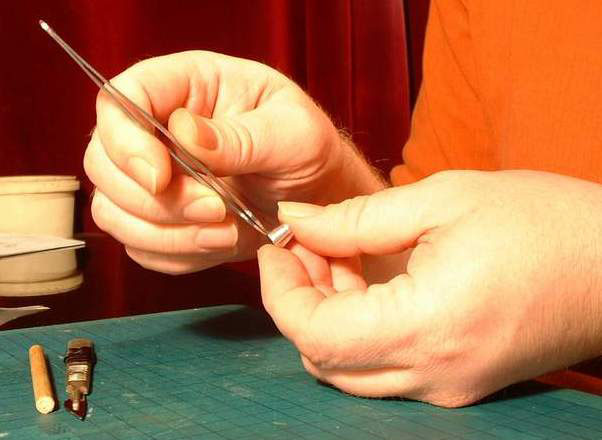 |
With tweezers, now gently turn over the top edge of the bucket so it forms a rim. |
 |
Now with a cocktail stick firmly burnish the rim you have just created so it takes the creases out. I’ve done this on a cutting mat for this shot but something harder is more suitable. |
 |
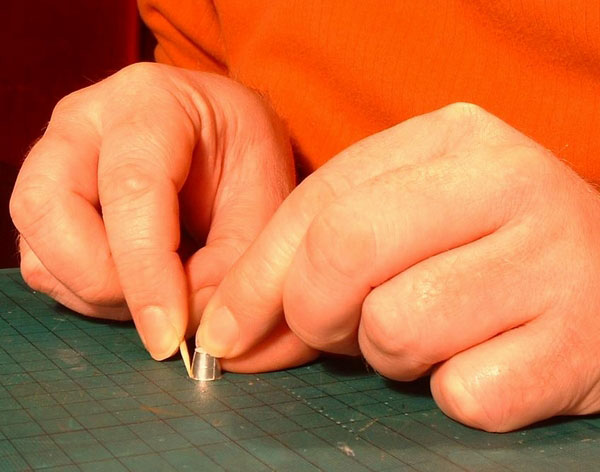
Now punch out a disc for the bottom of your bucket. Mine’s in card but you can, of course, use foil again. Glue it in place. |
 |
With the wire make up a handle, remember it needs to be just over half the circumference of the bucket else it will fall inside. Mine are pretty simple buckets for the purposes of this article and I’ve just pierced a hole through the sides of the bucket and stuck the handle ends through. An alternative would be to cut two small squares of foil, stick the ends of your handle through these and then glue them to the top of the buckets rim. |
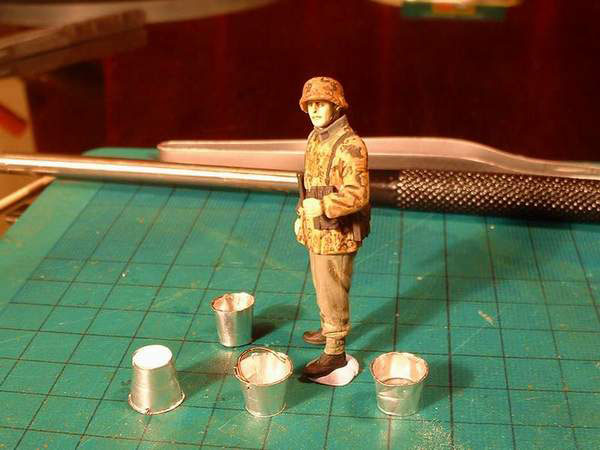
There we go then, all up about 10 minutes work. All that’s left is to create some dents and finish up by weathering. Using these simple methods you can also make up various other vessels – saucepans, coffeepots etc.
Andrew Hall, 2003
| |
|
Home |