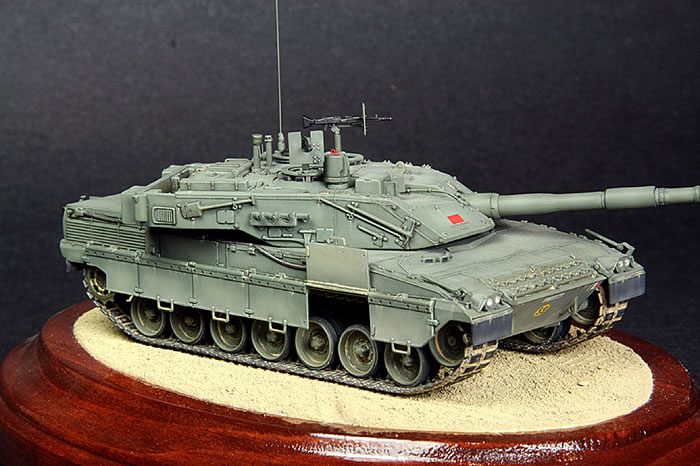
Background Trumpeter’s Ariete is a very simplified kit, with few parts, but is still a respectable effort from this manufacturer. For an accurate, “Iraqi war” era Ariete, some scratch built additions are required however. The project started with the acquisition of Auriga’s fabulous Photo File publication on the Ariete. It’s a great reference for any Ariete project as it has a plethora of photos of every aspect of the tank, including the various mods installed when the tanks were deployed to Iraq.
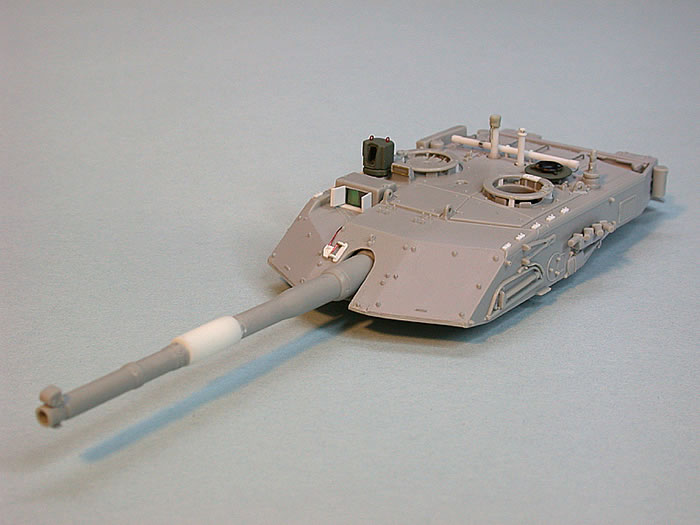
ConstructionThe basic build went quite well, with all kit parts fitting nicely. The only peculiarity was a series of diagonal striations on the upper surfaces of the hull, caused during the moulding process. These were taken care of with a couple of coats of Mr. Surfacer, and some sanding to level them out. Some of the noticeable mods on the Arietes deployed to Iraq, not represented by the kit were:
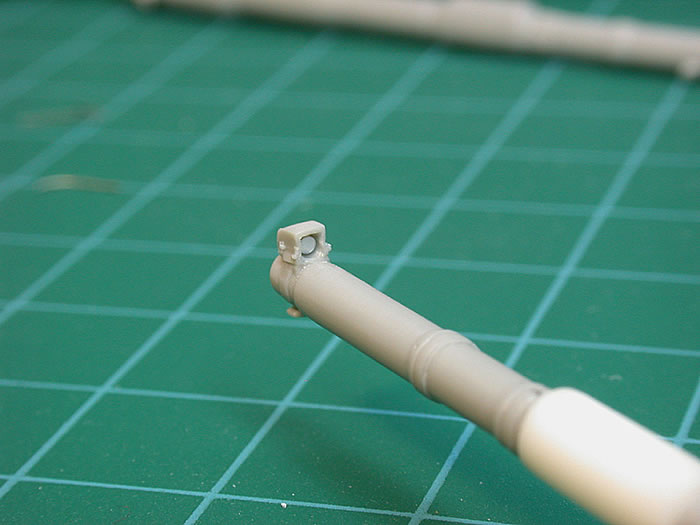
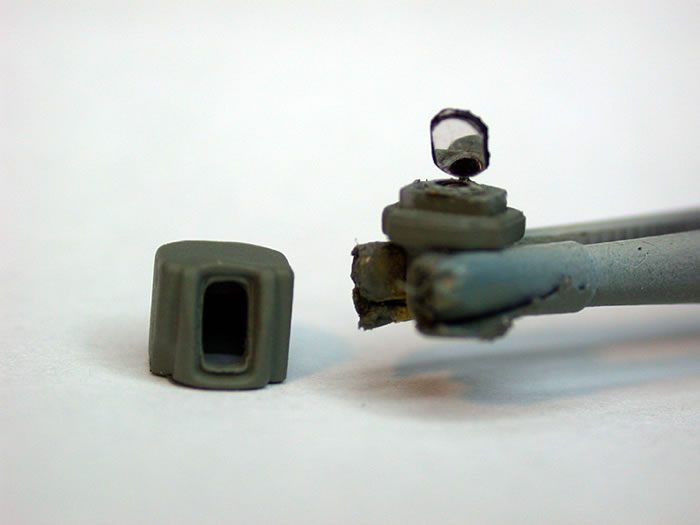
The existing fume extractor was cut out and a new one fabricated from styrene tube. When mounting the new one, it was noted that its centre line is not concentric with that of the barrel, and was thus positioned upward in relation to the barrel centre line. While I was at it, I did a bit of surgery on the barrel end, adding the mirror for the muzzle reference system in the scarfed out housing.
For the mounting blocks, small pieces of .010”x .020” Evergreen styrene were carefully glued to the hull and turret in the appropriate areas using sparing amounts of liquid cement. When the glue had set up, .013” dia. holes were drilled in the blocks (2 in most, 1 in a few of the smaller hull mounted blocks). To represent the cap screws, small pieces of .010” styrene rod were then inserted into the holes and set into place with liquid cement. When cured up, these where cut down to size. A few of the improvements to the basic kit included:
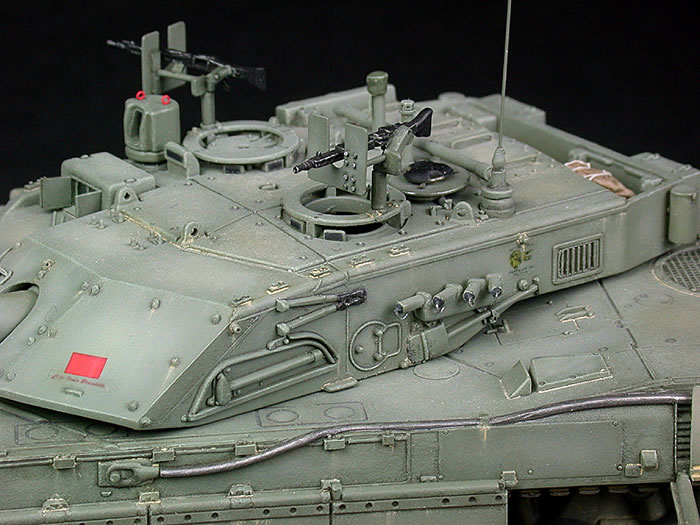
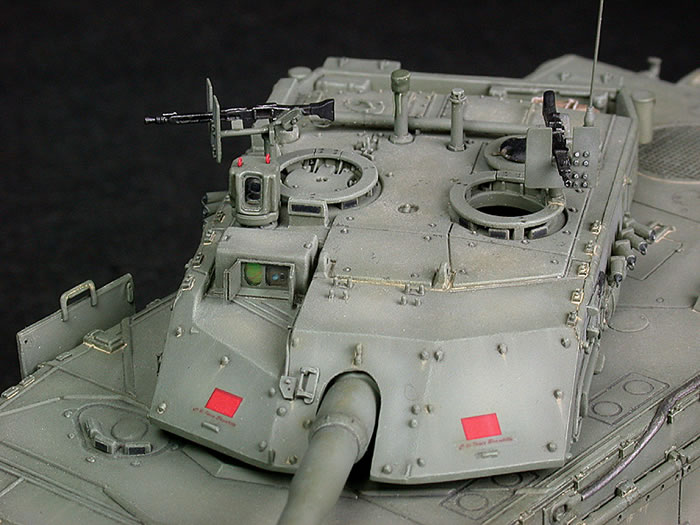
Of note on the commander’s periscope was the use of a piece from a mirror finish bumper sticker that served as the periscope mirror, and a piece of .005” clear styrene cut for the window.
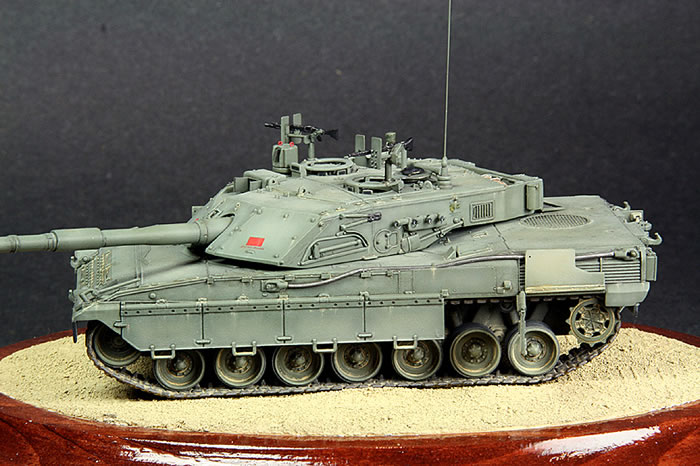
On the main sight, the moulded on doors where removed and the sight housing thinned down. A piece of holographic confetti was used for the left sensor face, and another piece for a lens in the right sight was punched out using a .018” punch, and inserted into a appropriately drilled hole in the sight head. The doors were fabricated from sheet/strip styrene. The environmental sensor on the 1:1 subject has a very complex head, which was a bit beyond my abilities in this scale. Fortunately, a picture of the sensor with a canvas cover was found in my reference book. This was replicated with a bit of Milliput and some thin wire for the drawstrings. The telescopic site cover was fabricated from a combination of styrene, wire, and sheet copper, while the cable linkage to the main sight doors was added from wire.
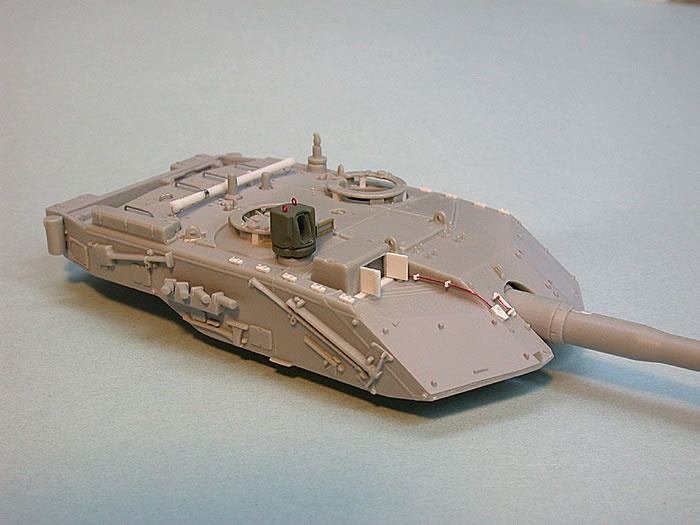
The “call box” was fabricated from .015” styrene, while the handset was carved from various bits of styrene strip & rod. The phone cord was made by winding .007” dia. wire around a .010” dia. wire, then cutting and bending it to size.
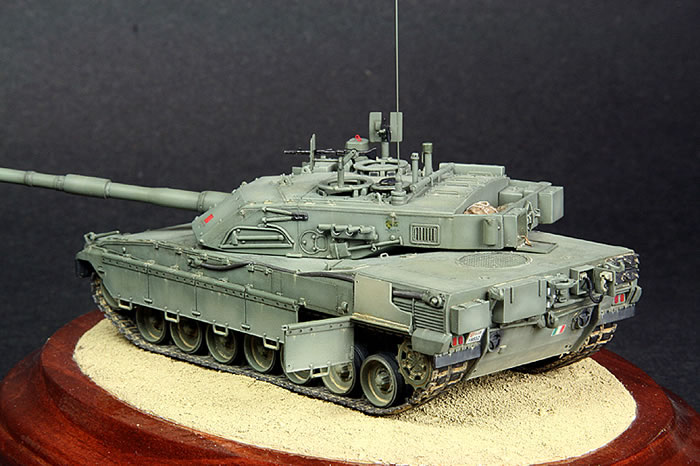
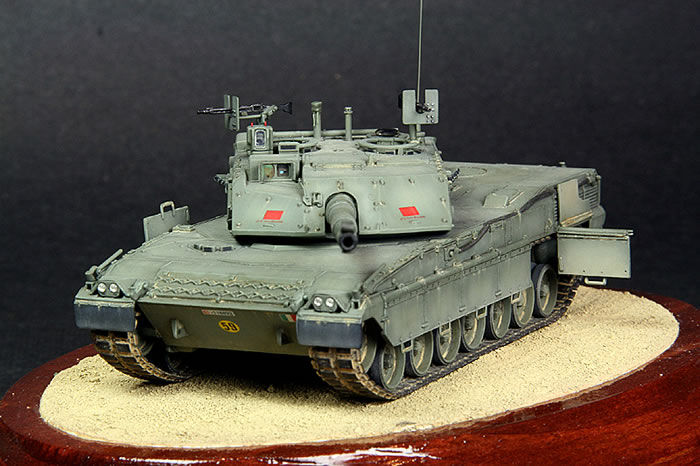
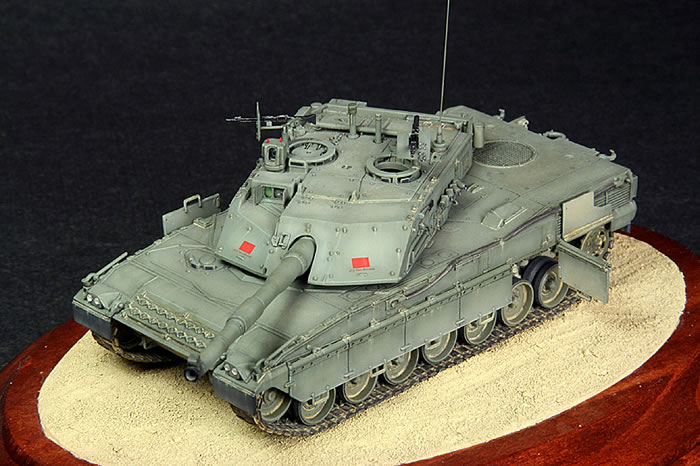
Painting and FinishingPainting was achieved with a mixture of Gunze Acrylics. Washes used were concocted from Humbrol enamels thinned with Testors brush cleaner. Rain staining was done again using Humbrol enamels, dragged out using a brush wetted with Testors brush cleaner.
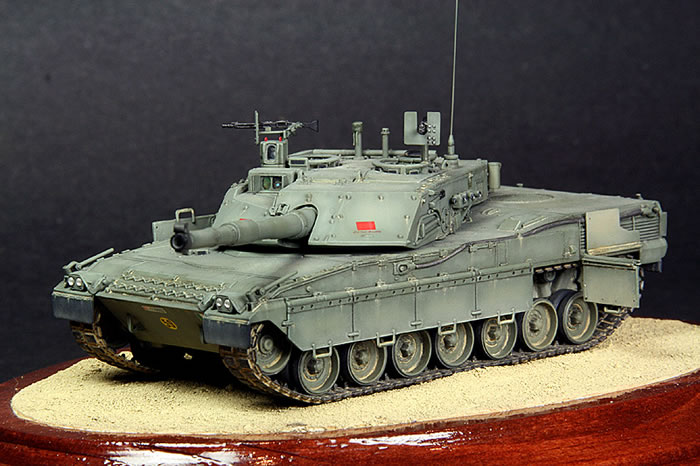
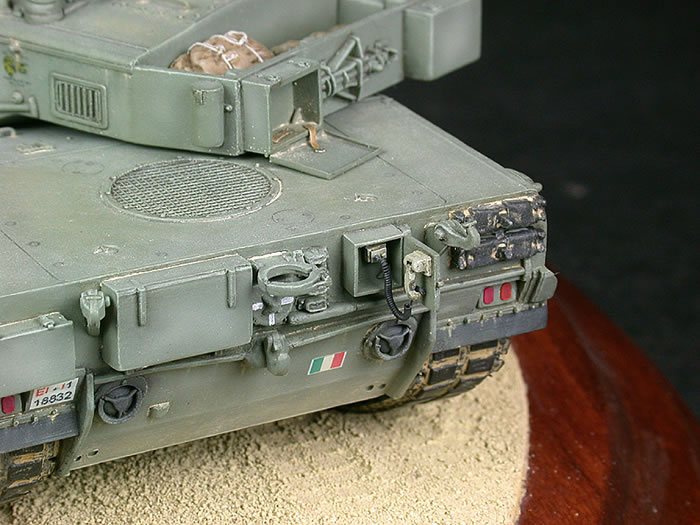
The model represents an Ariete operated by the 32 Reggimento Carri, 3 Battaglione Carri “M.O. Galas”, 1a Compagnia “Leoni Bardia”, serving in Iraq, in 2004. To that end decals were a combination of kit decals with some subject specific markings such as the vehicle number and the Ram logo, printed onto clear decal film using an inkjet printer, and sealed with a dry spray of future. Once applied, the decals were sealed with a coat or two of Gunze clear, and after a suitable cure time, a coat of Vallejo matte varnish was applied to the entire model. MV lenses were used for the headlights and the taillights were fabricated from .005” clear styrene, back painted with silver, and top coated with Gunze orange and red clear as appropriate. Dusting up of the road wheels and tracks was done using Mig pigments mixed into a thin slurry with Testor's brush cleaner, then applied with the aid of capillary action. This was allowed to dry, then the excess was lightly bushed off. Many thanks must go to Mr. Gaetano Pisano, who provided the answers to a number of technical questions about the Ariete.
Thumbnail panels:
Home
Model, Images and
Text by Wayne Bowman |
|||||||||