Background In many ways, the Char B1 was a weapon designed to fight the last war rather than the next. Designed for breaking through heavily defended lines and supporting infantry attacks, rather than exploiting such breakthroughs, it was heavily armoured and slow. The turret was a late addition to the design. This gave it a tank killing capability with a 47mm gun capable of 360-degree traverse, as opposed to the very limited traverse hull mounted 75-mm howitzer. It was an expensive and difficult to produce vehicle, but none the less was widely regarded as possibly the best tank in service with any army at the beginning off WW2. Certainly its heavy armour and armament made it look pretty good when compared to both its allies and adversaries specifications. Two factors clearly hampered it tactical success however. Probably first and foremost was the fact that French tactical doctrine was generally woefully inadequate to confront the panzer led thrusts of the Germans. This malaise applied to all arms and services, and was not unique to the French for that matter.
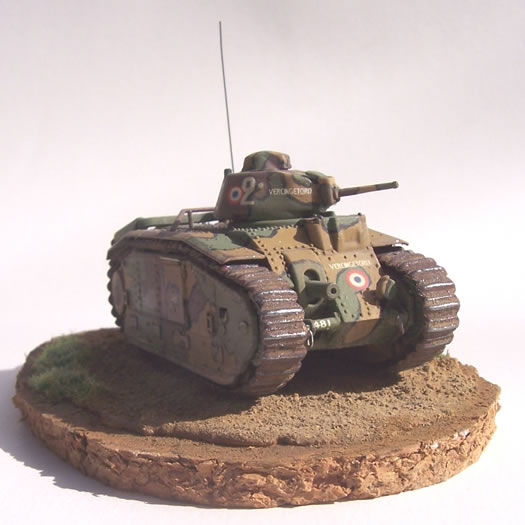
The other undeniable limitation was the French penchant for one-man turrets, when other countries considered two men the minimum required, and three as ideal. Apparently small turrets were a cost saving measure, as a small turret often required a smaller hull, although this logic clearly does not apply to the Char B1! There were huge demands placed on a Char B1 tank commander to possess situational awareness, command his vehicle, aim and load the 47 mm gun. In addition he may have had to command other tanks if he was a sub-unit or unit commander. The small turrets were cast without top-opening cupolas, meaning the commander was either severely limited in his view of the battle, or horribly exposed whilst sitting on the rear opening turret hatch. Despite these criticisms, I have read one account when a single tank, named Eure, attacked and destroyed thirteen German tanks, all of them Pz. Kpfw. III’s and IV's, in the course of a few minutes. The tank safely returned from this action despite being hit 140 times. This little short of incredible, certainly in terms of killing that number of German medium tanks. But both the char B1 and British Matilda are on record for surviving incredible numbers of anti-tank round hits early in thew war. Following the armistice the Germans employed Char B1’s as Flammpanzers, SP guns and in various 2nd line roles.
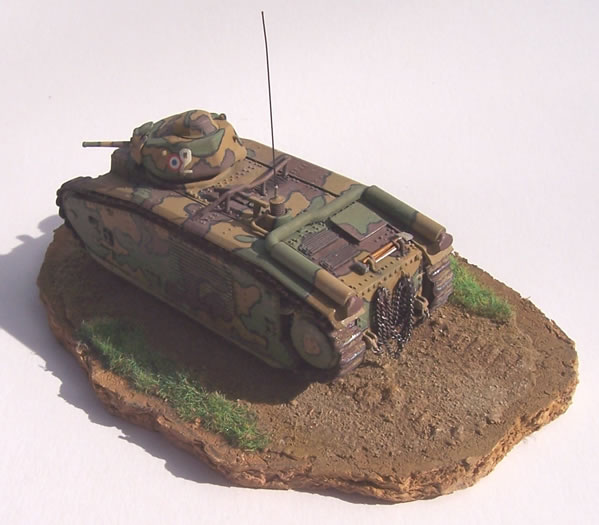
The Kit I have always really liked the Char B1 as it was I call a true “Trundley”. I just can’t resist its cumbersome looking tanks, so I have been keen to have one for a long time. I was aware of Matchbox’s kit in 1/76, but my scale is 1/72; and personally I feel that whilst the linear difference of 5.5% doesn’t sound much, the volumetrically 17% is too much to sit well together. So I was very please when Trumpeter released their Char B. The first thing that impresses with this kit when you open the box is the way Trumpeter’s multi-piece tools have enabled them to mould almost the entire hull as one piece with all its complex surface detail. Only the floor and the immediate area around the hull gun are absent from this single piece. This certainly makes construction very straightforward.
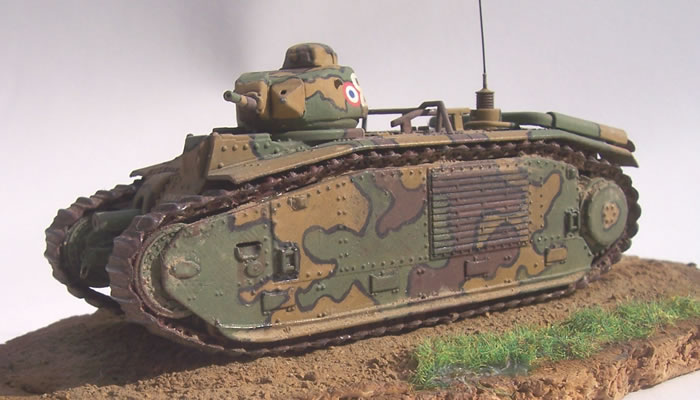
Generally all parts are cleanly moulded, and there is a choice of track guards to cover early and late production vehicles. The guards are a bit thicker than scale thickness, but this is disguised with chamfered edges.
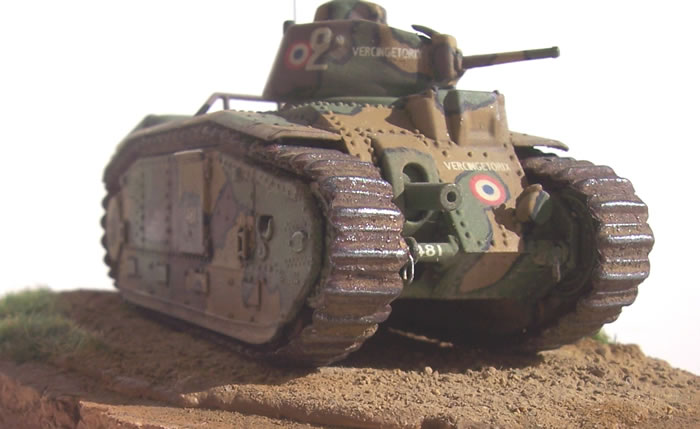
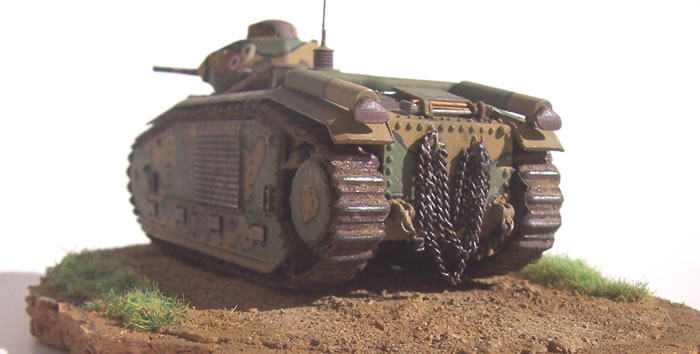
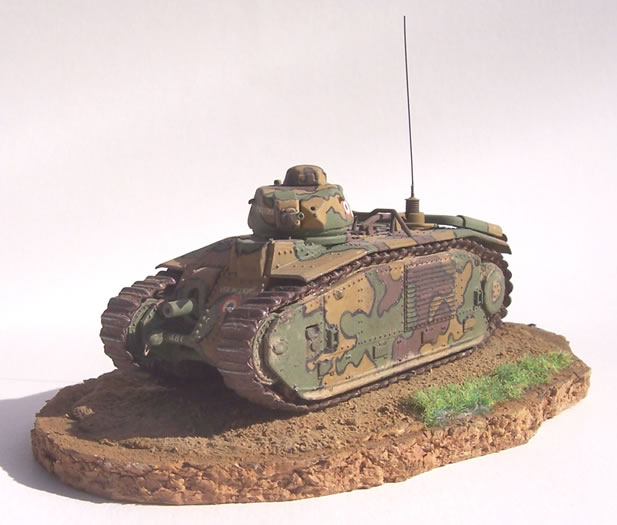
Construction I had the entire kit, less tracks, assembled in about three hours, and found no fit problems at all. I drilled out the barrel of the turret 47mm gun. I also added some shackles to the front and rear of the hull, along with hooks and the tow chains characteristic of early-war French tanks. These were drooped multiple times over the hooks. I found it easier to remove the handles from the shovel and pick and replace with plastic rod than it would have been to clean up the large sprue gates these fine parts had. I replaced my 75mm main gun with one made from two lengths of brass tube, one inserted in the other. However I did not realise that the two small grooves in the kit’s barrel at right angles to the barrel’s axis were supposed to be there. I later noticed these on photos, and I’m guessing they facilitate the barrel being unscrewed from the breech with a suitable large wrench-like tool. Having noticed them it was too late to correct as the brass barrel was super-glued into the mount and was in the hull. I decided that can live with it.
I have one major gripe with this kit, and it is the vinyl tracks supplied. My main complaint is the fact I just could not find a glue that would adhere to them. I finally managed to join them with heaps of super glue and accelerator. However as this was a tentative join I could not make the tracks as tight as I would have wished against the surfaces around the hull they must follow. Likewise, I could not glue them to the surfaces I wanted them to conform to. In the end I inserted small lengths of plastic rod painted matt black to push the tracks into place. Link and length plastic tracks would be much better. One other small gripe that applies to many 1/72 AFV kits, is that all of the kit’s hatches and vision blocks are closed, and there are no crew figures. This and many other small AFV’s could be so much more interesting with visible crew.
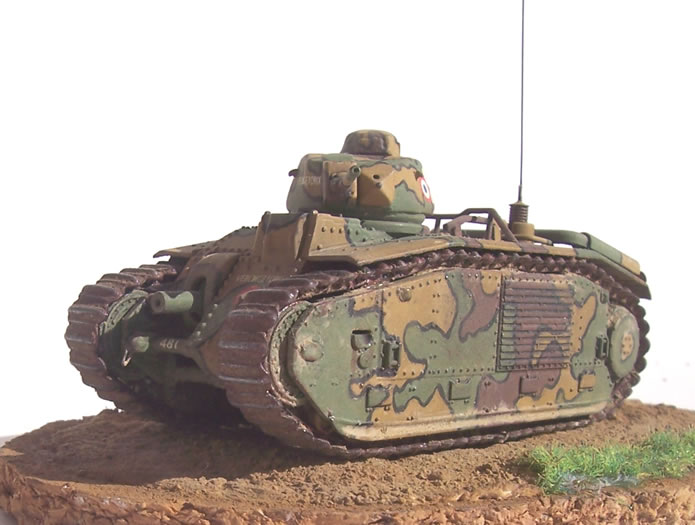
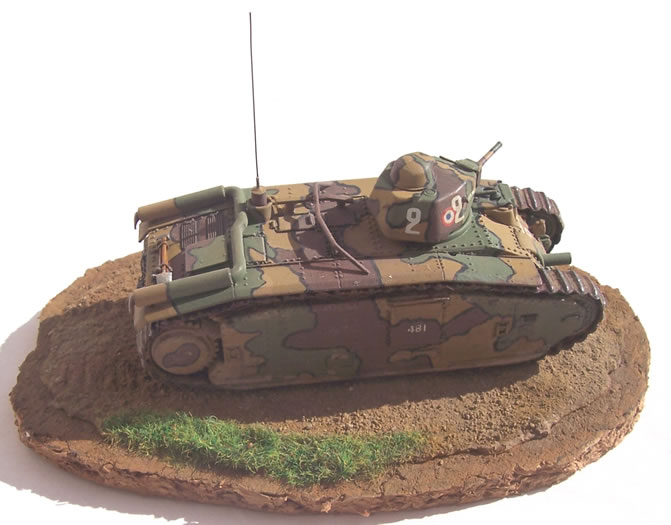
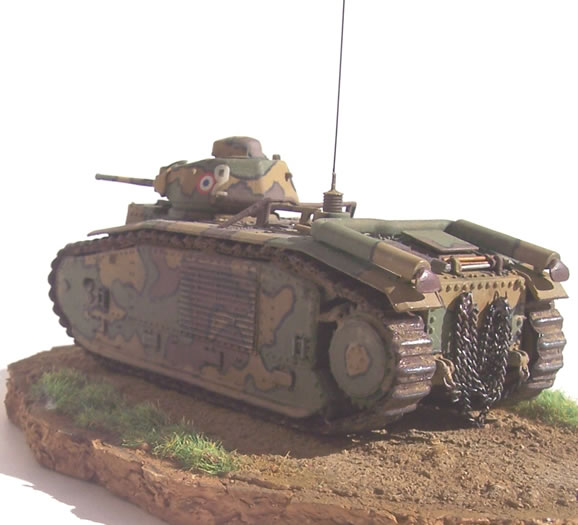
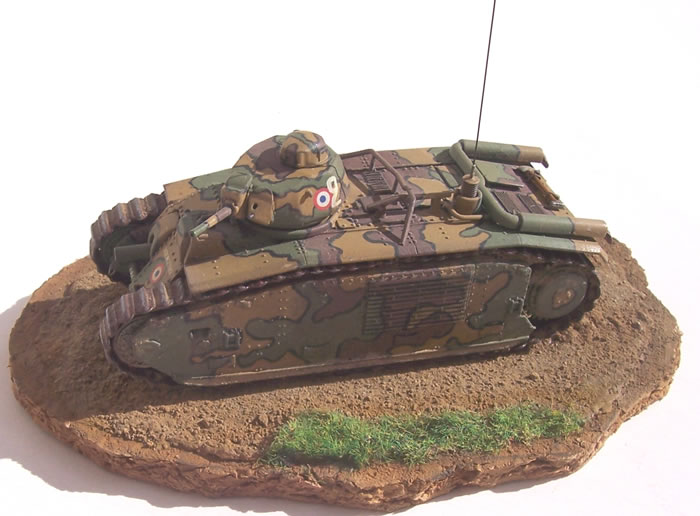
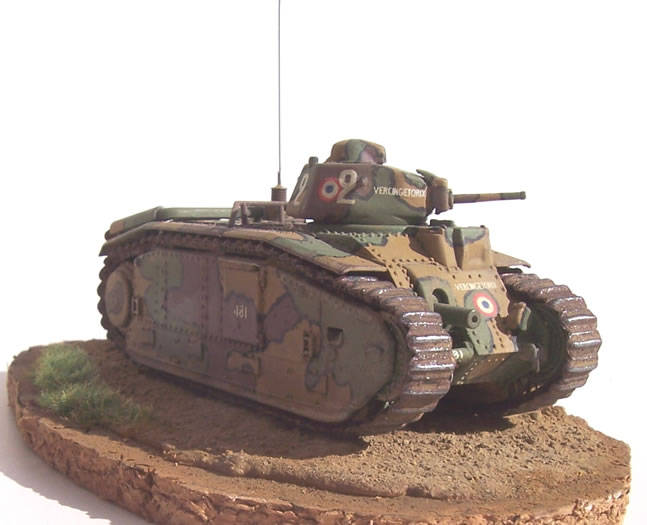
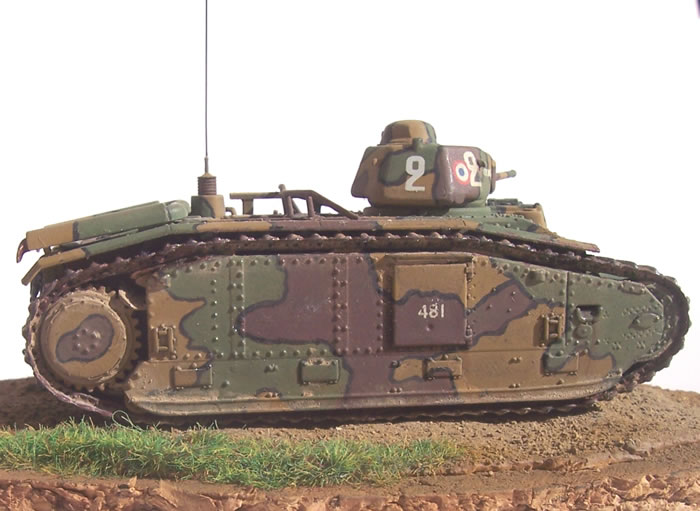
Painting & Markings The hull was undercoated in matt black and sprayed the sandy colour first. I considered both free hand spraying and masking of the disruptive camouflage pattern, but settled on brush painting. Being too lazy to mix paints I selected the ones that I had of the about the right colour. They were all Gunze acrylics, which of course are less than ideal for brush painting. I found I could retard their drying adequately by thinning with water, and got away with two or three coats for each blob of camouflage. The black segregation line was done in Humbrol gloss enamel, as I needed a smooth flowing paint that would cover and do the job first coat. The decals went on fine, but the roundel was out of registration.
Thumbnail panels:
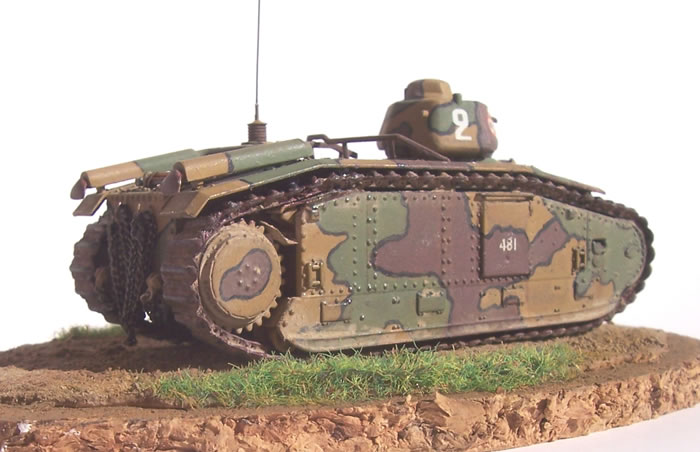
The tracks were hit with some Gunze Steel Red, various bits of mud colours and dry brushing with steel colours. Clay soil from under my house was ground up and mixed with water for weathering. Household matt varnish finished things off.
Conclusion If there are any accuracy faults with the kit, I am unaware of them. To me it looks every inch and Char B1, and tracks aside it’s a piece of the proverbial to build. This kit was great fun, and was completed over three days during Easter. I needed something simple after suffering a period of modeller’s block building aircraft. Highly recommended.
Home
Model, Images and
Text by Mark Davies |
|||||||||