|
|
|
|
| Home > Reviews > Germany > Bronco 1/35 88mm L71 Flak 41 Anti-Aircraft Gun with Sd.Ah.202 Trailer. Kit No. CB-35114 |
Bronco 88mm L71 Flak 41 Anti-Aircraft Gun with Sd.Ah.202 Trailer
Bronco, 1/35 scale
by Bill Wiseman
Summary
| Stock Number and Description: | Bronco 1/35 88mm L71 Flak 41 Anti-Aircraft gun with Sd.Ah.202 Trailes. Kit No. CB-35114. |
| Contents: | Twenty sprues, two etched frets, a length of chain, a coil of tubing for the trailers, a small sheet of decals that have stencils for the ammo containers and dials for the gun, and a poster of the box art. . |
| Scale: | 1/35 |
| Price: | TBA |
| Review Type: | First Look |
| Advantages: | Superb detail; high quality mouldin, includes trailer. |
| Disadvantages: | Complex breakdown and some delicate parts |
| Recommendation: | Highly Recommended for experienced modellers. |

FirstLook
This is the second release of the Flak 41 kit from Bronco, the difference this time is the inclusion of the Sd.Ah.202 trailers from Dragon. And what a kit it is.
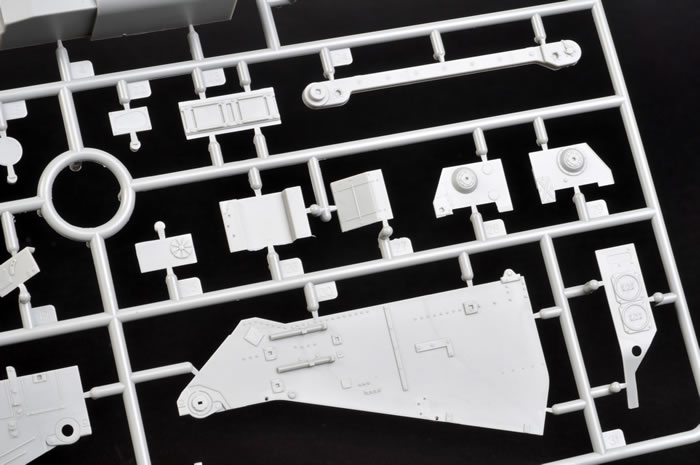
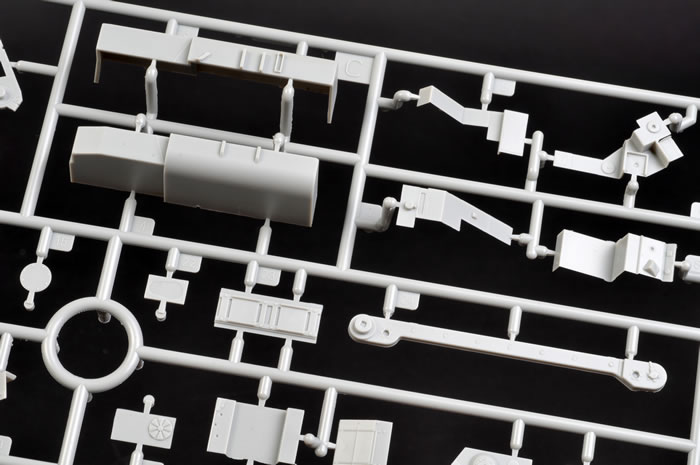
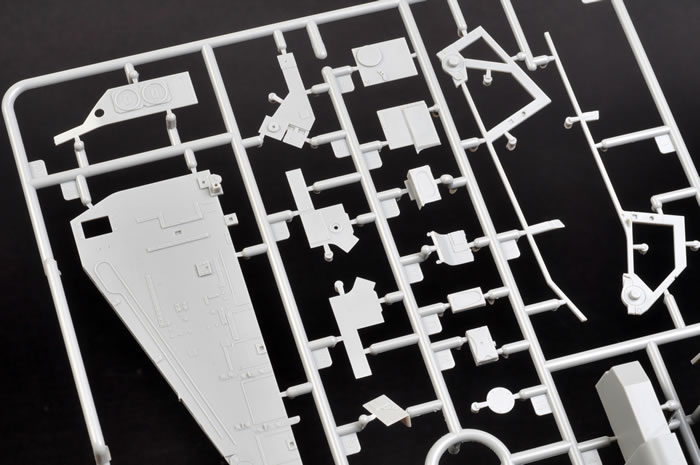
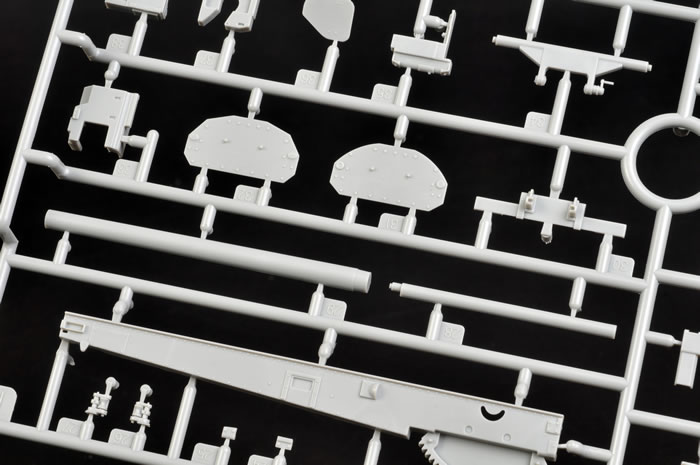
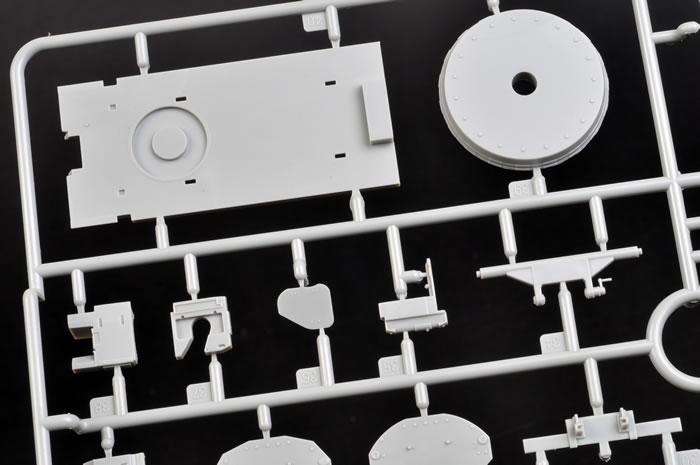
The large box contains around twenty sprues, two etched frets, a length of chain, a coil of tubing for the trailers, a small sheet of decals which have stencils for the ammo containers and dials for the gun, and a poster of the box art. The instructions are beautifully printed in booklet form, and are very user friendly.
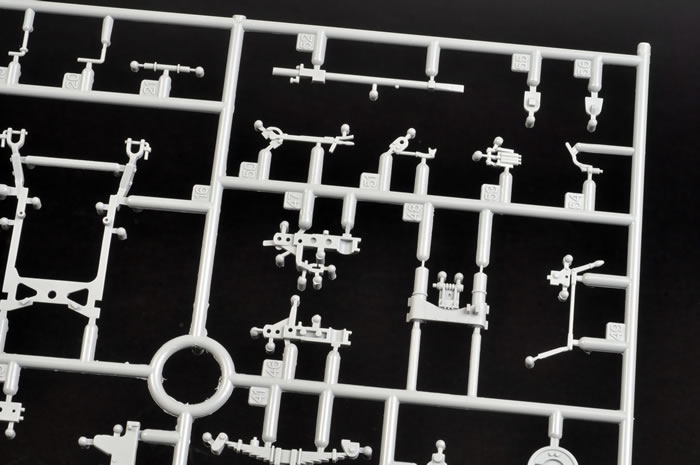
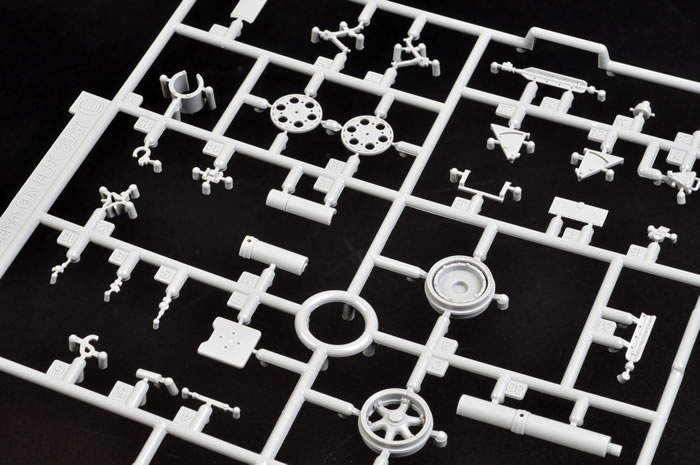
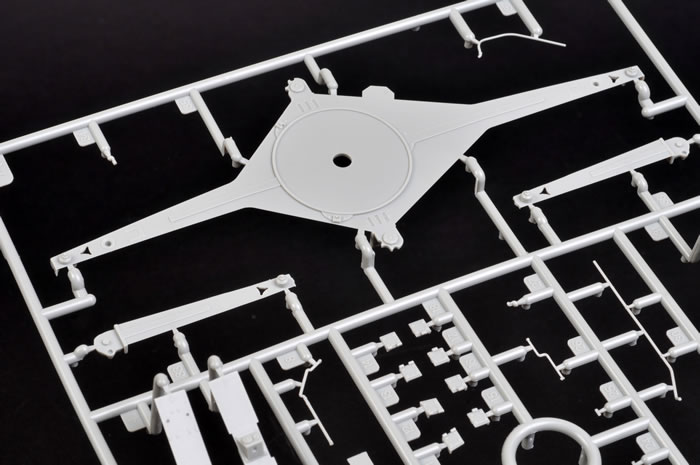
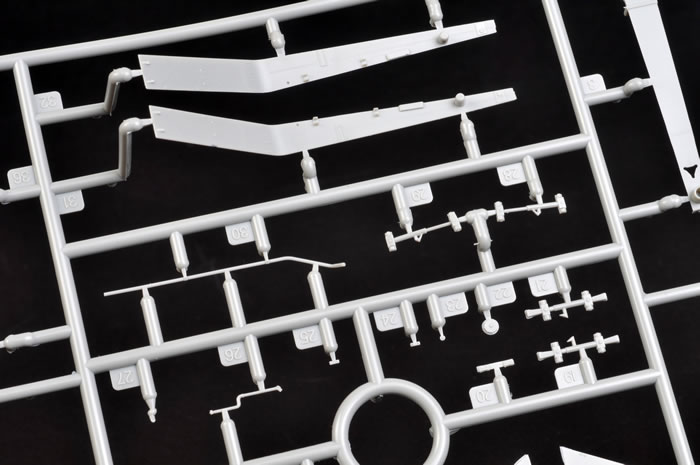
Construction begins with the cruciform base (stages 1- 6), and you need to take care to ensure all the parts go together cleanly and without any gaps. Use some fine steel wool to clean the edges after the glue has set. Once the main base has been assembled, the various details can be added, and there's a lot of it.
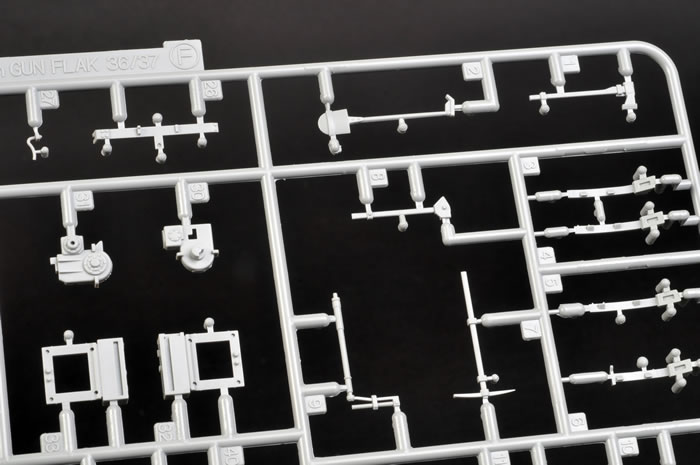
Quite a lot of the parts in this kit are very small, so to make life a bit easier, you should clean the parts whilst still on to the sprue, so all that's left to clean is the attachment points. Again, care must be taken to avoid losing anything to the dreaded "carpet monster". You can add part F 39 at this stage if you wish, which is detailed with etched parts P1, all 19 of them! Very easy to add though, and look good once in place. The completed cruciform can be made in either combat or travel mode. Stages 7-8 are the beginnings of the gun mount, and this too is very well detailed. Take care with the construction of the small box (parts B56, B57, B58, B59, B60) so that no gaps appear when complete. You may wish to replace the conduits (parts B20, B61, B62) with some fine wire to give a better representation, but the kit parts are fine and fit beautifully.
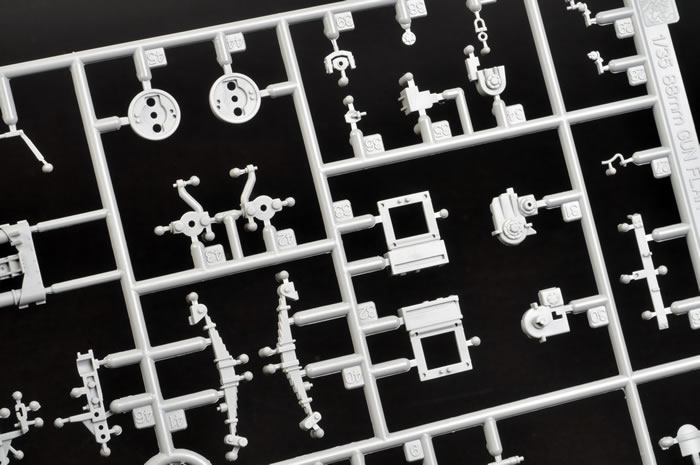
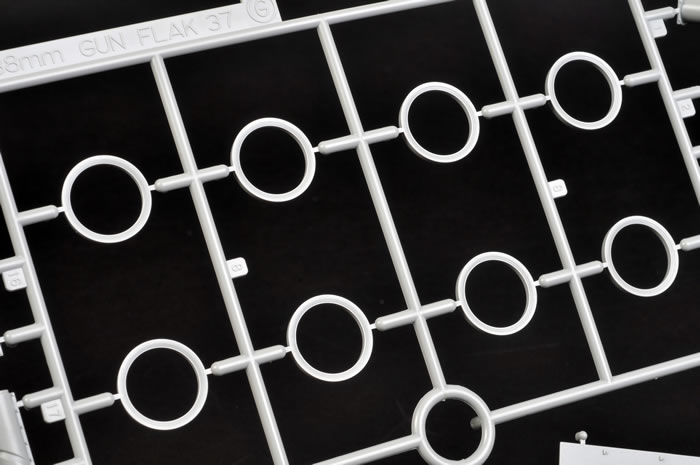
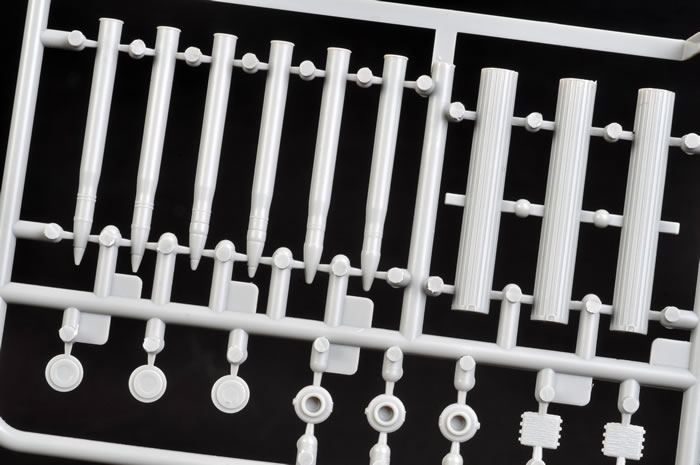
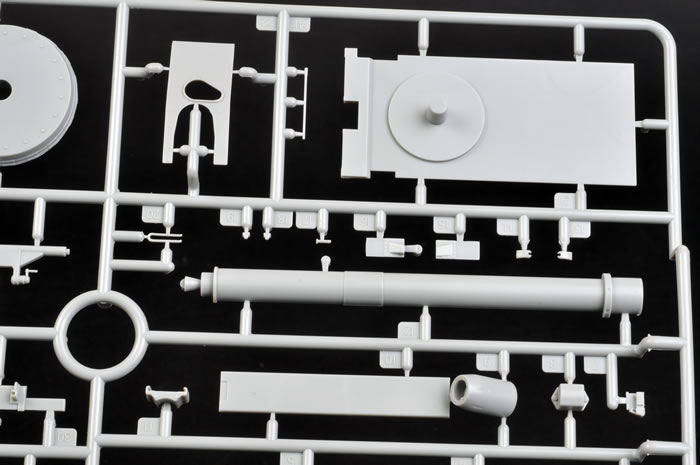
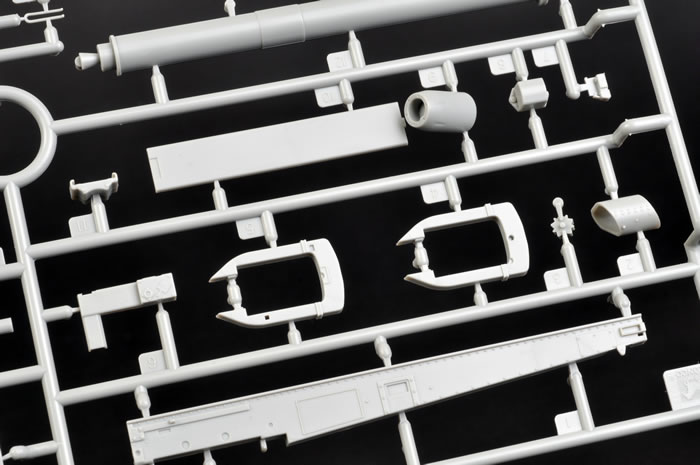
Moving on to the gun (stages 9-16), we start with the breech, which is made up from a lot of parts, some of which are quite small. Another multi part assembly, but goes together like a dream, and fairly bristles with detail. Again, take your time, as the etched parts need careful placement to ensure they sit squarely and in the right place. The barrel is an all plastic affair with a representation of rifling included. The fit of parts is excellent and aligns perfectly. With the barrel and breech completed, work can begin on the cradle. There's a seam that will need to be filled as a result of the two main parts that form the cradle itself. Once that area has been dealt with, the rest of the parts can be added. Make sure that you check the alignment of parts F28 and B11 to ensure they're straight, as the fit inside the recuperator shield.
Etched parts P47 are easier to form if they're heat softened first.
Make sure trunnion mounts (parts B43, B44, B45, and B46) are gap free before adding them to the cradle. Once again, the detail here on the completed unit is amazing.
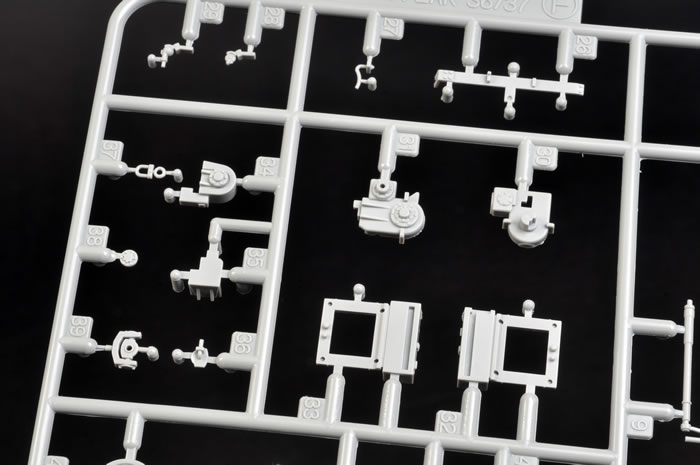
The gun mount is next on the agenda, and this occupies stages 17 through 30. This a highly detailed area of the kit, making use of a myriad of tiny parts and etch to achieve that end. Starting with the side walls, the first thing to note is the non mention of part C32, which is attached to part C2, and is a mirror image of parts C1 and B19. To make handling a bit easier, you may want to leave the seat off till completion of the mount, as it's a fragile assembly, but beautifully (as are all the kit seats) detailed. Take care with the construction of the fuse setters, ensuring the main box like unit is gap free before adding any detail. The ammunition cradles are another of those delicate sub assemblies that need care when handling, due to the many small parts involved. But once complete, is another of those 'wow' areas.
The fire control portion of the kit is next, and once again we're treated to another area of incredible detail. The same advice about gaps and care when handling apply here as well. The Gun sight is made up from a lot of those previously mentioned tiny parts, some of which can be left off till after the main body of the sight (B70, B69, B87, B89) is attached to part C24.
The rest of the fire control system is pretty straight forward, with no traps for the unwary.
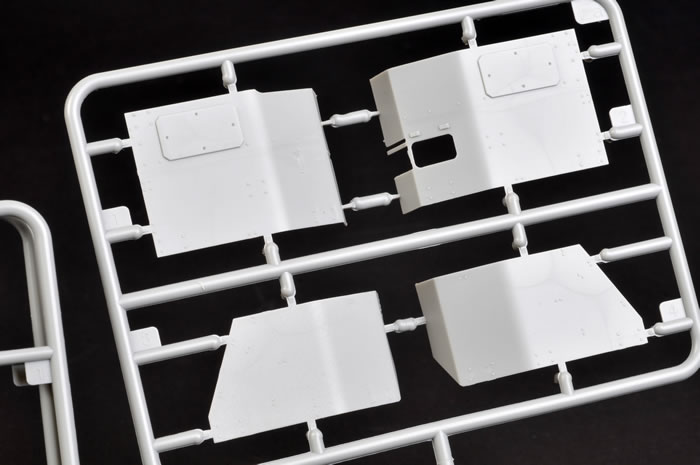
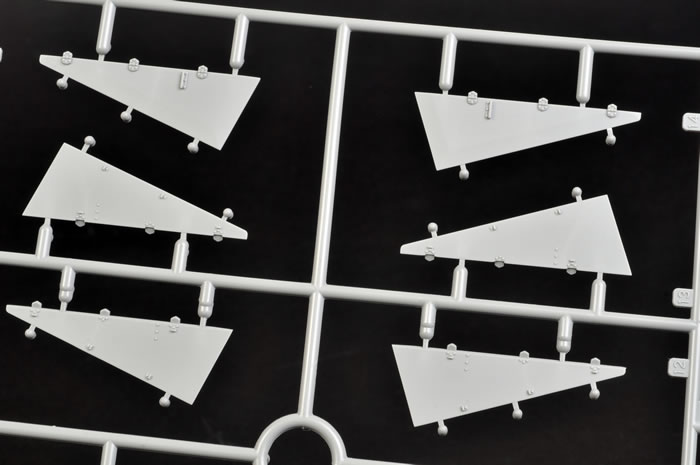
It's at this point, when the gun and the mount are brought together, that you realise just how wonderful the finished unit looks. The shields are pretty well the last stage of the journey, and are very easy to construct. The only area you need to be careful with is at stage 32, where the majority of the parts are etch. You need to decide here whether to depict the view ports open or closed. The only real choice you have left is shields in combat or transport modes. There's six rounds of ammo with etched base plates, as well as ammo boxes and steel containers.
A very nicely detailed range finder is also included, which can be assembled packed in it's box, or in use.
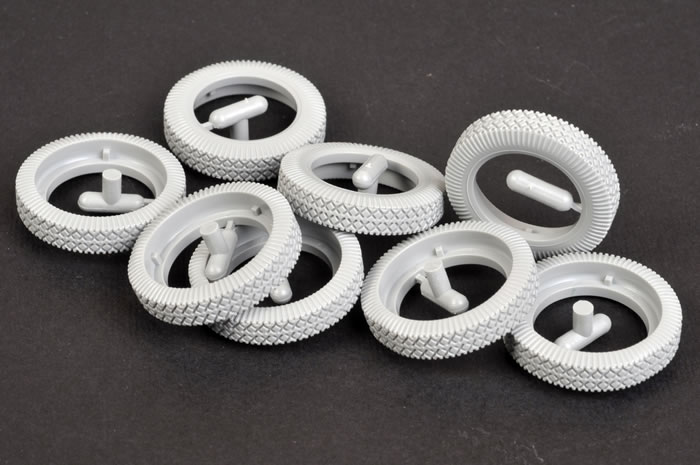
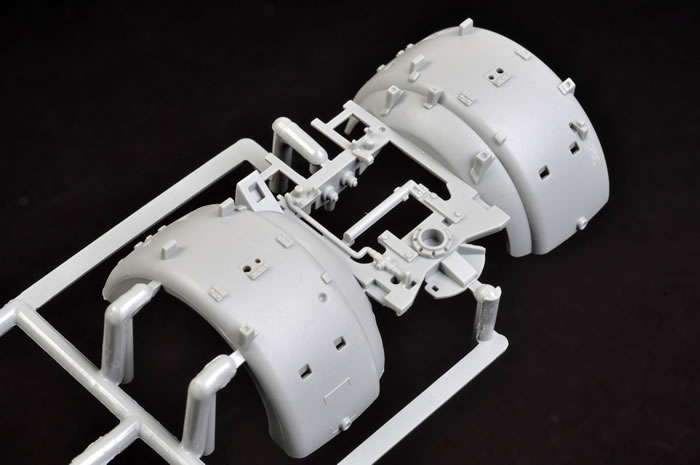
The Sd. Ah.202 trailers are supplied by Dragon and are a great inclusion. Fit of parts is first class, and the finished items add to what is undoubtedly a superbly detailed model.
One thing worth a mention occurs in stage 24, where you're given an option to open holes in parts F33 and F32. These are for the cable drums and mounts, parts for which are included in the kit, but not called out as "not for use', so you may be able to use them if you wish to. I'm not sure if Bronco intended for these to be used, but just in case I thought I'd mention it.
This is just simply a fantastic build with no real issues, and superb attention to detail from start to finish.
Highly Recommended
Thanks to Bronco for the sample
Home
![]() Discussion Groups
Discussion Groups
![]() Gallery
Gallery
![]() Articles
Articles
![]() Reviews
Reviews
Copyright
![]() Vendors Room
Vendors Room
![]() Links
Links
![]() Contact us
Contact us
Copyright www.missing-lynx.com 2013
![]()
Text by
Bill Wiseman
Images by
Brett Green
Page Created 3 March, 2013
Page Last Updated
3 March, 2013