|
|
|||||||||||||||||||||||||||||||||||||||||||||||||||||
|
|
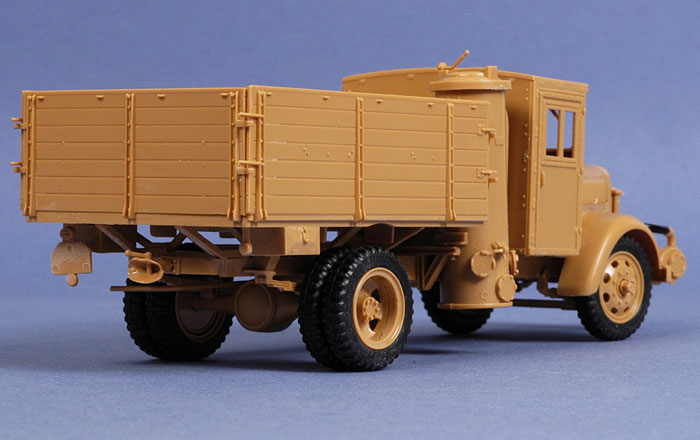
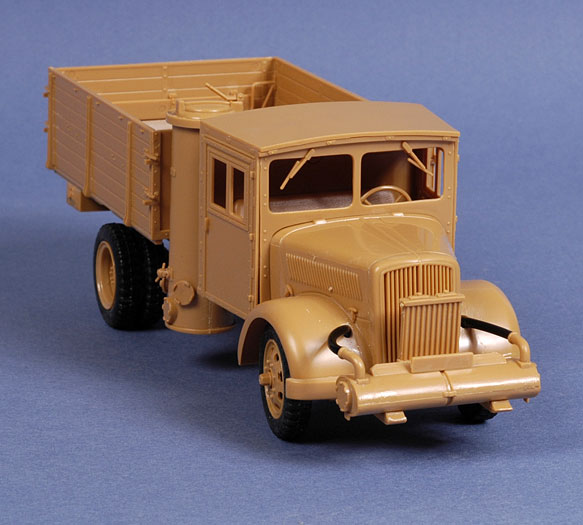
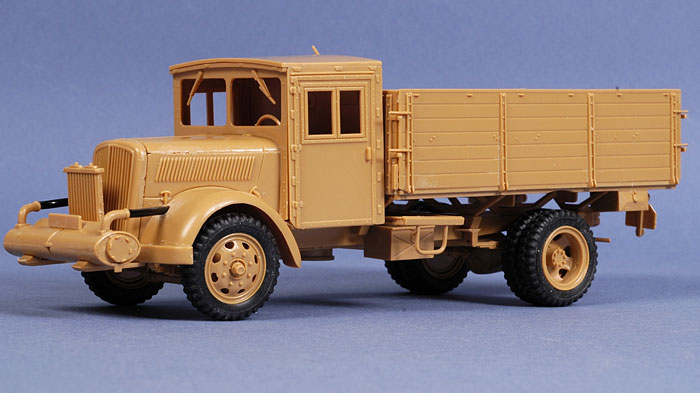
Medium 3 Ton Truck – Coal Engine
Late WW II German Army Truck
Italeri 1/35 Scale
Reviewed by Al Bowie
Summary
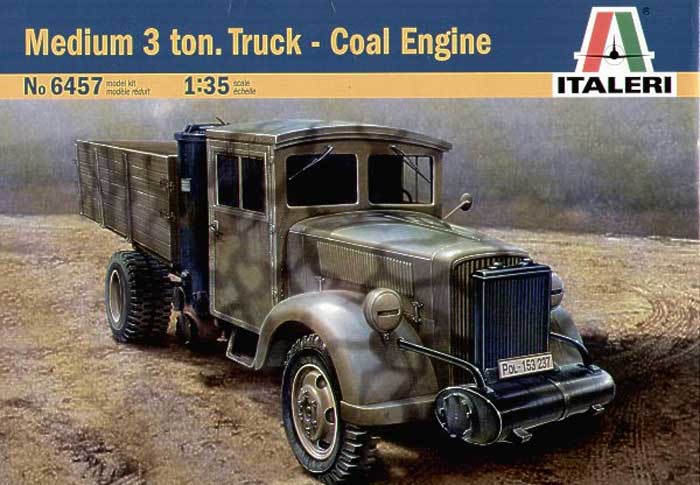
| Stock Number and Description | Italeri 1/35 scale Kit No. 6457 - Medium 3
ton. Truck – Coal Engine Late WW II German Army Truck |
| Scale: | 1/35 |
| Media and Contents: | 151 sand coloured parts with one piece of vinyl hose and rubber tyres on three sprues, 1 clear plastic sprue of windows, decals for four vehicles and 12 page instructions with brief history, parts plan, build diagrams and paint/decal drawings. |
| Price: | TBA |
| Review Type: | First Look |
| Advantages: | First mainstream kit of this well used vehicle. detailed engine and interior; positionable front wheels; rubber tyres. |
| Disadvantages: | Cab doors moulded closed; lots of sink marks. |
| Recommendation: | Highly Recommended |
FirstLook
Model manufacturers have had a love affair with German subjects
since the early 80’s however not many of those companies have
offered softskins or support vehicles, instead offering (seemingly)
an unending stream of heavy metal AFV’s whether they actually saw
service or not. Italeri (and Tamiya) have gone against the accepted
convention and have offered a number of softskins and support
vehicles of the German Army in WW2. This kit follows in the
footsteps of Italeri’s previous offerings and offers a lot of
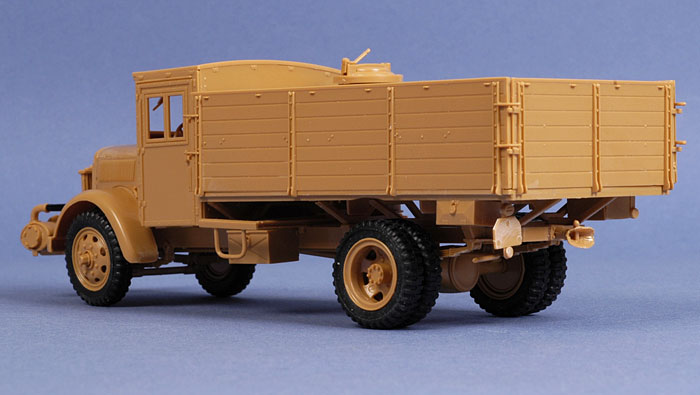
familiar parts. It is essentially a modified version of the wooden
cabbed Opel 4 X 2, the difference being a modified Rear Body, Coal
Burner, reservoir and associated feeds.
When I first opened
the Box I thought I had just been sent the parts associated with the
Coal burner as it did not look like enough parts to build the full
kit; how wrong I was!
Construction was broken into 13 steps in the easy to follow
instructions and I pretty much followed these throughout although
not having painting facilities I have built the kit in subsections
to allow for painting after it is completed.
Click the thumbnails below to view larger images:
|
|
|
||
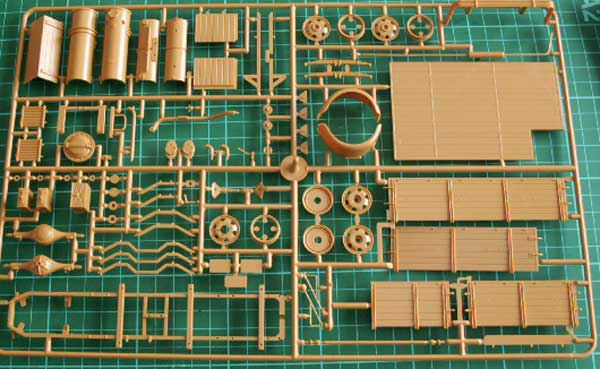
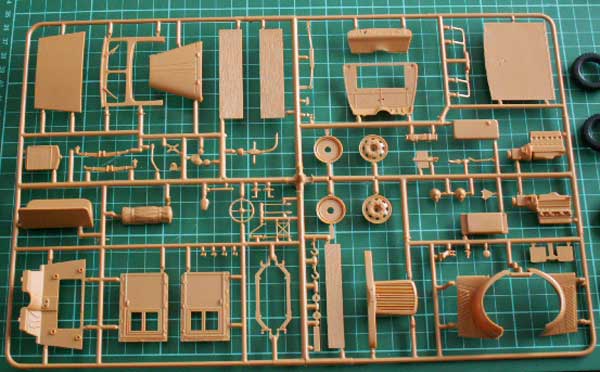
Step 1: This covers the building of the Kfz 305 chassis which, those of you not familiar with italeris German Trucks contains a reasonable facsimile of the engine. The only part I found a problem with was part 53A – the driveshaft which appears to be about 2mm short. This could be caused by parts 25& 6 A – leaf springs being reversed inadvertently but I don’t believe this to be so. As I had already glued these I just made do. There were a lot of knock out marks on the chassis rails which I declined to fill as they won’t be seen when the body is fitted and the chassis rails weathered.
Step 2: This covers the Wheels and body support rails which caused no particular problems. The tyres are in a very soft rubber with no sidewall detail, manufacturers names etc. I used a very sharp no 11 blade to remove the sprue point. They will not accept sanding due to the softness and a scrape with a scalpel should suffice to remove mold marks (quite subdued).
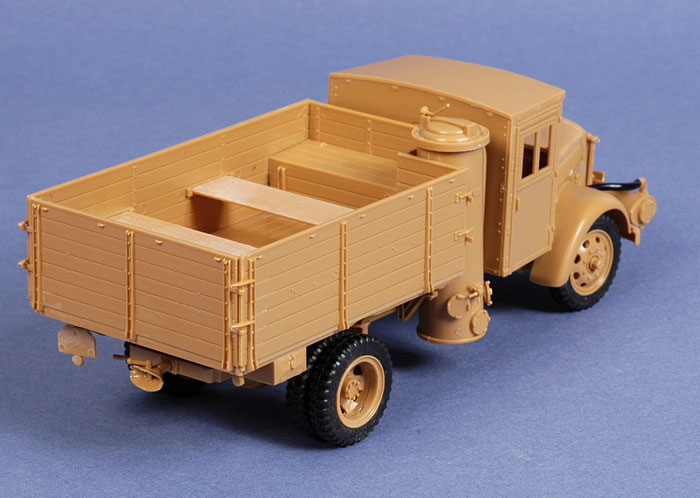
Step 3, 4 & 5: I wished I had a third and more preferably fourth hand during this section which covers the construction of the Rear Body. Some more positive locating tabs or interlocking joins may have made this an easier process. If I was building another I would use superglue to tack parts in place. I eventually found it workable to assemble the sides in the following order: 56A,54A, 57A, 55A, 7A&6A.
Note: step 4 is the alternative body which would have you cut the sidewalls to get a lower rear body. If you plan on doing this do it prior to step 3.
Step 6: The Body is attached to the Chassis in this section and the support rails for the Coal Burner reservoir are attached at this point. The mounting location is a bit vague so ensure your Reservior fits before finalising its position. You may want to fill all the knockout marks in the interior walls in this stage as it is hard once assembled. A good way to halve these is to exercise the option in Part 4
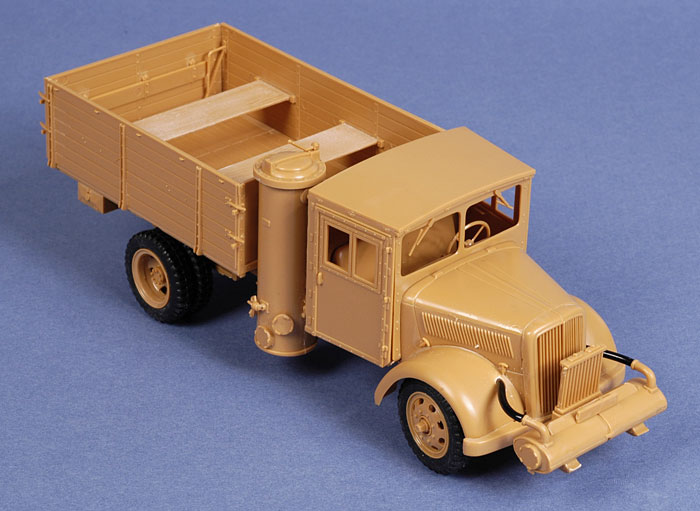
Step 7: We assemble the Coal Reservior here and fit it to the vehicle, no great problems were encountered although I found the instructions a little vague in this area. I Did not glue this in as I am leaving it free to paint at a later stage.
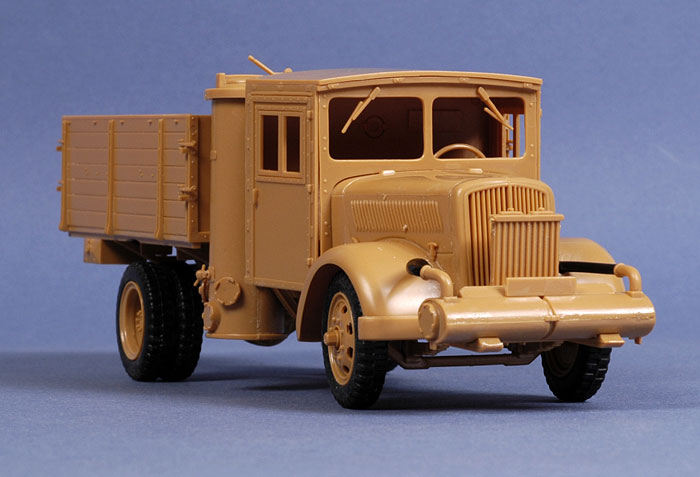
Step 8: This is the Bonnet, grille and Fenders assembly and the part I found the hardest to assemble. I’m wondering if I found as hard when I built the original Opel as a Teenager in the 70’s. Four hands are a distinct advantage here or low tack sticky tape. I had great problems keeping it all together and square. There are a few little gaps left over but nothing drastic. I chose not to add the clear window insert so that I could paint it later. Do not forget to open up the holes in the fenders to allow the vinyl hose to pass through in later stages.
Step 9: The rest of the cab is added to the Bonnet assembly with no particular problems other than needing four hands.
Step 10: The cab interior is added to the finished cab and detail parts such as bonnet clips, Lights and mirrors are added. I chose not to glue the cab floor to the cab to allow for later painting. The carpet monster got the handbrake at this stage and a scratchbuilt alternative will have to suffice.
Step 11 & 12: This is where you add some plumbing to the Coal unit assuming you have opened up the holes in the fenders. The spare wheel and jack are added to the Rear body but there are no locating marks or holes (no problem really)
Step 13: Construction finishes with the Coal gas unit on the fender and the rear body detail parts – no great problems here.
Marking Options:
Markings are provided for Six version (look carefully at C for D and E for F):
- Version A – Unknown unit Italy early 45 in RLM 79 with RLM 82 wavy pattern
- Version B – s.Avt.abt. (mot) 764 Bologna italy early 45 in a three tone scheme
- Version C – Wehrmacht 1944 in plain Sandgelb RLM 79
- Version D – Reichsarbeitdienst 1994 in plain Sandgelb RLM 79
- Version E – Todt Organisation 1944 in plain Sandgelb RLM 79 &
- Version F – Polizei 1944
Conclusion
This is a good sound kit but the base parts are showing their age (the original Opel was released in the 1970’s) compared to the latest überkits from DML and Tamiya. It doesn’t have the engineering of a Tamiya Kit or the fine detail of DML but it is more than acceptable, which is testament to how good Italeri were in the 1970’s.
I applaud Italeri for this release as these vehicles were plentiful in the later years of the war as fuel got scarce, and German softskins are scarce in mainstream production.
I don’t normally build many German subjects but like the more fringe subjects and this falls into that category filling a niche in the market. A large number of these vehicles were used post war so a myriad of subjects are available and the Coal unit could be adapted to other Italeri Opel/Mercedes kit further broadening subject material.
I thoroughly enjoyed this kit and it builds into an attractive model out of the box requiring nothing more than basic modelling skills. I’d recommend this kit to fans of German subjects and particular German Transoport. Full marks to Italeri for providing this genre. This is one of those subjects you may wish to try to get you out of a modelling rut. It is certainly a different build from a myriad of M4 variants that sit unfinished on the workbench!
Recommended.
Click the thumbnails below to view larger images:
|
|
|
|
|

Thanks to Italeri for the sample
Home
![]() Discussion Groups
Discussion Groups
![]() Gallery
Gallery
![]() Articles
Articles
![]() Reviews
Reviews
Copyright
![]() Vendors Room
Vendors Room
![]() Links
Links
![]() Contact us
Contact us
Copyright www.missing-lynx.com 2007
![]()
Text by Alistair Bowie
Images by Brett Green
Page Created 03 August, 2007
Page Last Updated
03 August, 2007