|
|
|
|
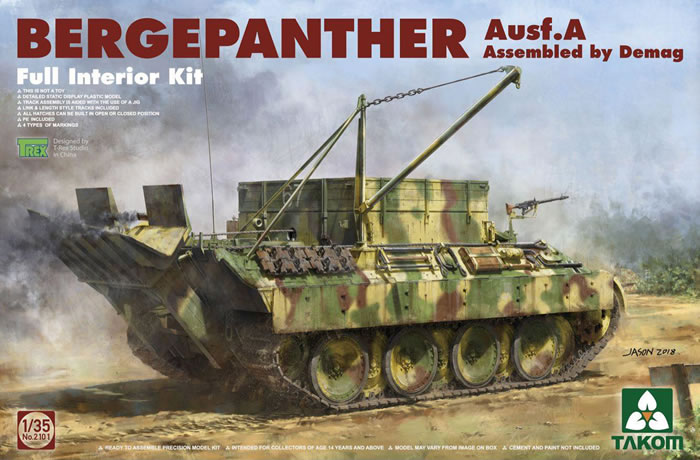
Bergepanther Ausf.A – Assembled by Demag
Takom, 1/35 scale
Reviewed by James Hatch
Summary
| Stock Number and Description | Takom Kit No. 2101 - Bergepanther Ausf.A – Assembled by Demag |
| Scale: | 1/35 |
| Media and Contents: | See details below. |
| Price: | TBA |
| Review Type: | First Look |
| Advantages: | Excellent detail; high quality moulding; first-class surface textures; many useful options. |
| Disadvantages: | |
| Recommendation: | I put this as perhaps being the best Panther/Panther-relative kit that Takom has yet produced. It has everything in that it’s one of the most detailed 1/35 models on the market, plus the esoteric-factor. . |

B a c k g r o u n d
The Bergepanther was an armoured recovery vehicle version of the "Panther" (Sd.Kfz. 179), often referred to only as "Bergepanther". The idea of a modified Panther emerged in 1943, due to problems in the recovery of heavy and medium tanks. The half-track vehicles previously used for salvaging, were rarely able to successfully recover a Panther or Tiger. Using another Tiger or Panther as a tow vehicle was also strictly prohibited, as this could result in the loss of both tanks.
The first Bergepanther to be completed was based on the Panther Ausf. D, in which the turret was left off by the manufacturer (MAN). Henschel, Daimler-Benz and Demag (Deutsche Maschinenbau-Aktiengesellschaft) eventually took on Bergepanther production. The crew consisted of at least three soldiers, with two of those operating the newly installed salvage apparatus. Where the turret was originally installed, was now a square wooden and metal structure which sat atop the new internal winch, with a 40-ton tow capability. A large sponson fitted to the stern, served as support. The Bergepanther was quite reliable and could be used even under enemy fire because of its armour protection. From 1943 to 1945, about 339 Bergepanther all types were built by MAN, Henschel, Daimler-Benz (Factory Berlin-Marienfelde) and Demag.
Adapted from Wikipedia.de
F i r s t L o o k
With the abundance of Panther kits that seem to have swamped the market this year, I somehow get the feeling that the turretless Bergepanther is what many modellers have really wanted to see. Whilst we have indeed had the Bergepanther in 1:35 before, from ICM/Revell, and Italeri, these kits stretch back in origin between 13 and 25 years respectively. A modern tooling of this is what was seriously needed, so I can indeed understand the excitement in the armour-modelling community. This kit is based on the 2018 tooling of Takom’s amazing Panther kit releases, and even better, Takom has just released this in both Ausf.A and Ausf.D flavours. Today I’ll be looking at the Ausf.A version. We have also been sent the other kit which will be reviewed in the very near future by Jeroen Peters.
Takom seem to be the masters of very cool box art when it comes to armour kits. This one shows a sort of rear, three-quarter view of this unusual vehicle, obviously chosen as you can see all the general modifications from that angle. Even without the turret and interior, this kit packs a serious plastic punch with its new winch and wooden upper hull structures, etc. In fact, opening that lid will prove what a task it will be to get all of the styrene back in the box, once removed. It took three attempts for me after completing my photography.
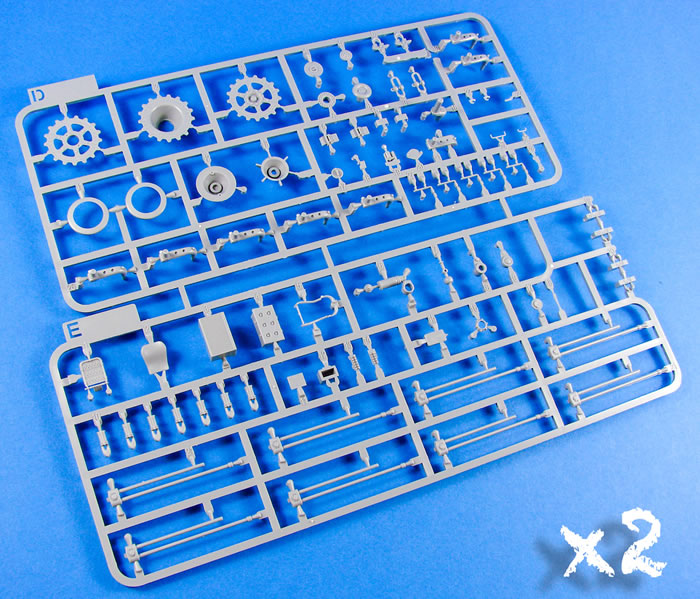
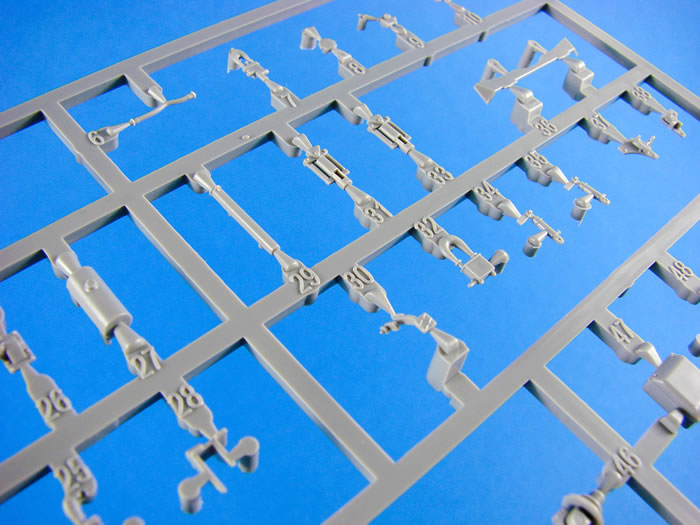
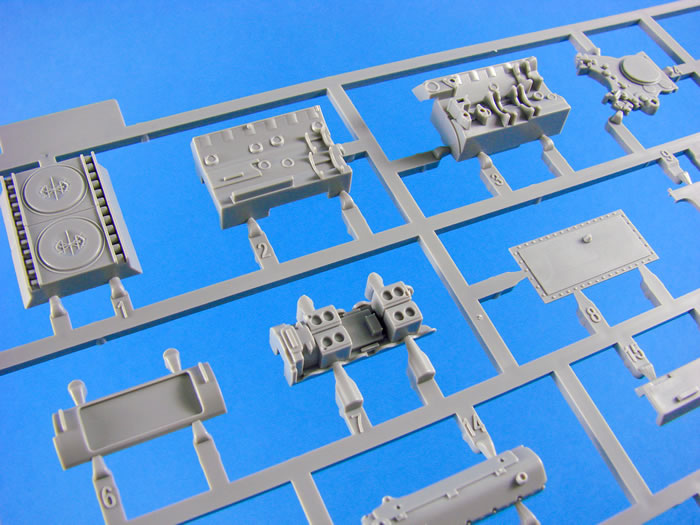
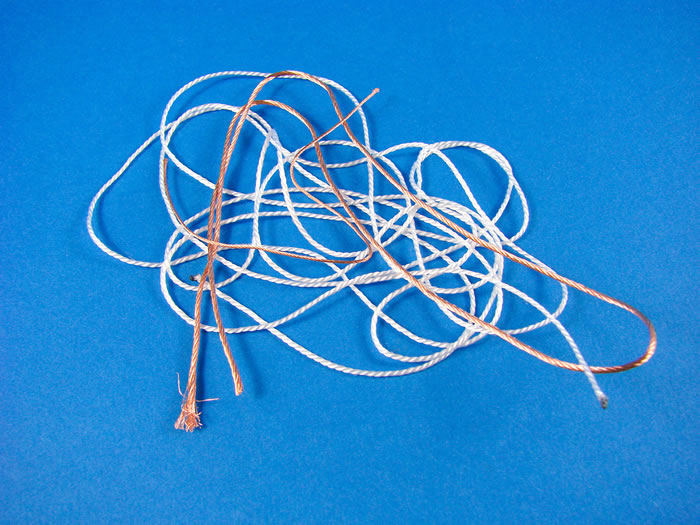
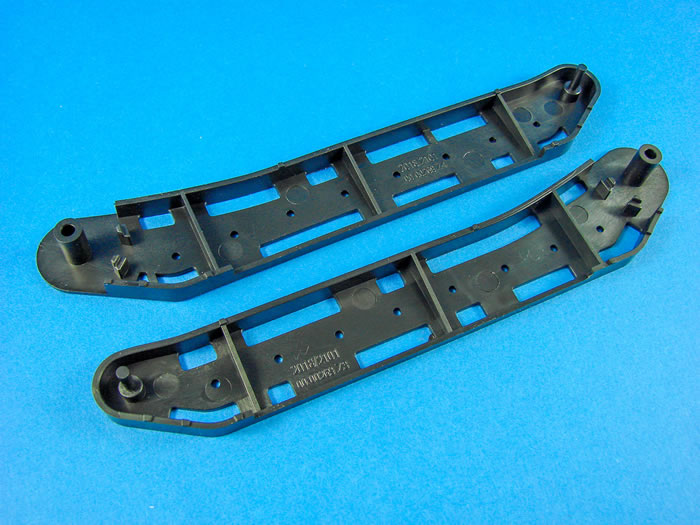
In total, this kit contains 25 sprues of light grey plastic, one upper hull moulding, one photo-etch fret, braided copper wire, two sizes of metal chain, nylon cord, and a single decal sheet. All sprues are individually bagged except for the multiples. The remaining, whilst occupying the same sleeve, are folded over on themselves so the contents don’t foul each other. Lastly, two black plastic track assembly guides are supplied. These also serve as alignment tools for the swing arms.


As with the previous releases, this new Bergepanther also has a full interior. For clarity, areas of this review will mirror that of the previous, with the exception of the new sprues. I feel this is a better way to present this article instead of just showing you new parts and then having to run off and read about the standard Ausf.A sections.
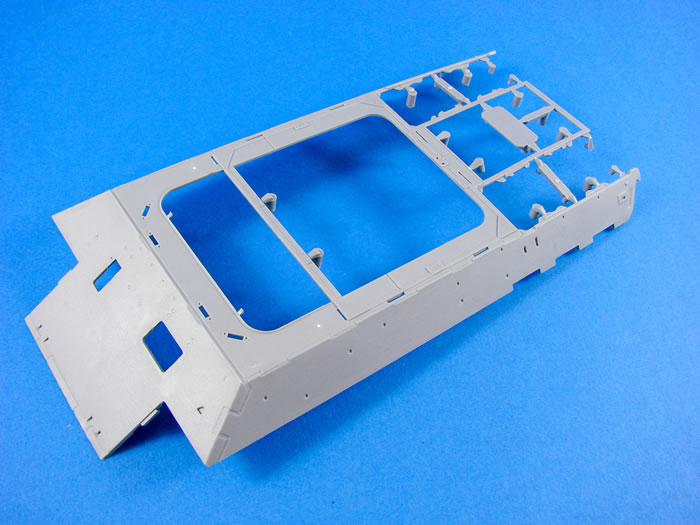
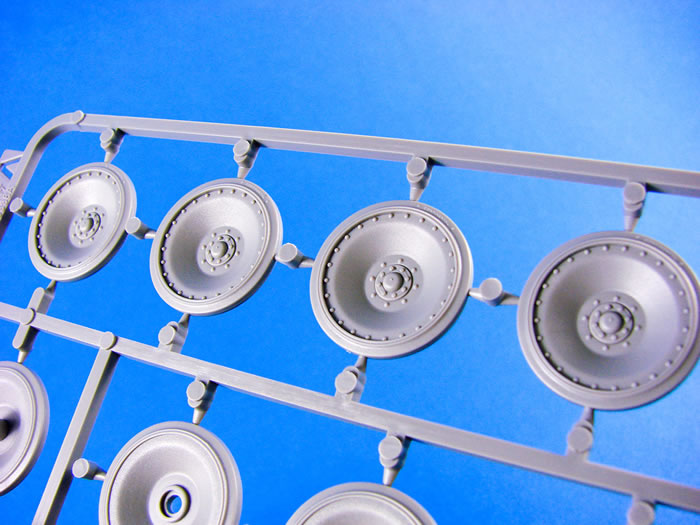
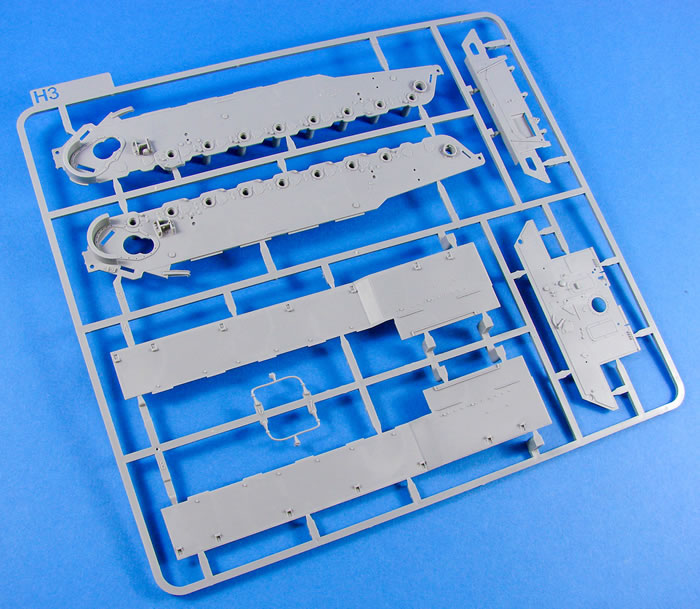
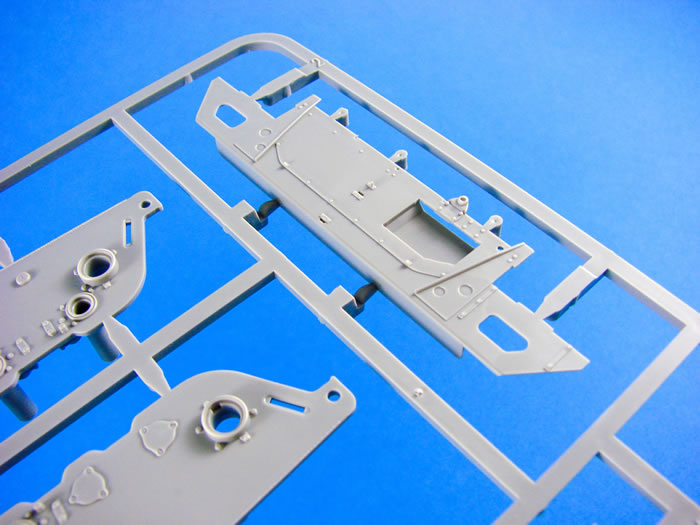
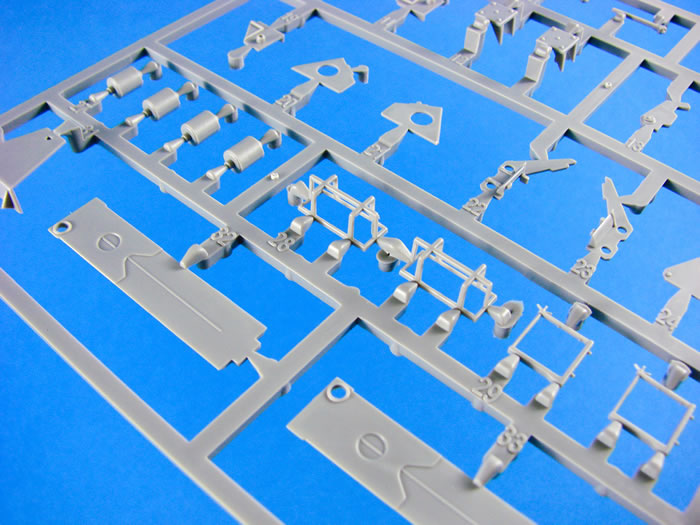
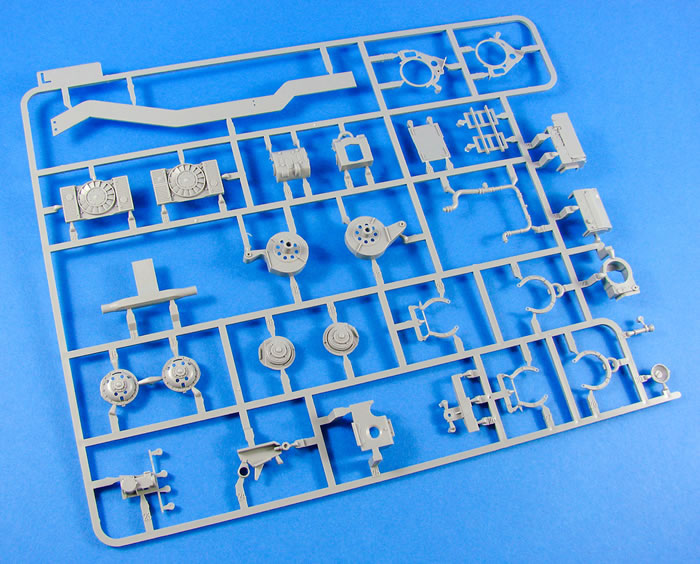
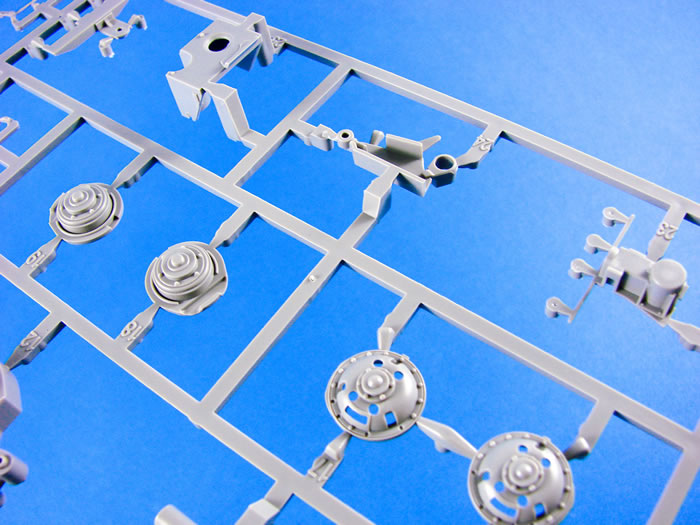
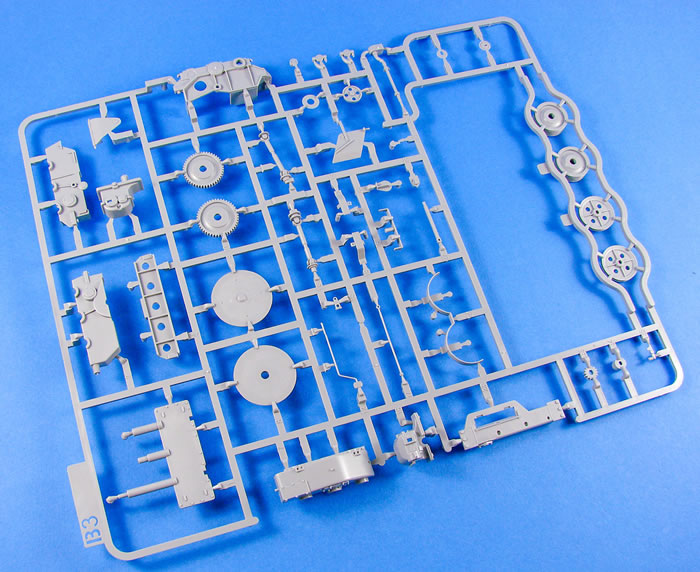
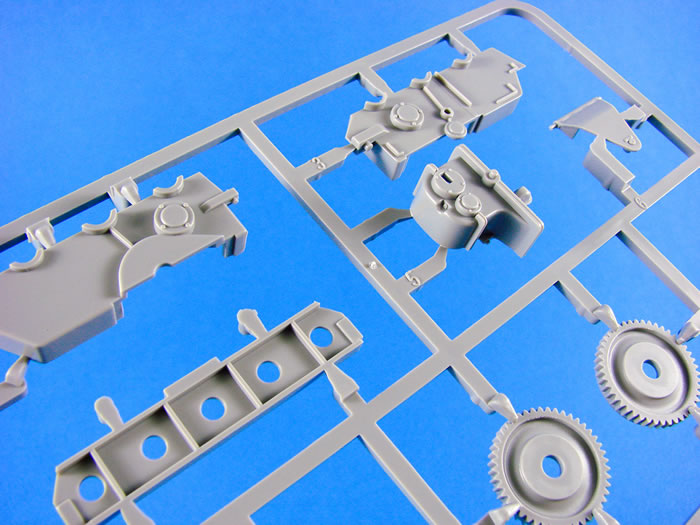
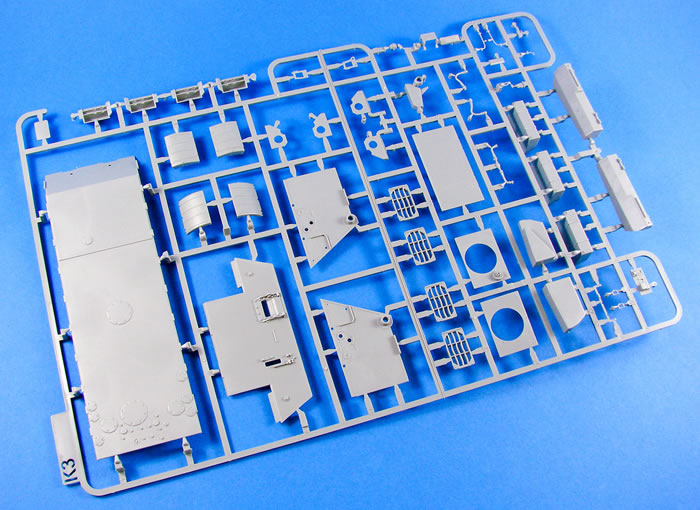
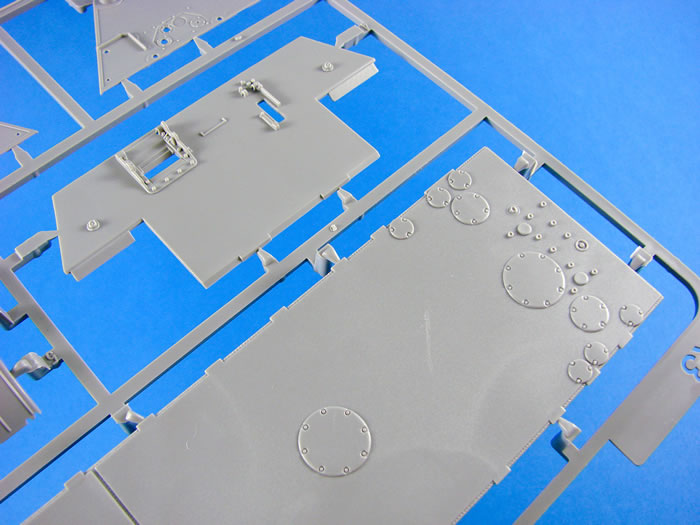
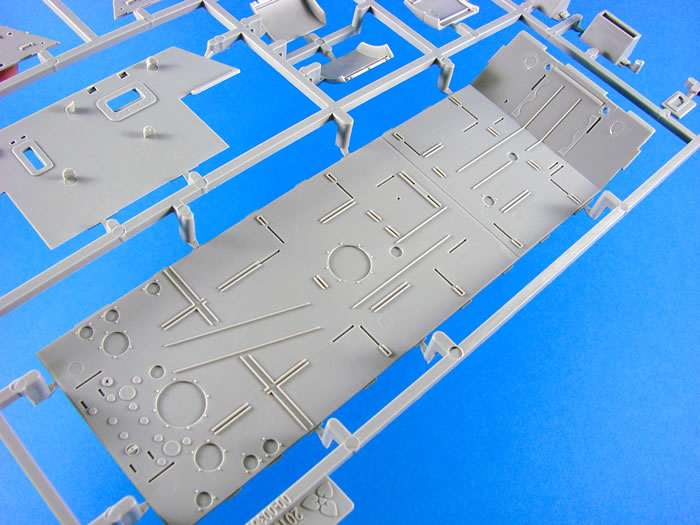
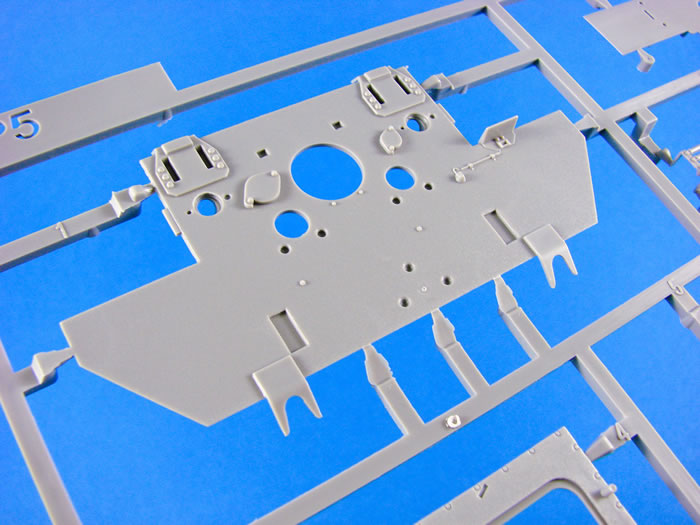
A quick look around the kit contents and you’ll notice a lack of the usual bathtub-style lower hull. For their Bergepanther releases, Takom has chosen to break down everything into constituent components, such as the hull floor, hull sides and forward lower glacis, although the latter is fitted to an inner plate that is connected to the floor. The reasoning behind this is to make everything as accessible as possible to the modeller as they progress through these easy hull construction stages where the frames, transmission, brake drums and torsion bars are to be fitted. Unlike Rye Field Model, Takom provides the lower hull frames as plastic parts, as opposed to their competitor who supply these in photo-etch. Both options work great for me, with perhaps the plastic parts being easier to fit and align. They are also moulded, as with the rest of the interior, with huge finesse. My test assembly of the initial release proved that this is a superbly engineered and moulded kit that should present no problems, provided you follow the chronology.
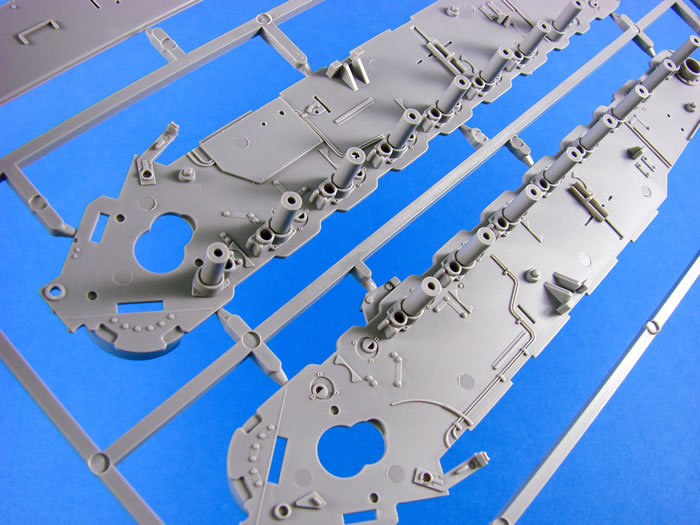
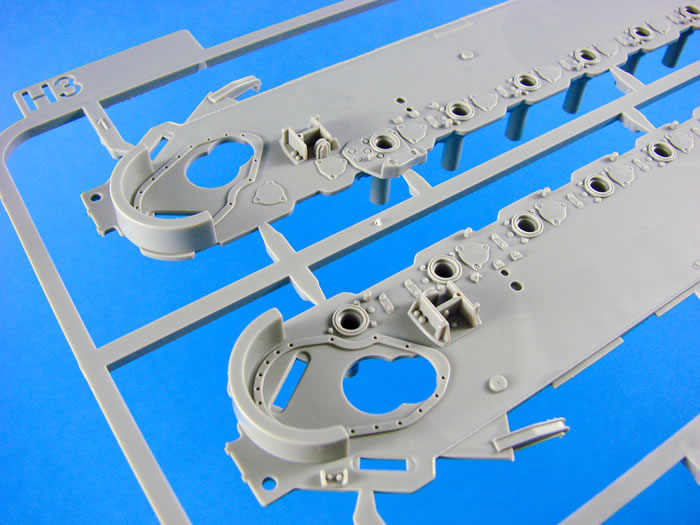
A few very light ejector pin marks are found here and there, but these seem to be hidden by subsequent construction. Before the sides are fitted to the hull floor, they are fitted out internally with the brake drums etc. These side plates are moulded with the torsion tube sleeves in situ, so there shouldn’t be any wall to wall alignment issues. With the walls complete, these glue into place. Takom would have you insert the torsion bars before this, and as they don’t extend to the hull exterior, it might be wise to do as they say, but dry fit them in case you have any minor alignment issues that could arise from gluing them in place from the start.
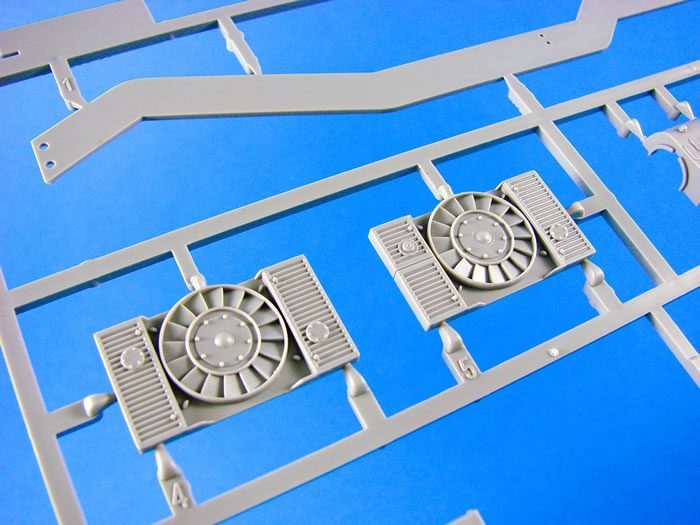
The swing arms are next to be fitted, and to help with absolute positioning, two plastic jigs are included. These have alignment holes for the swing arm axles to fit into. Takom hasn’t designed this kit to have articulated swing arms, so if you want to pose the model whilst sitting on uneven ground, this is the time for you to look at that and mock things up for later.
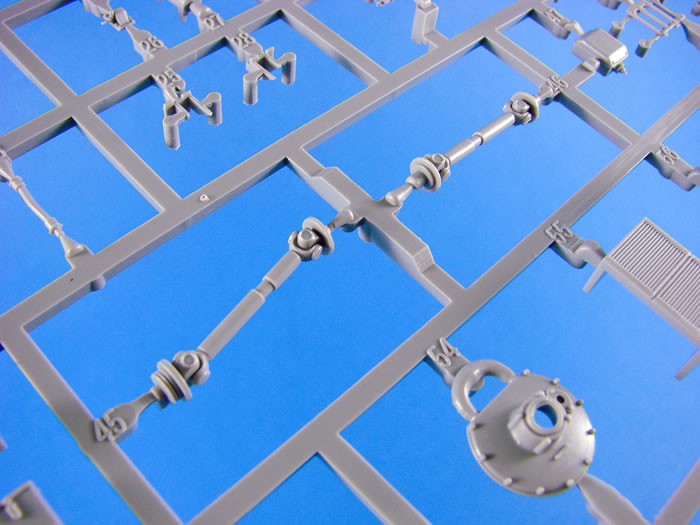
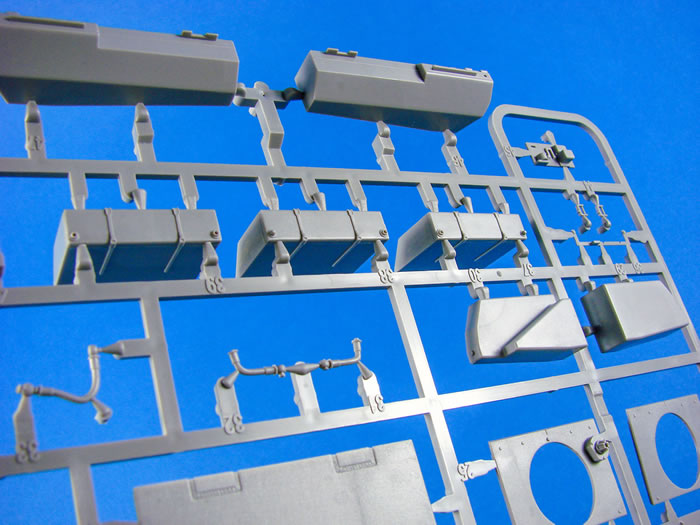
It’s now the time for the interior to be fitted out, and this is no quick task, even with the lack of ammunition/storage in the Bergepanther. Even without the many ammunition shells and their storage racks, you still have what is probably one of the busiest detailed interior that I’ve seen in any kit thus far. Work progresses with the installation of the crew seats (moulded rear spring detail unlike the PE of the RFM release), interior walls and bulkheads, radio sets, drive shaft. No turret floor is fitted to this machine as even this element was removed during the conversion process.
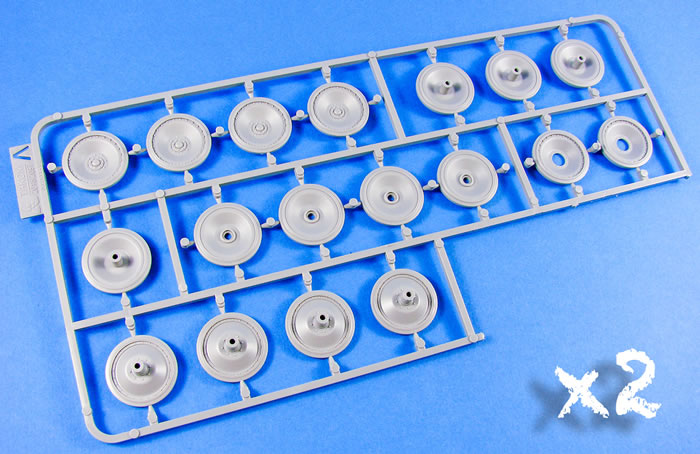
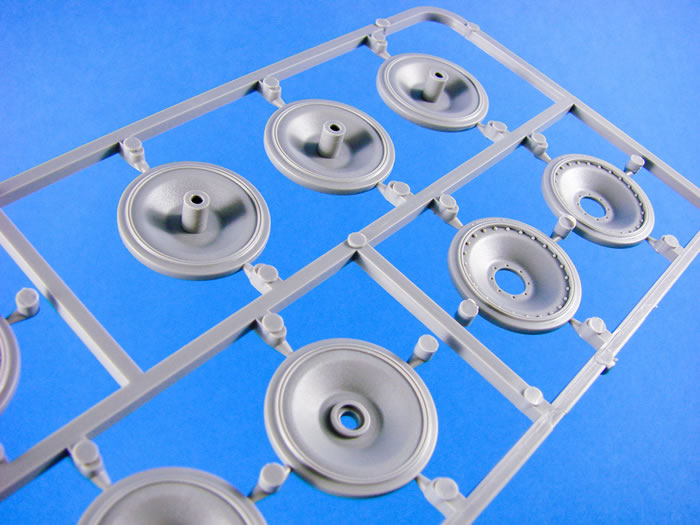
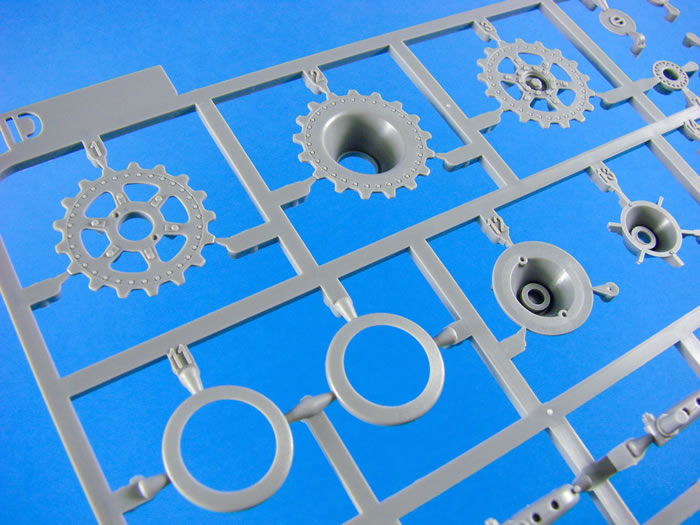
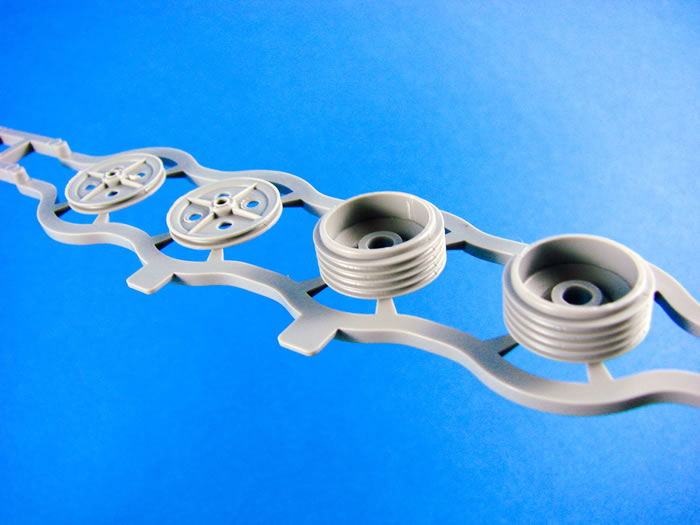
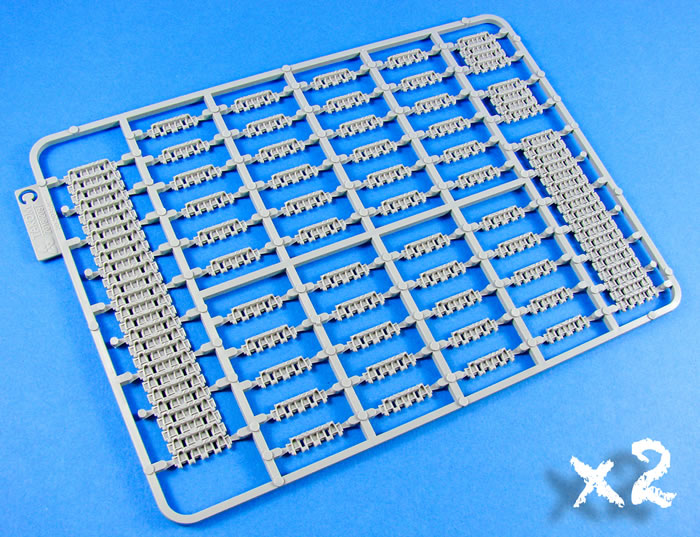
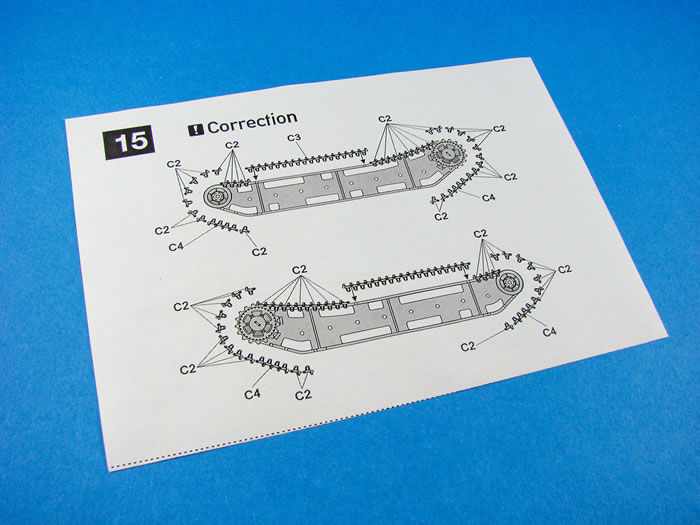
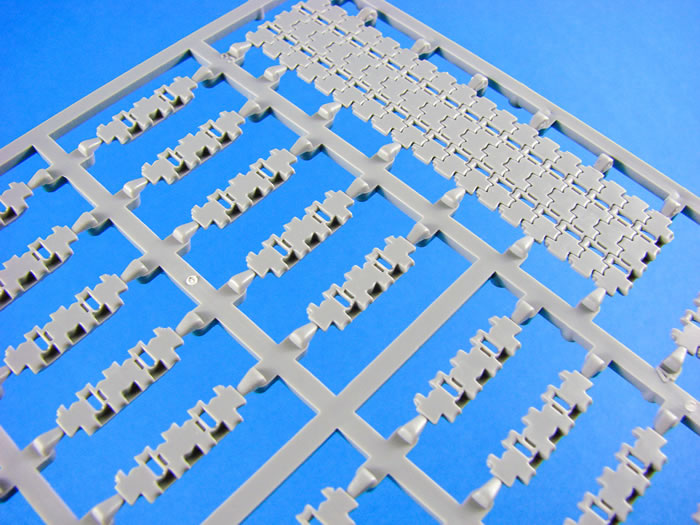
I hope you didn’t throw away the swing arm guides as these are now used to create the shape of the tracks. Onto the guides will plug the drive and idler wheels (no glue!) and then the tracks can be formed over the curves of the guide, with the drive/idler/track assembly being transferred to your lower hull.
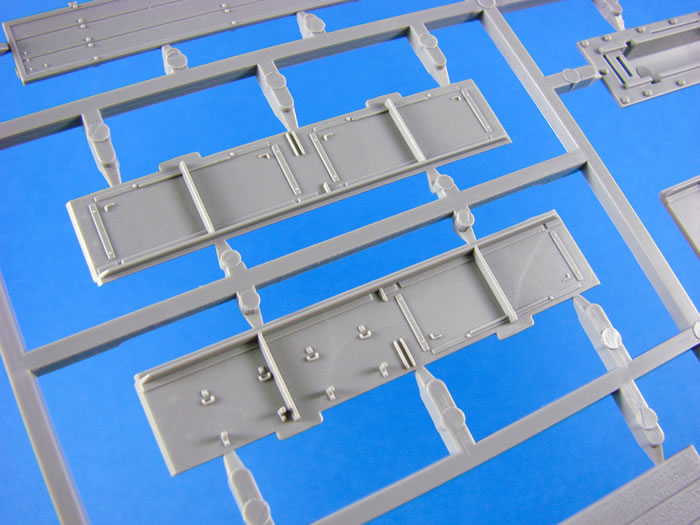
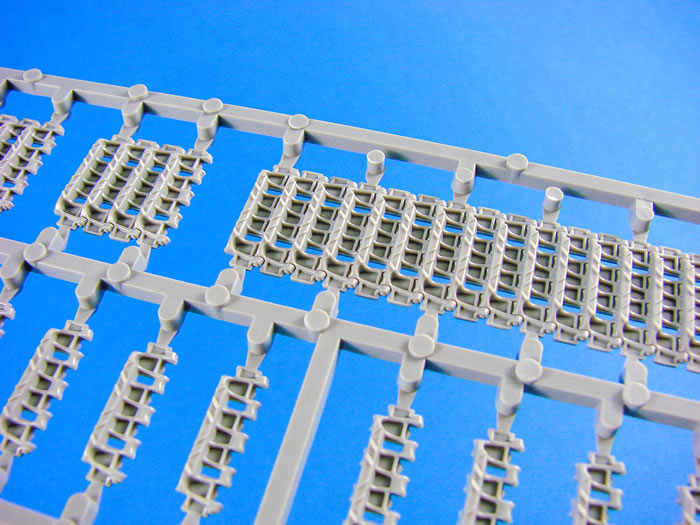
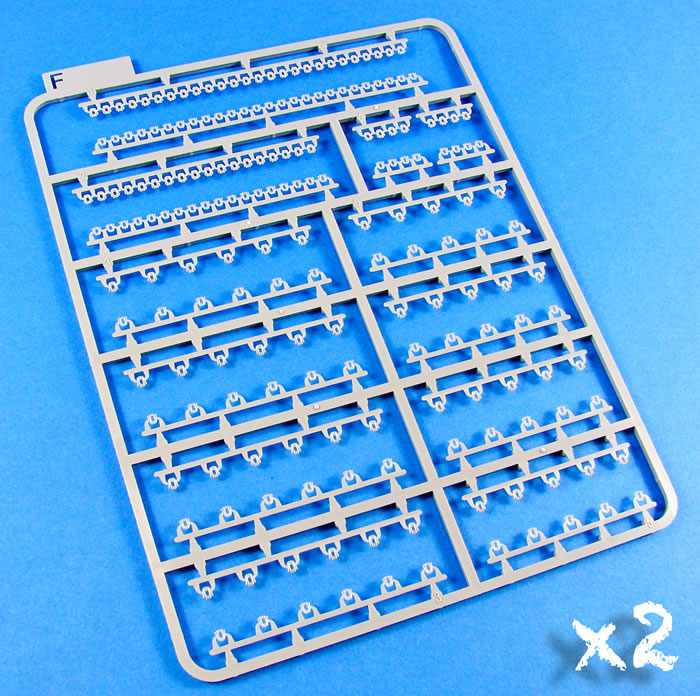
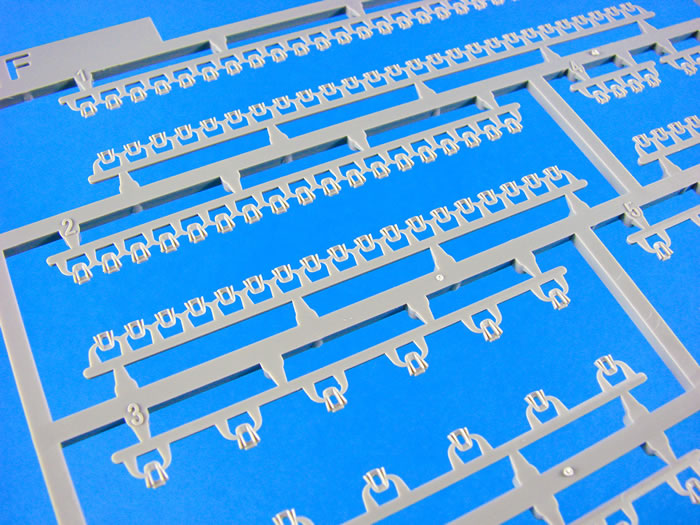
Four sprues of track links and associated parts are included, incorporating several completed sections of track, along with many separate links. None of the track links have moulded horns. These are provided as separate parts that are moulded to a tree that you install as a single piece, and then when dry, snip away the tree from the tracks. That’s a smart move that will save some swearing. After building the demonstration model, I can tell you that the tracks assembly without any trouble whatsoever.
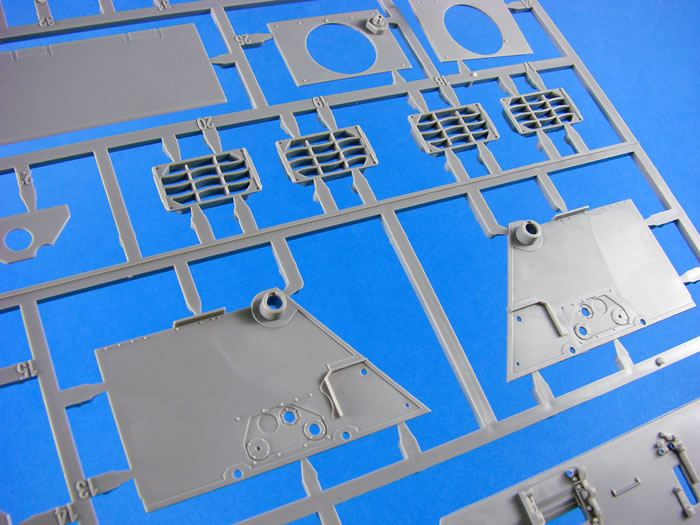
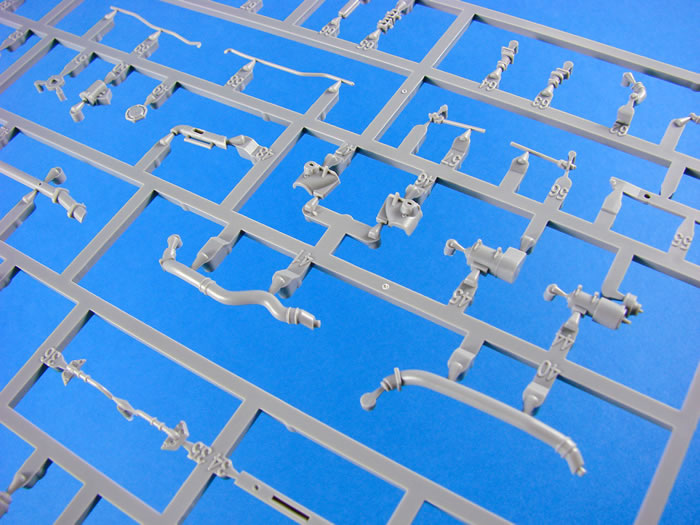
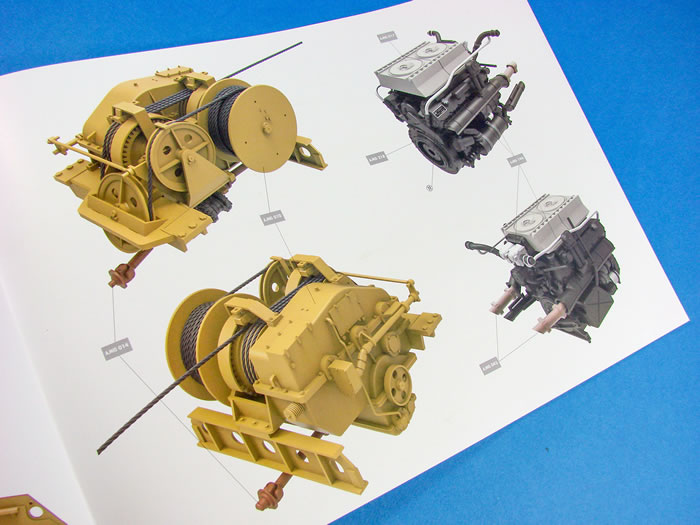
The Bergepanther’s Maybach engine is faithfully reproduced and is a project in itself, complete with its plumbing that interconnects to the engine bay walls. This, along with fuel tanks, engine cooling apparatus and more internal framing. This is a model for which you will need to carefully plan each painting and weathering stage ahead of getting to that part. You will need to ensure careful and accurate alignment of the engine for it to be able to mount properly and accept the plumbing. It’s a very cramped compartment back there!
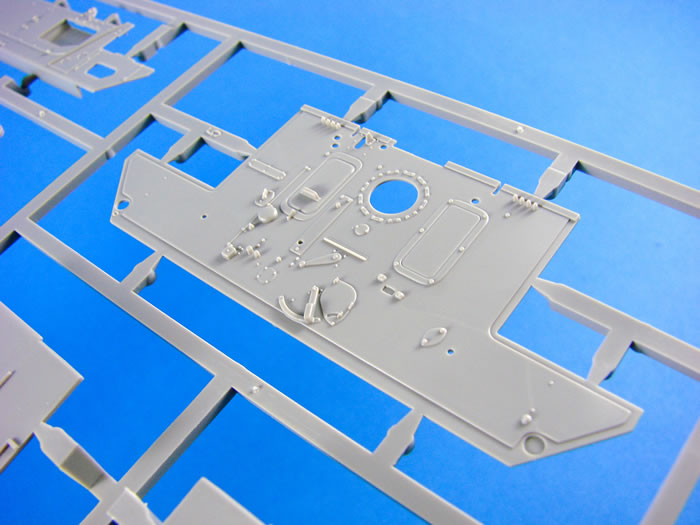
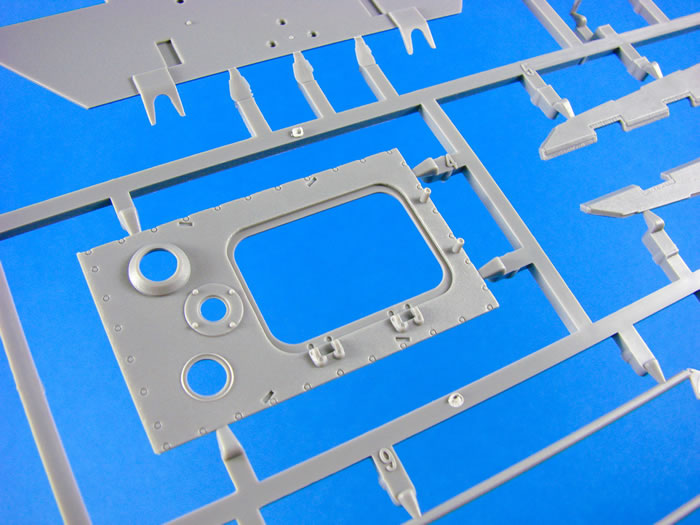
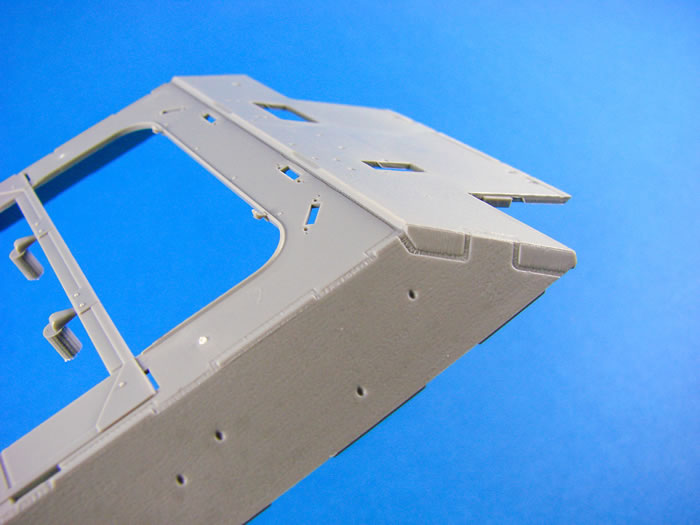
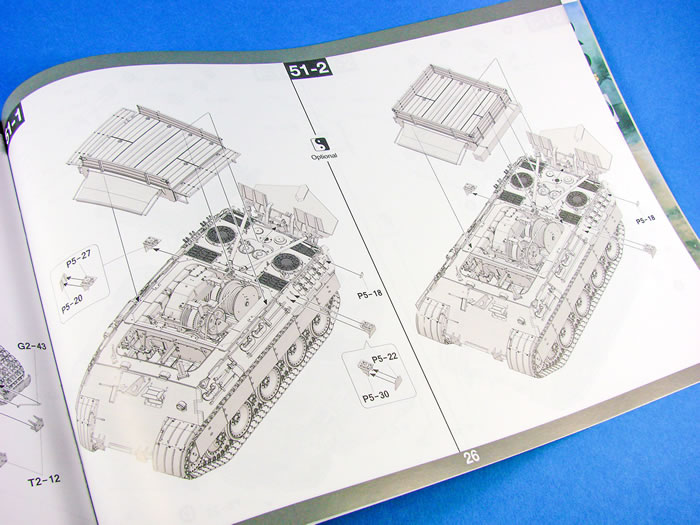
A single-piece upper hull is included with sections missing for the crew compartment, engine and engine cooling. These are moulded as separate parts, thus maximising the opportunity to show the interior of the model to its fullest potential. Even so, you would still be limited, under normal circumstances, to pose these off in any realistic way. The best plan with the Bergepanther would be to leave the wooden structure un-glued so that it could be viewed by lifting it off. The driver access plate on the upper hull, won’t be fitted to the Bergepanther, allowing a minimum of immediate interior visibility as it will still be somewhat hidden under the tarpaulin that extends from the front of the wooden structure. A bit like an early version of a sun-roof!
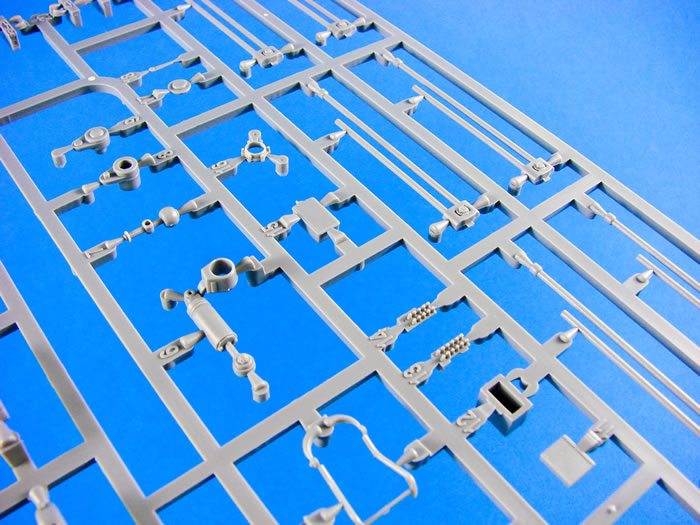
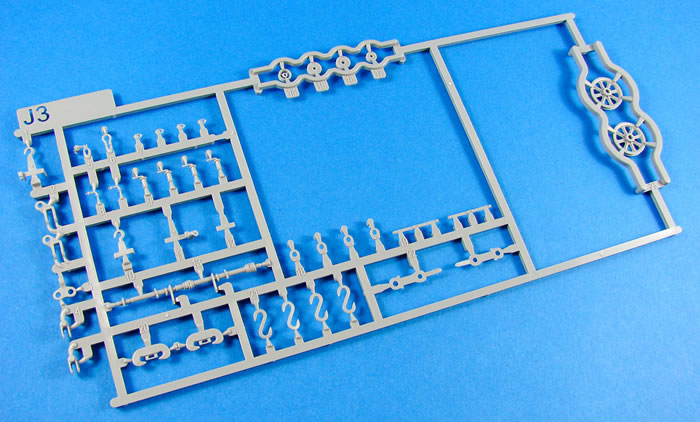
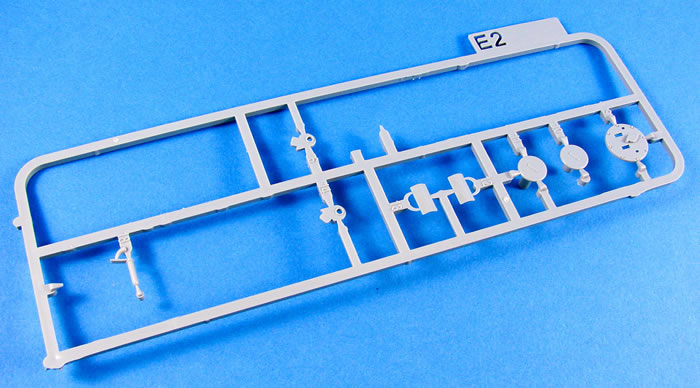
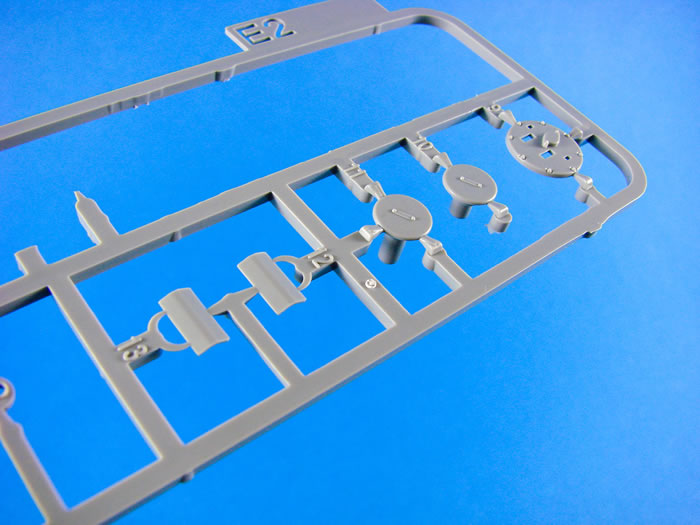
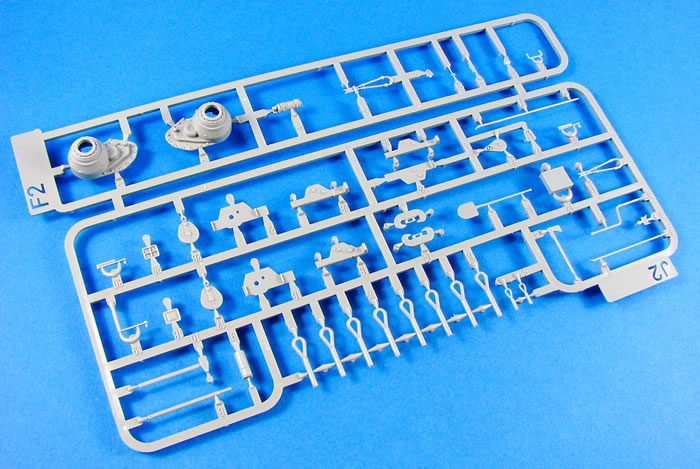
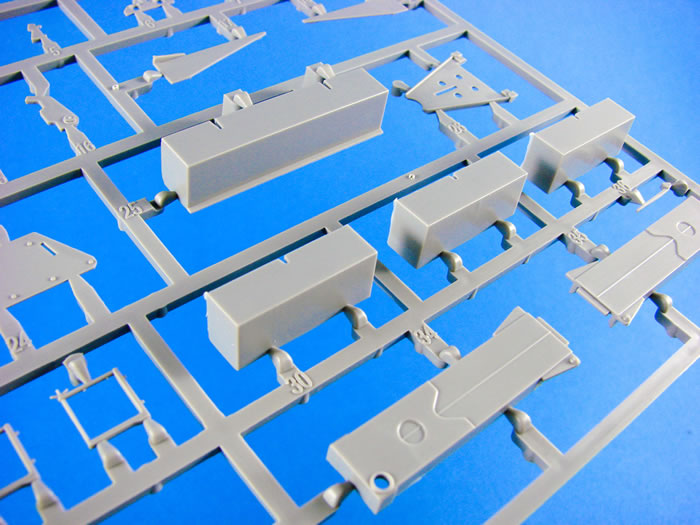
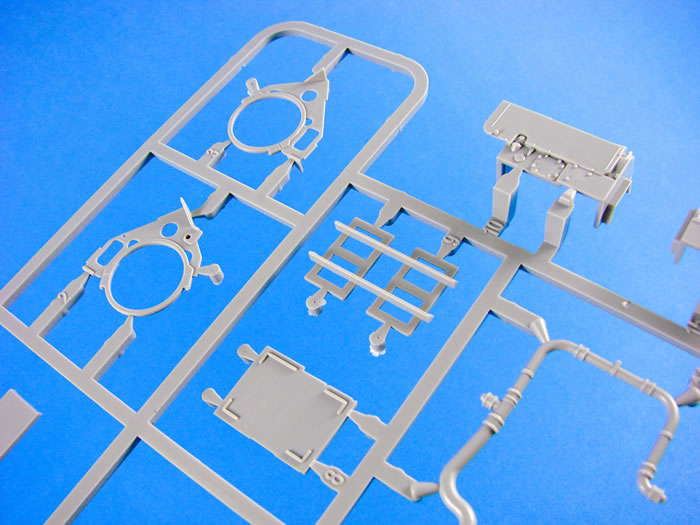
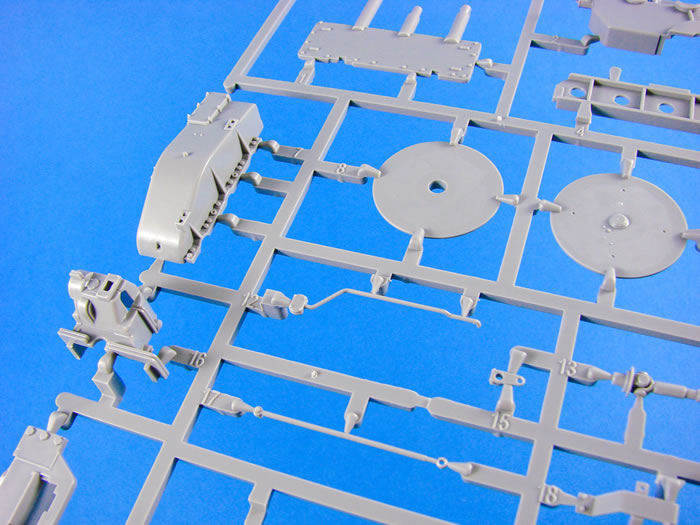
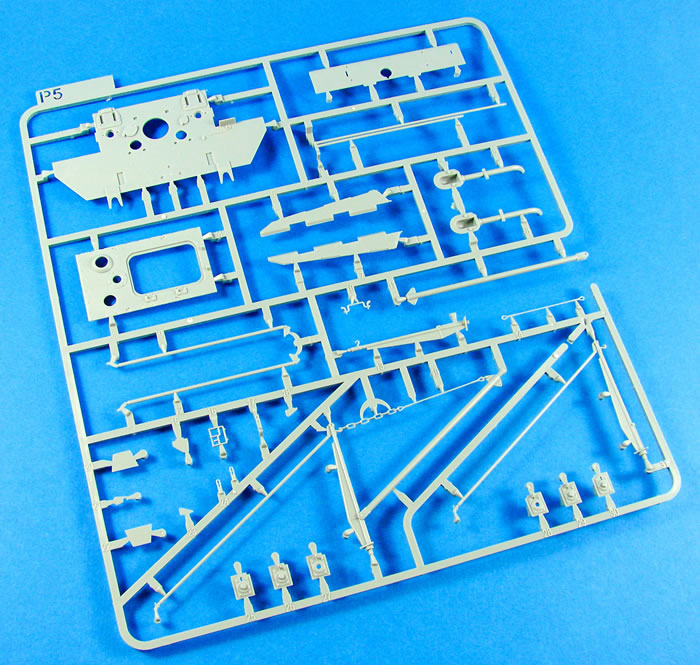
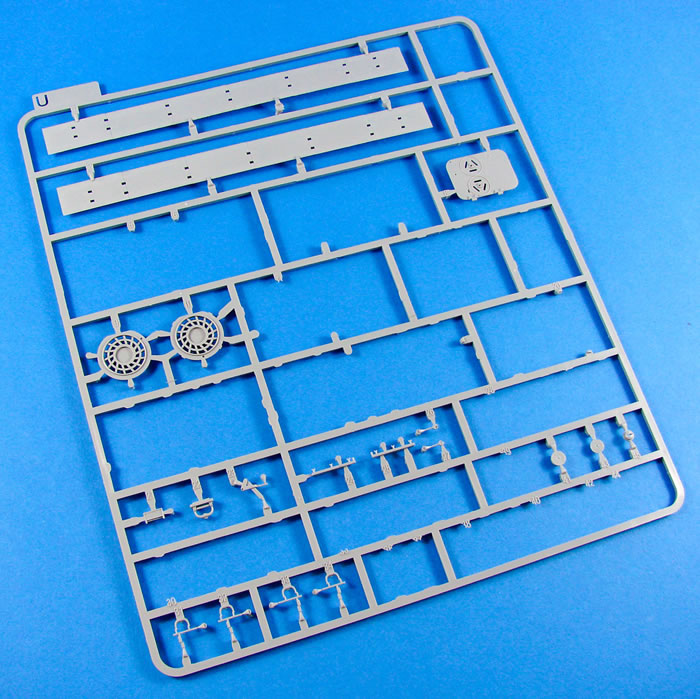
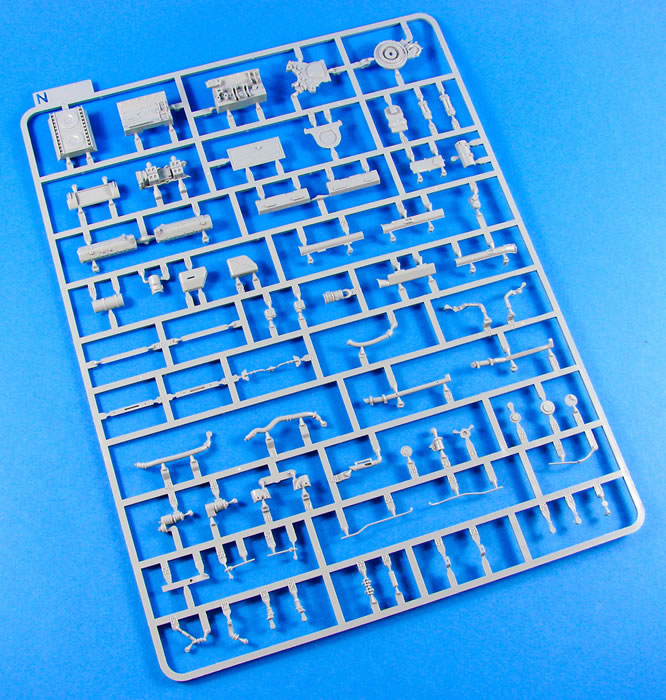
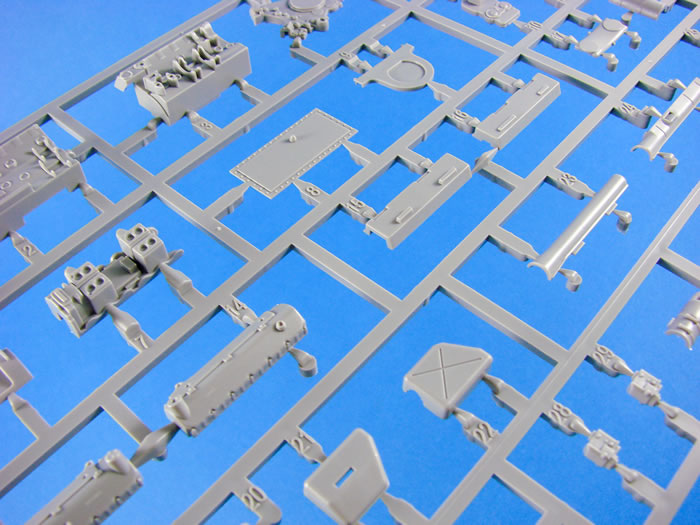
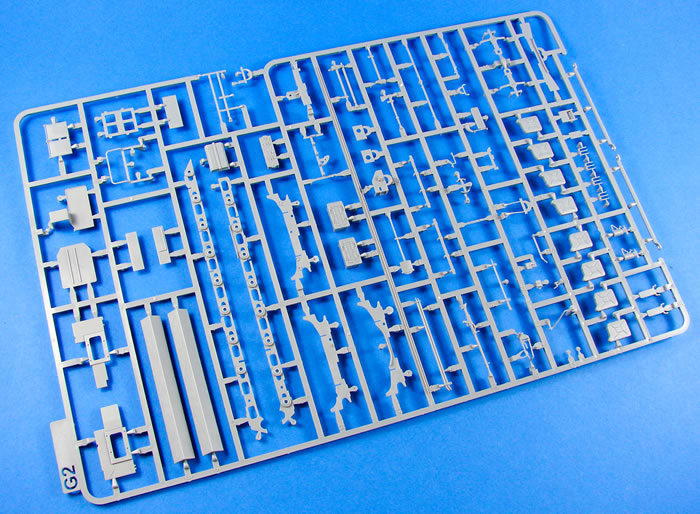
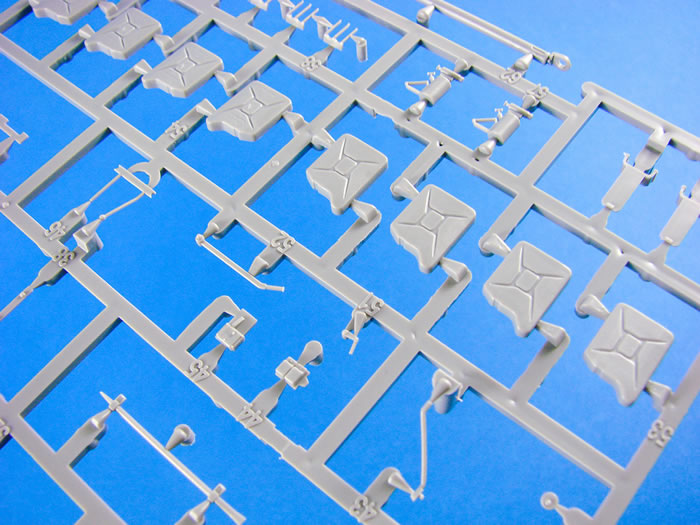
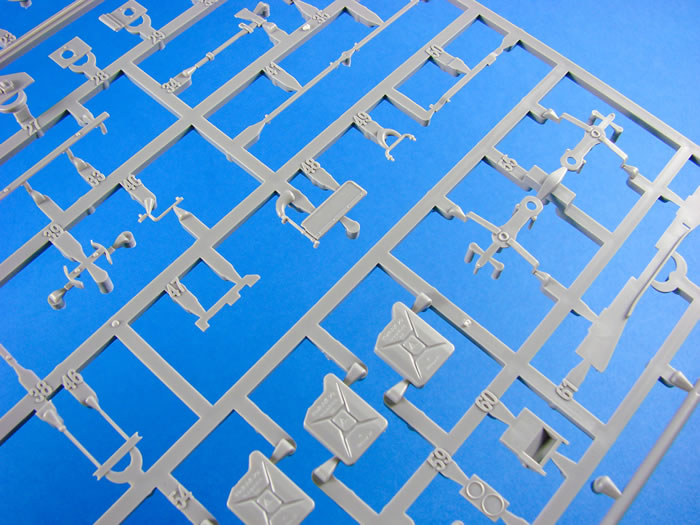
This kit has SEVEN new sprues that are of course specific to this version of Bergepanther and/or the Ausf.D release.

In the case of the latter, the Bergepanther-specific sprues in this kit are devoid of the parts for the other version, as can clearly be seen by the large voids in some areas. One standard Panther sprue also has many parts missing, as they aren’t pertinent to the Bergepanther.
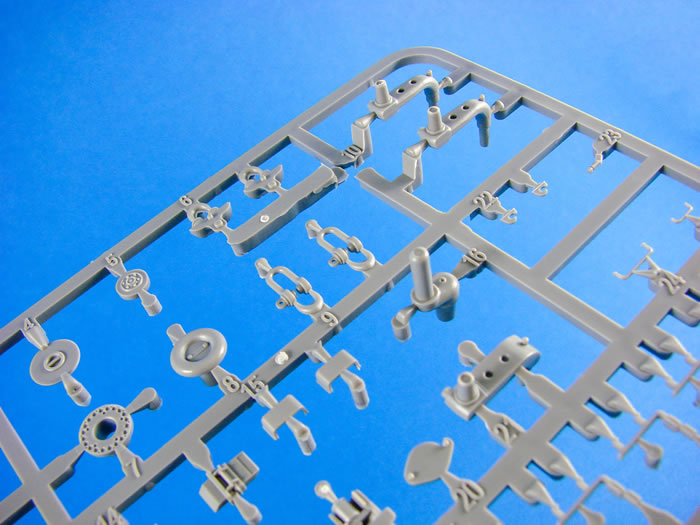
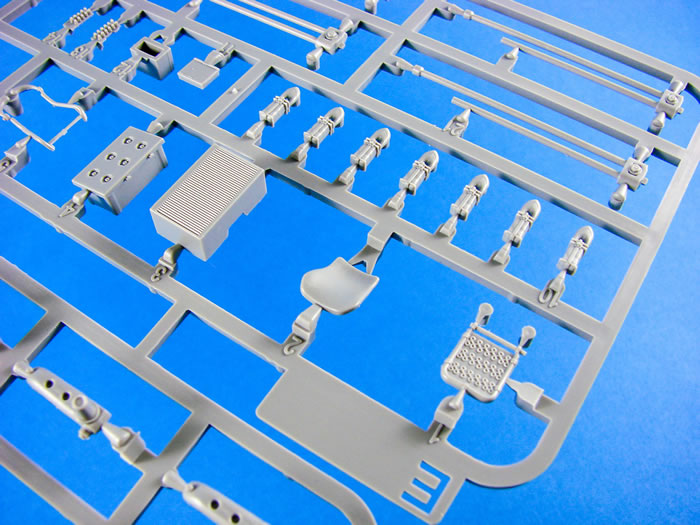
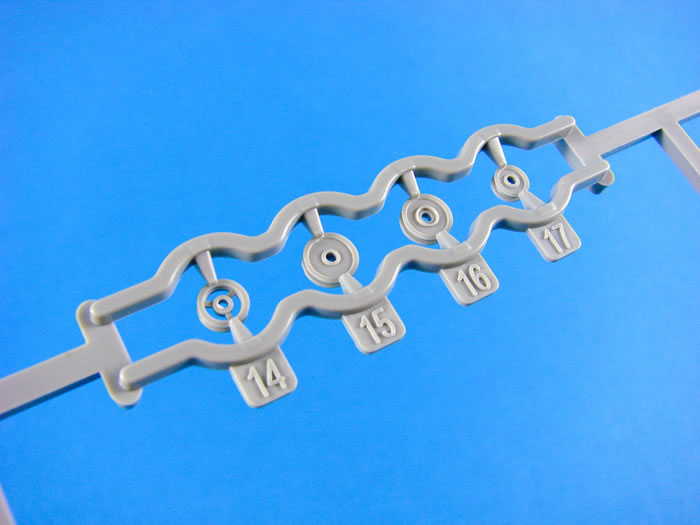
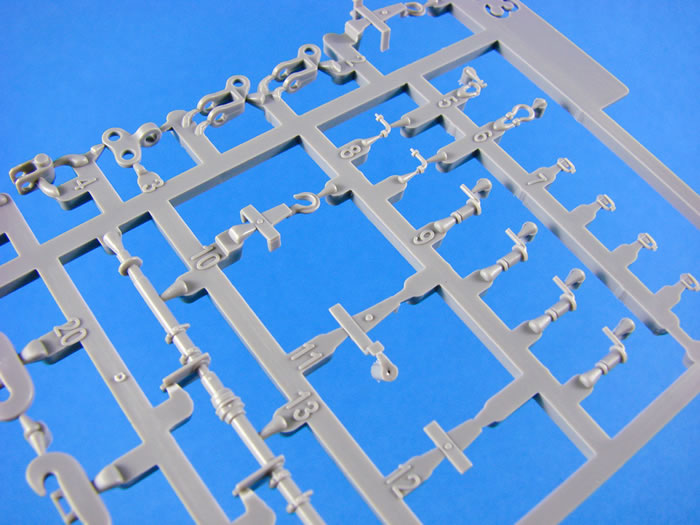
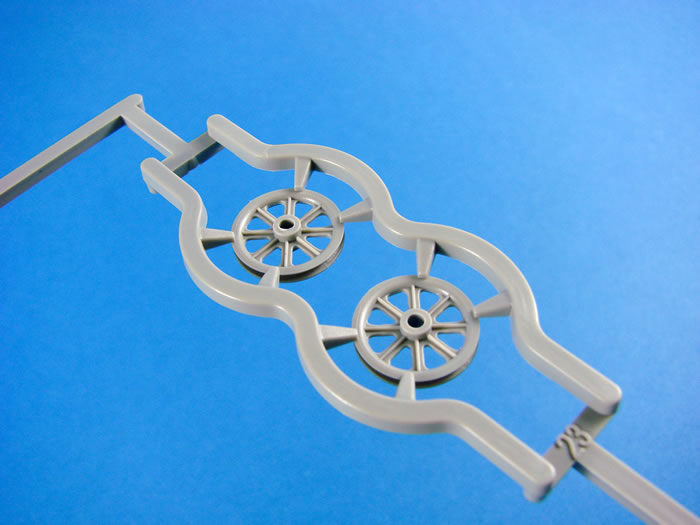
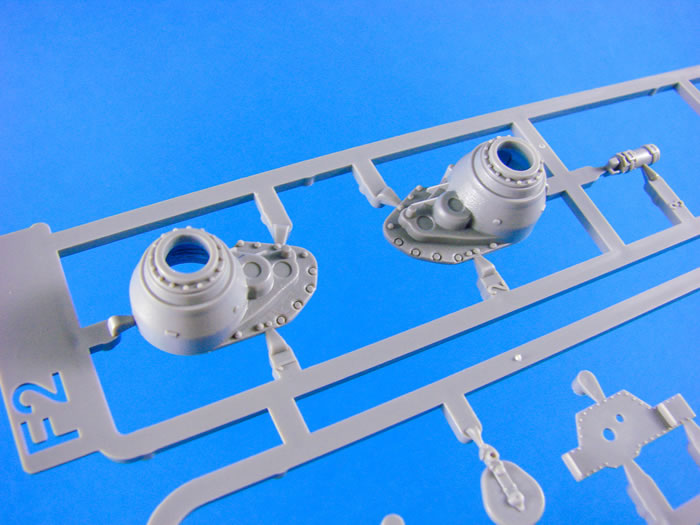
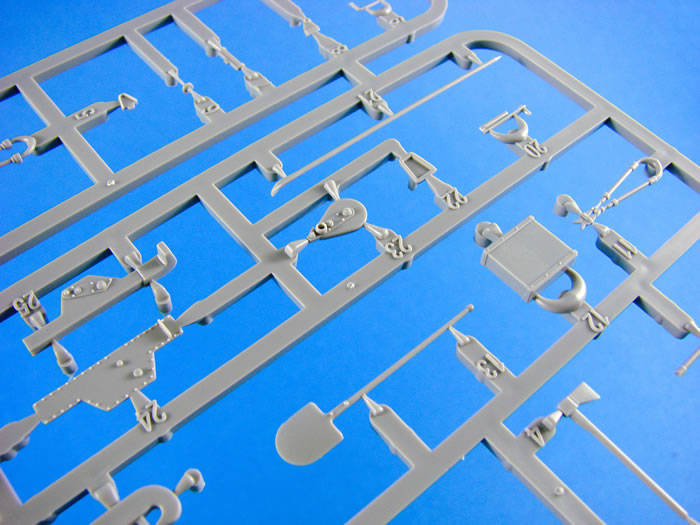
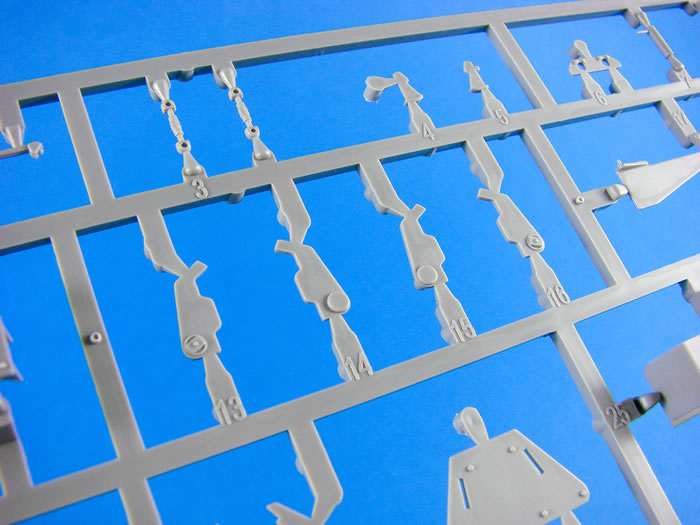
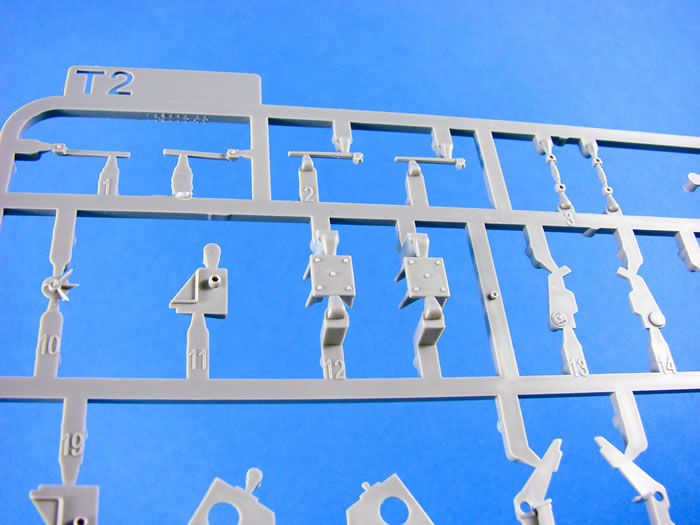
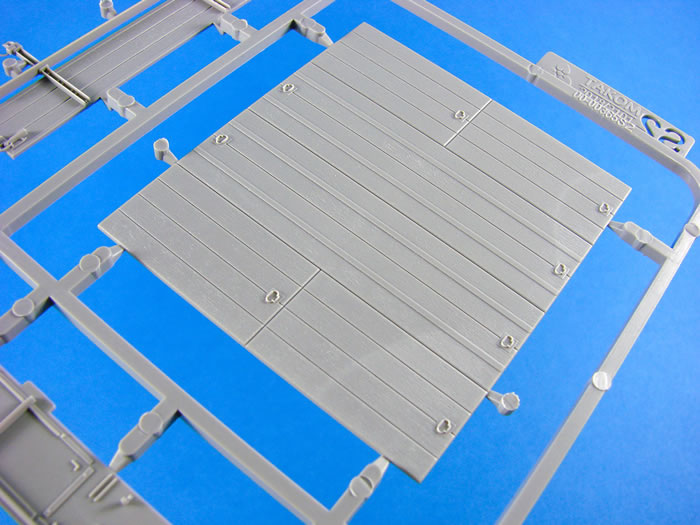
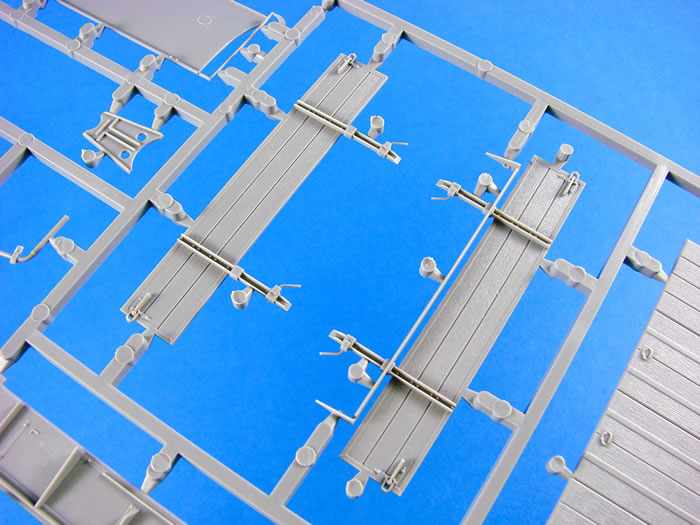
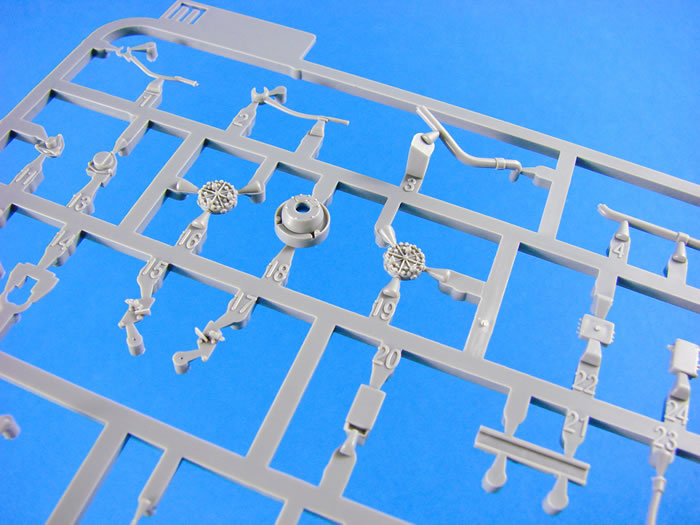
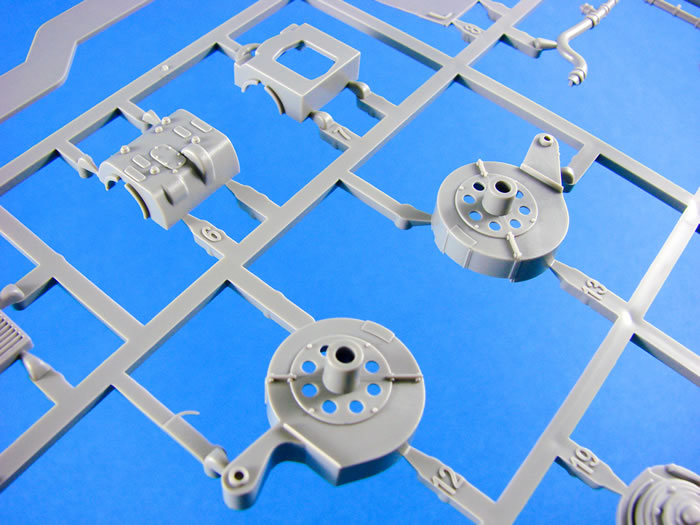
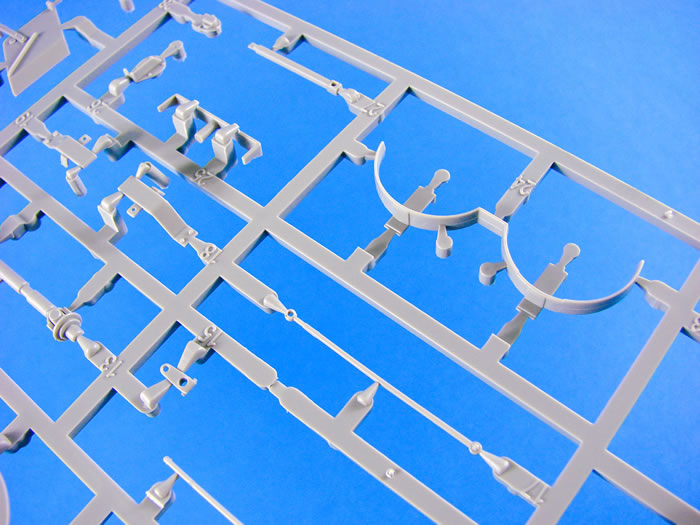
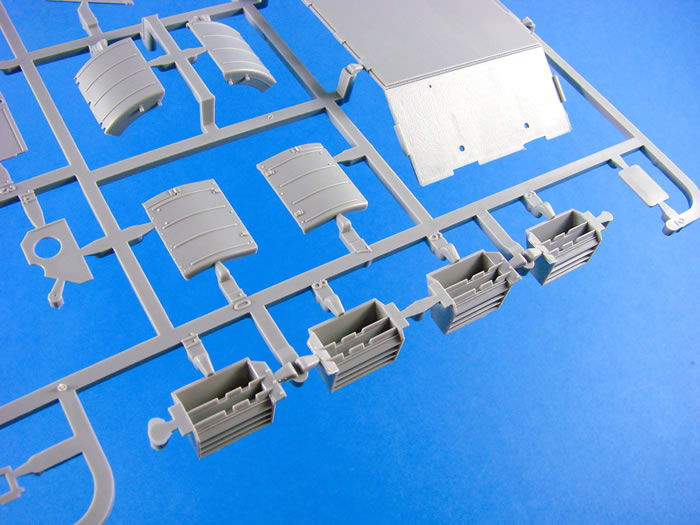
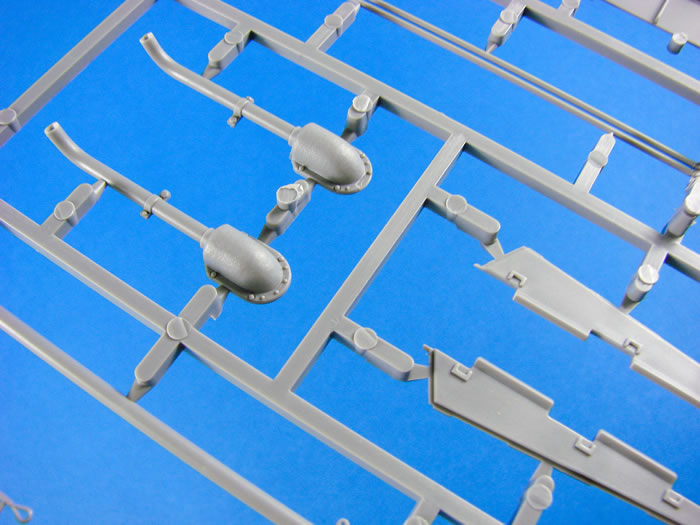
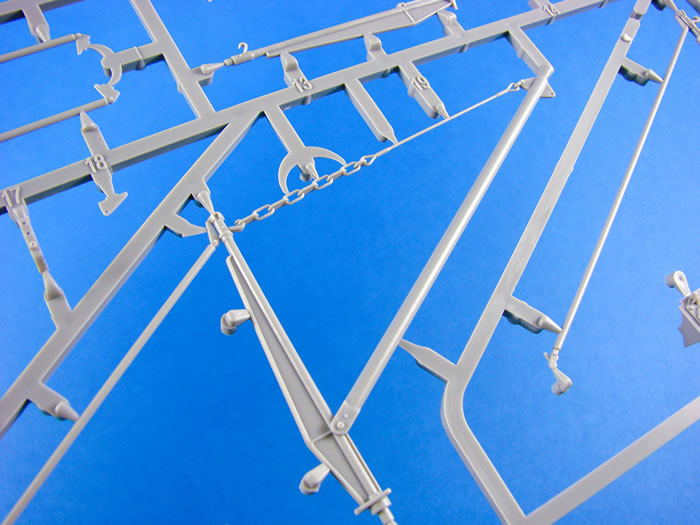
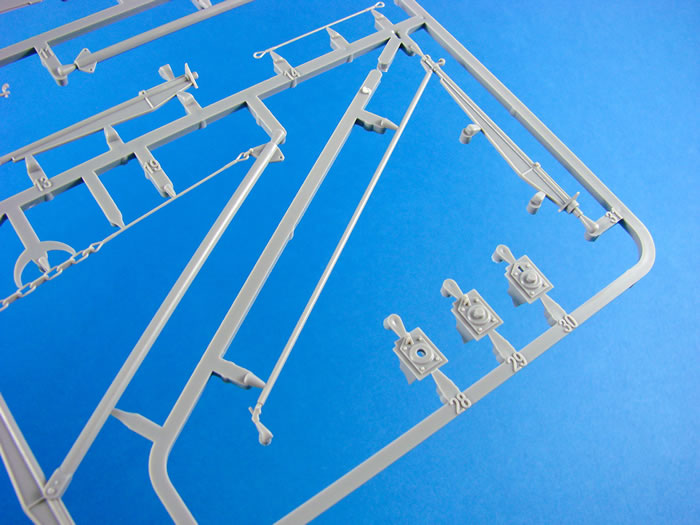
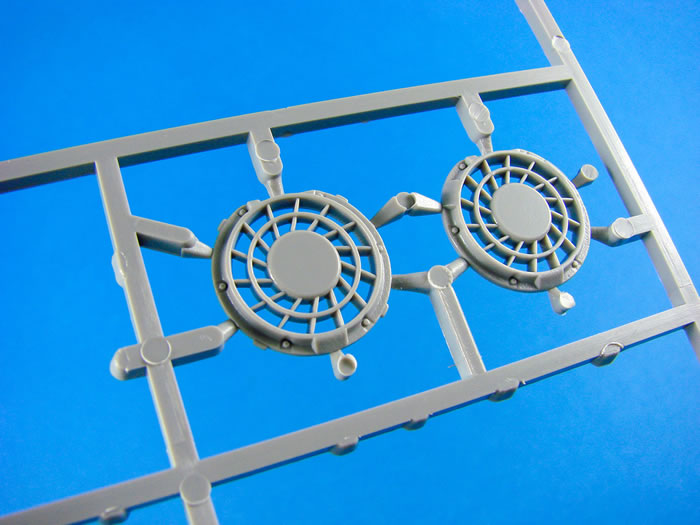
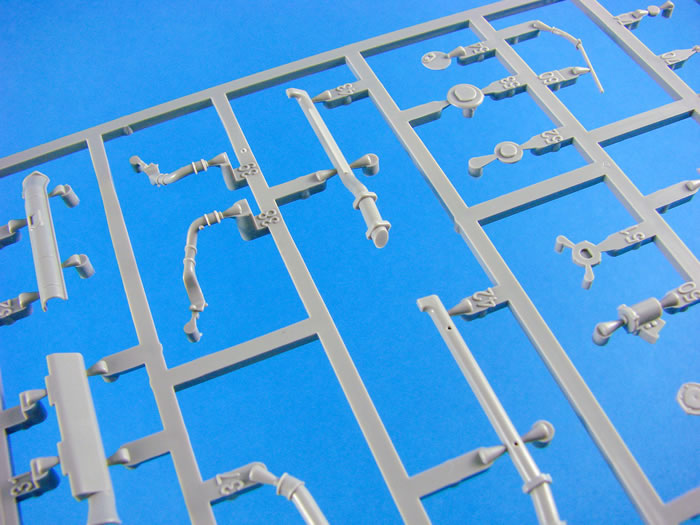
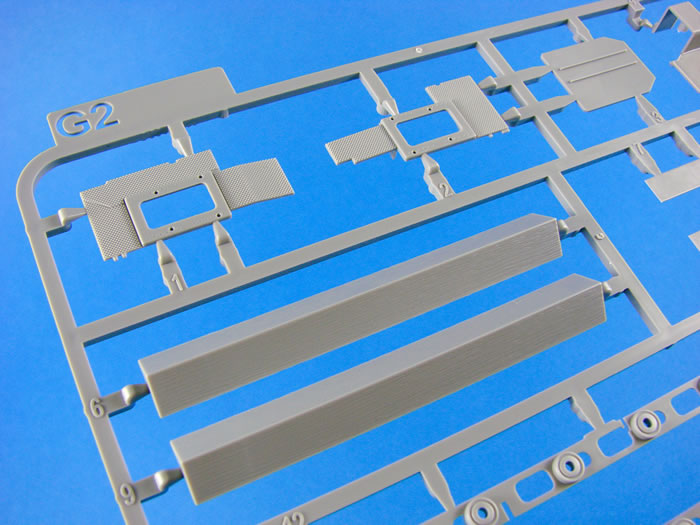
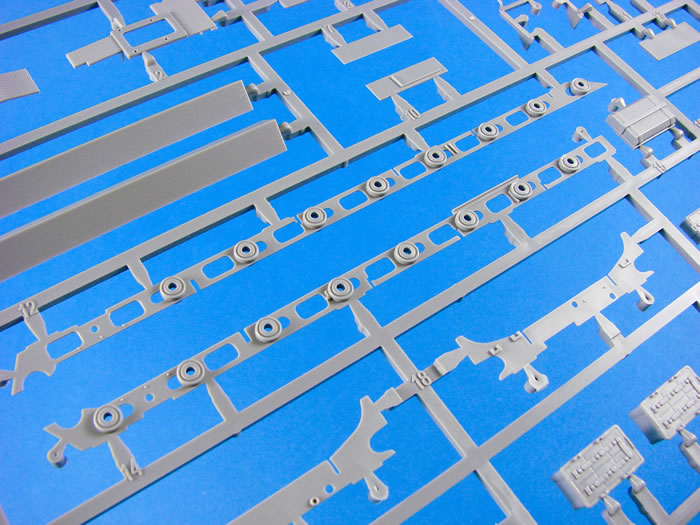
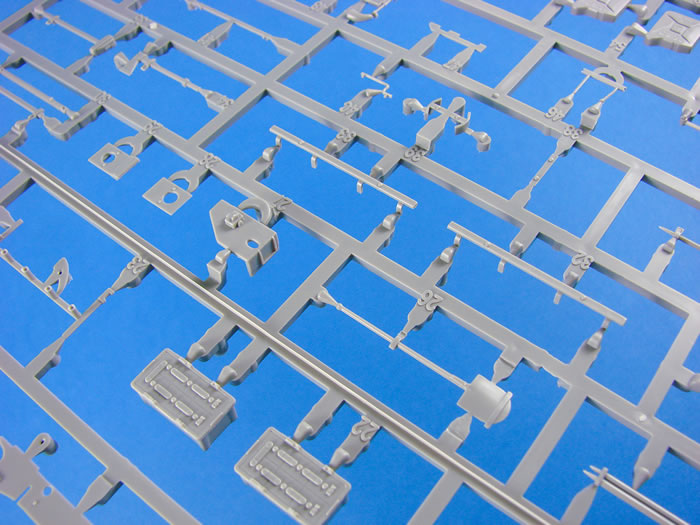
The new sprues have the same detail hallmarks that we can see from the rest of this kit, with rather nice moulding touches too, such as the integral chain detail (metal alternative provided), and the various winching wheels with their grooves.

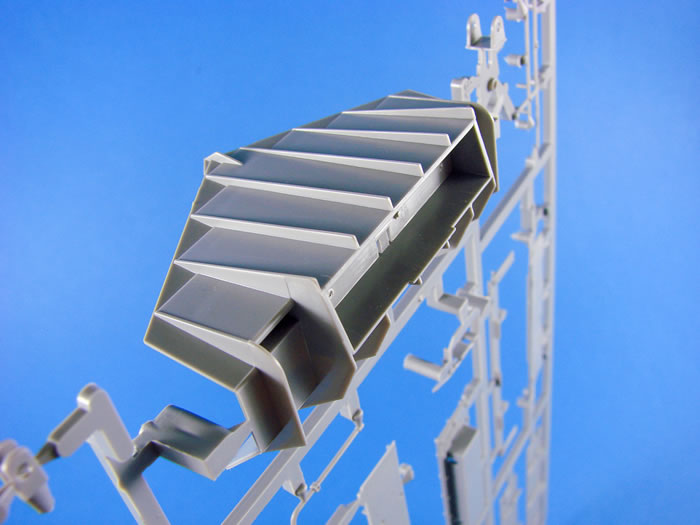
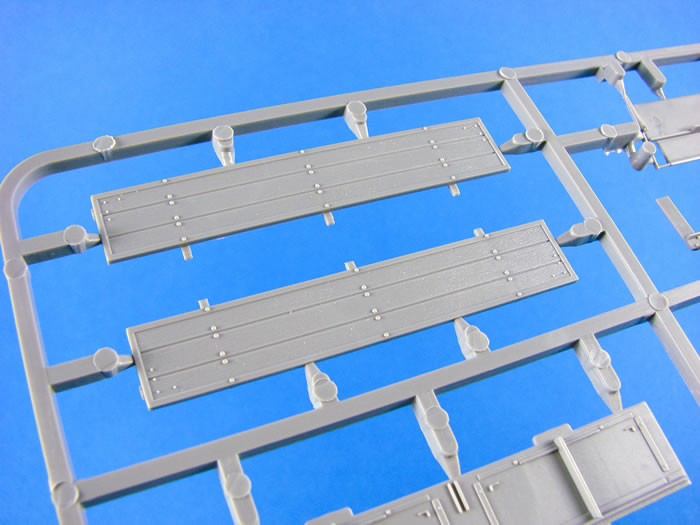
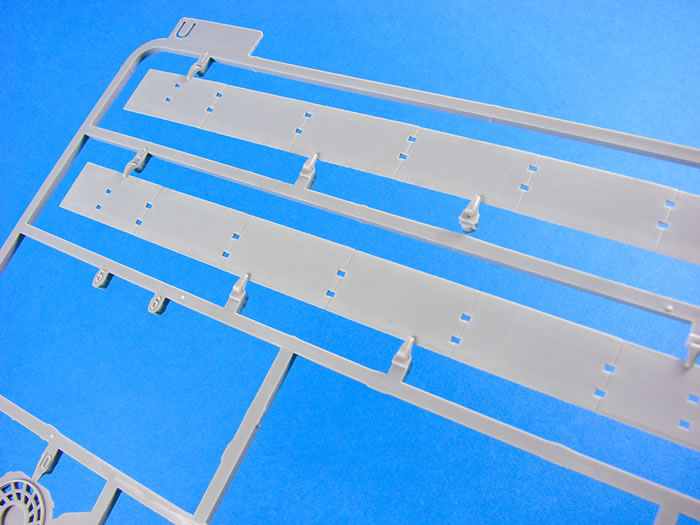
Of course, the recovery spade which raises and lowers from the rear of the Bergepanther, is also a beautiful piece of moulding that employs the latest techniques available to companies such as Takom. There isn’t any option for posing anything in an open position on the wooden structure, so you may want to leave loose. A very fine wood grain detail is moulded over such parts, and the large metal straps, locking clasps and brackets are superbly depicted.

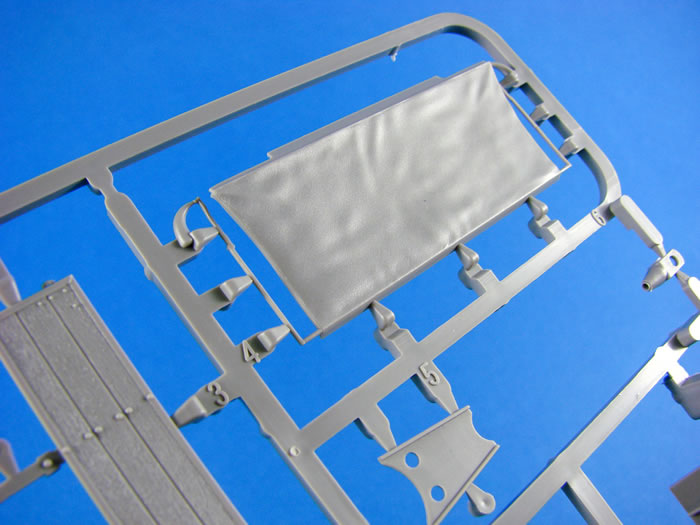
Also of note is the tarpaulin with its realistic sagging texture. I would’ve liked to have seen an option for this to be retracted, but we can’t have everything!
Photo Etch & Chain
For such a comprehensive kit, there is surprisingly little PE in this release, with Takom opting to create many of the finer parts in standard injection plastic. Only six pieces of photo-etch are included in this release, and these are for the engine cooling grilles on the rear top deck. The mesh is certainly fine enough to pass muster, and the quality is excellent.
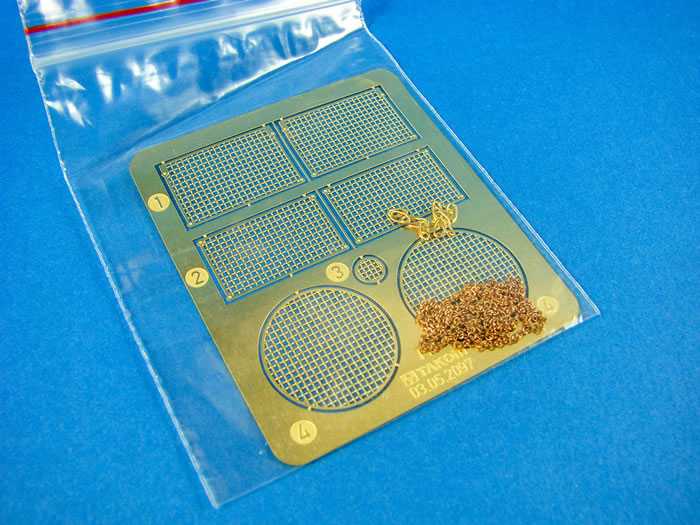
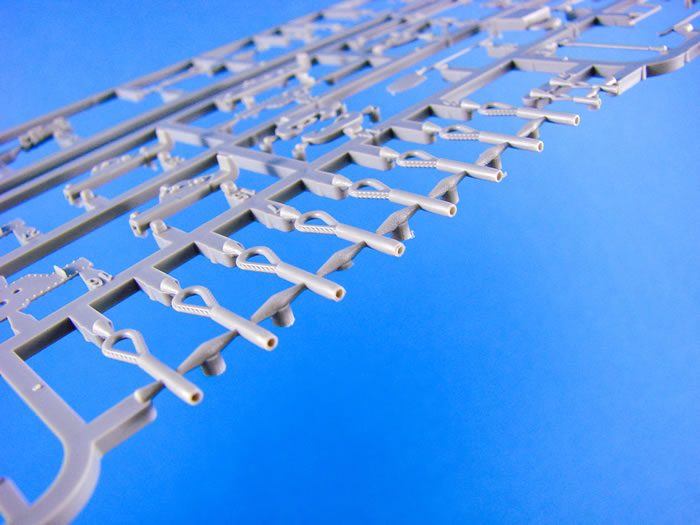
Two small lengths of chain are supplied, of different gauges. These are of course for the block and tackle/pulley system that hangs from the Bergepanther’s lifting arm, and a section for the arm itself. Whilst the arm has a superb section of filigree-moulded chain, you may want to use a real section for more authenticity. It could come in quite useful too if the plastic detail breaks under ham-fistedness.
Decals
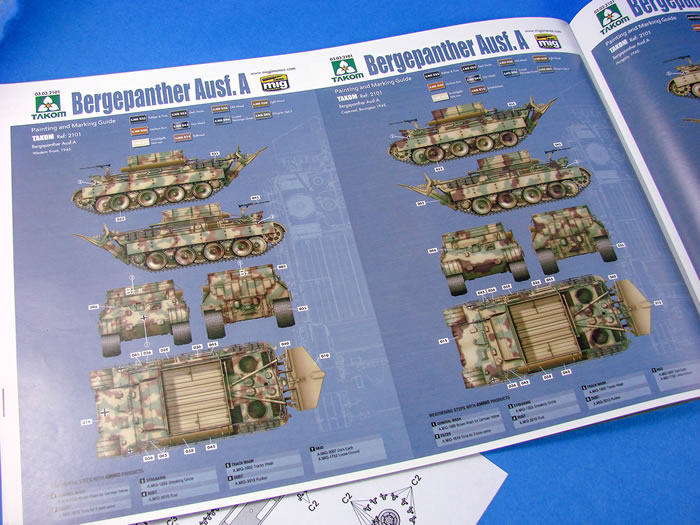
The decal sheet is quite small and contains the markings for FOUR schemes. Printing is thin, has minimal carrier film and is in perfect register.
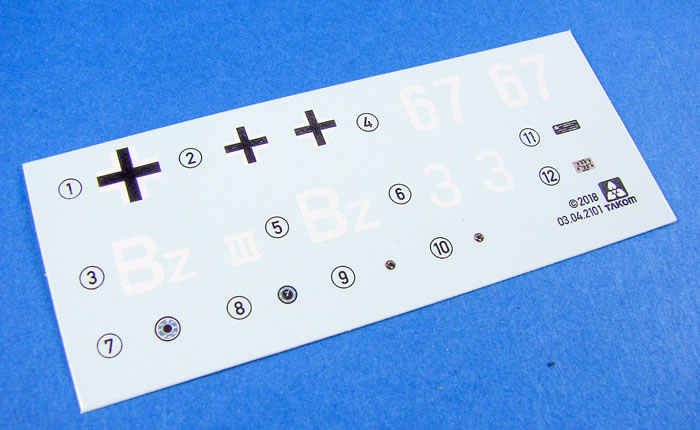
Those schemes are:
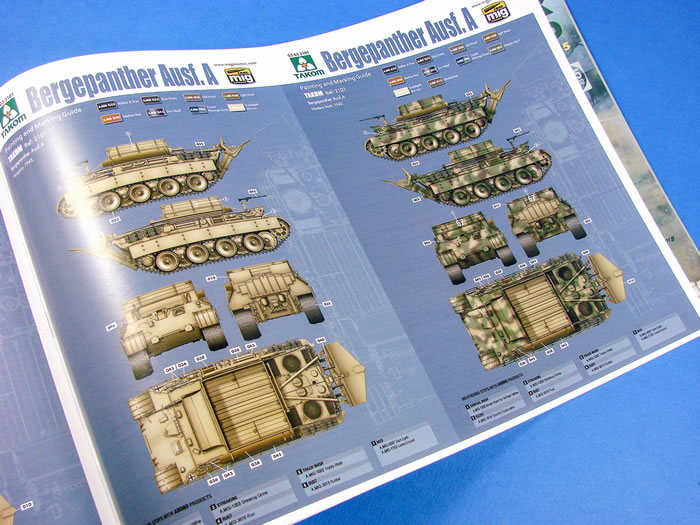
- Western Front, 1945
- Captured, Bovington, 1945
- Hungary, 1945
- Western Front, 1943
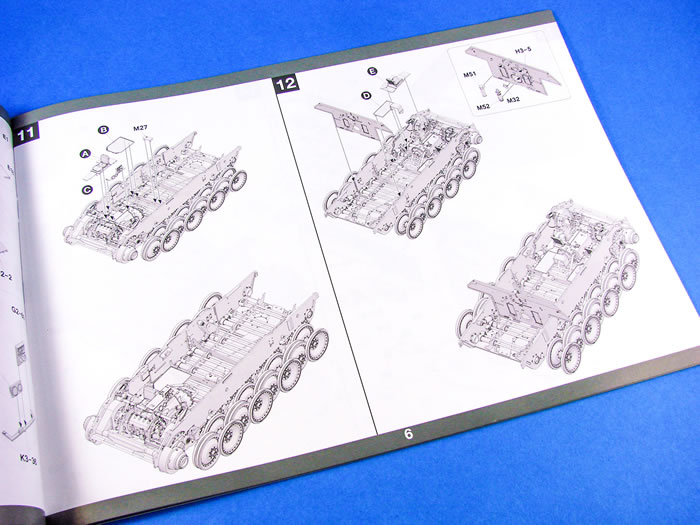
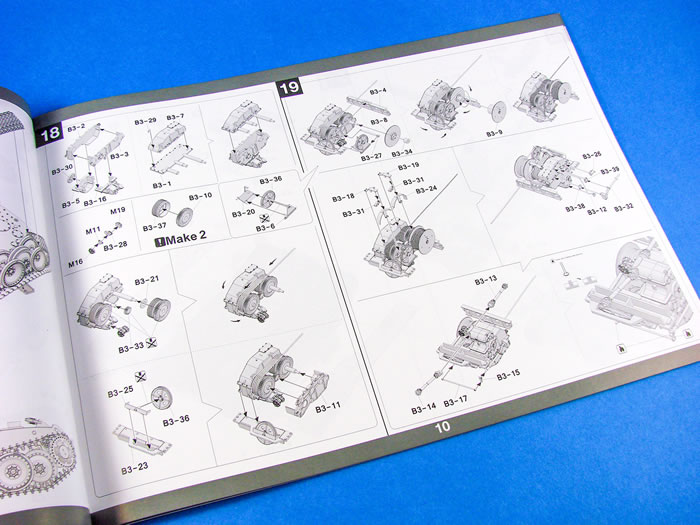
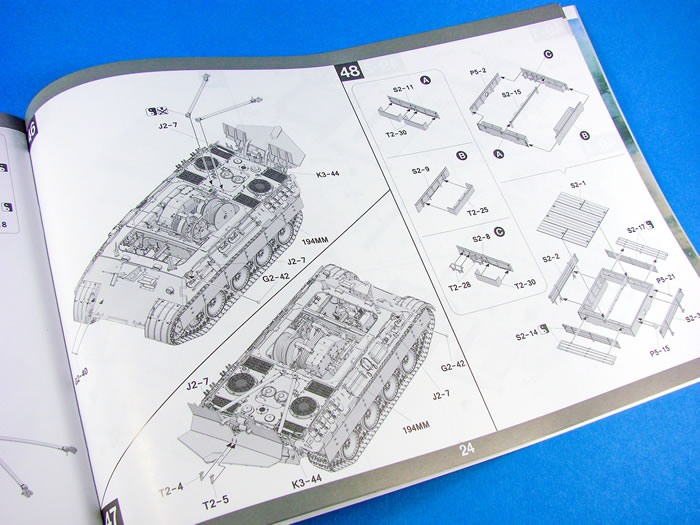
Instructions
A 34-page A4 manual is included (landscape format) which breaks the Bergepanther down into 54 constructional sequences. Don’t let that fool you though, as you can probably triple that number with the addition of sub-stages per sequence. As I said, this is no quick project. The cover of the manual gives a history of the type and we then get a comprehensive parts map showing each sprue, decal sheet and PE fret. Most of the constructional imagery, provided as shaded illustrations, is printed on matt paper except for where corresponding leaves are printed on gloss for the numerous colour illustrations, courtesy of AMMO.
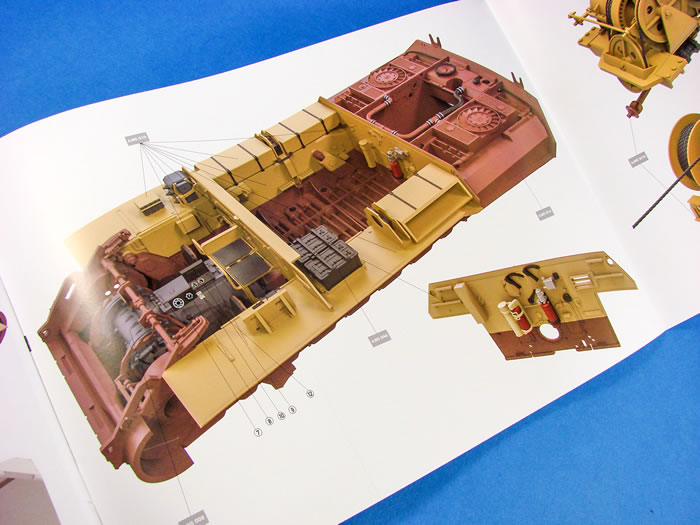
These images provide priceless info on interior painting and will save us countless hours trawling the information either online or in books. Painting reference is also provided in AMMO reference codes. The last pages of the manual are given over to the four schemes provided with this kit, printed in glossy colour and with more AMMO paint references to negotiate. Inside the manual, a small correction sheet is included for the track building section.
C o n c l u s i o n
For me, I put this as perhaps being the best Panther/Panther-relative kit that Takom has yet produced. It has everything in that it’s one of the most detailed 1/35 models on the market, plus the esoteric-factor. This really is one that will catch the eye in your cabinet or model display stand. It really does cry out for a diorama though, showing off the best elements of the Ausf.A design to their maximum potential.
Thanks to Takom for the sample
Home
![]() Discussion Groups
Discussion Groups
![]() Gallery
Gallery
![]() Articles
Articles
![]() Reviews
Reviews
Copyright
![]() Vendors Room
Vendors Room
![]() Links
Links
![]() Contact us
Contact us
Copyright www.missing-lynx.com 2018
![]()
Text and Images by James Hatch
Page Created 8 July, 2018
Page Last Updated
8 July, 2018