|
|
|||||||||||||||||||||||||||||||||||||||||||||||||||||||||||
|
|
Bofors AA Gun with servants
Reviewed by Alastair Bowie
Summary
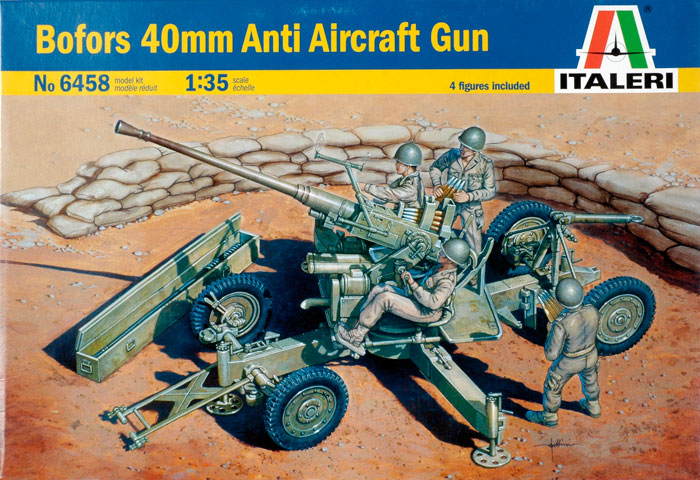
| Stock Number and Description | Italeri 1/35 Scale Kit No. 6458; Bofors AA Gun with servants |
| Scale: | 1/35 |
| Media and Contents: | 149 parts in olive drab styrene |
| Price: | TBA |
| Review Type: | First Look |
| Advantages: | First mainstream kit of this important piece of AA Artillery. Option of Firing or Towing positions |
| Disadvantages: | Poor Crew figures; lack of PE gunsights; no ammo boxes or feed cover provided |
| Recommendation: | Recommended |

FirstLook
When Italeri released their well
received Elco PT boat last year I wondered how long it would take to
see the Bofors 40 mm contained within to a standalone Kit. Italeri
were quick to provide the answer announcing a Kit of the Army
version with crew shortly after.
The Bofors has long been overlooked as a kit with the only mainstream one being the Airfix one from the 70’s in 1/76th scale.
The Bofors 40mm AA gun is one of those legendary weapons which still endures to this day despite being conceived by the Swedish Firm Bofors from a Krupp idea dating back to WW1. Almost all combative nations of the Second World War used the bofors in either licenced or unlicenced form in a variety of bore sizes. They were manufactured under licence in Germany, UK, Canada, Poland, Australia and eventually the US after adopting the weapon in place of its less than sparkling 37mm LAA gun. The USSR used a slightly modified unlicensed copy and claimed it as their own. The weapon went on to serve in all theatres as a towed, fixed, SP or naval mount in single, dual and quad mounts.
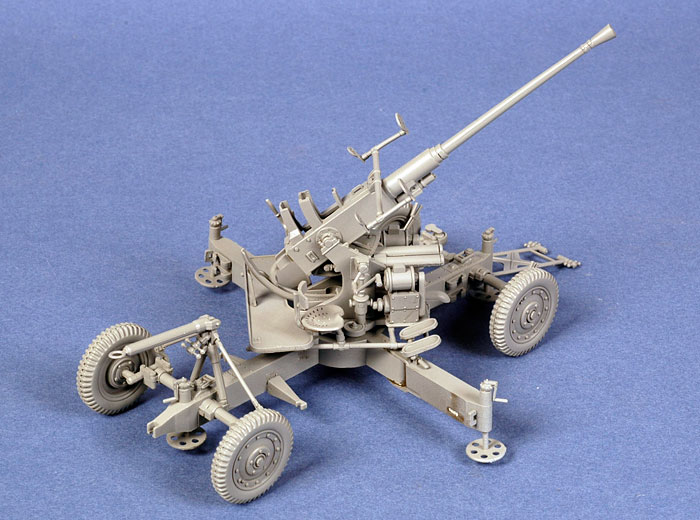
The kit depicts a US type 40mm AA M1 which were made in the US after the US evaluated 6 British Mk 1’s. Chrysler the main contracter in typical US engineering practice streamlined and modified the design to speed up mass production.
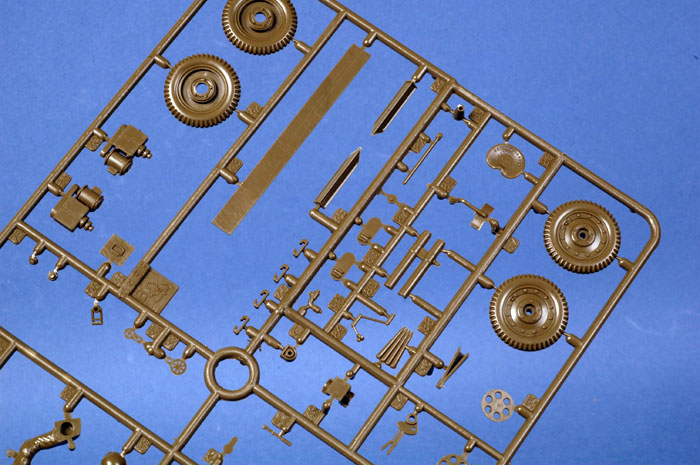
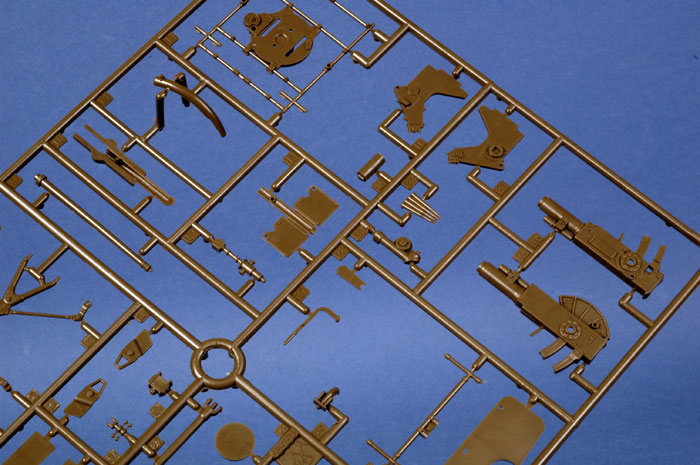
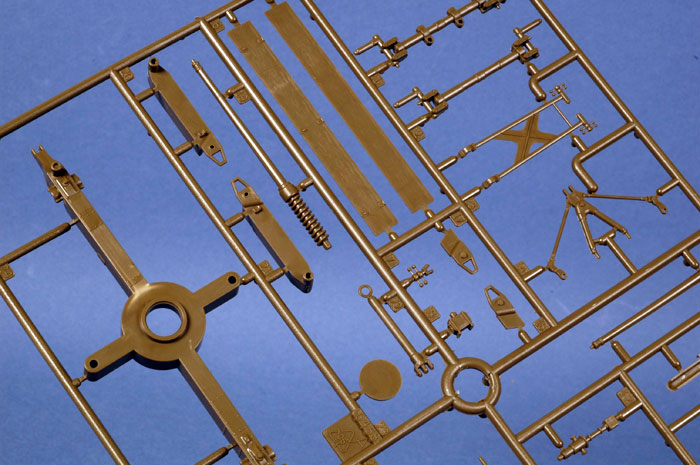
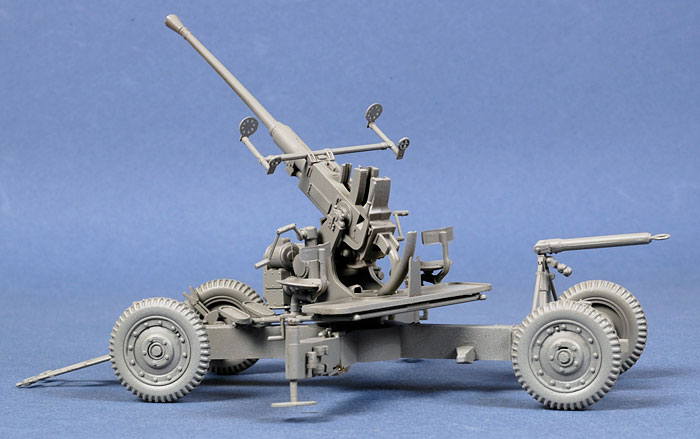
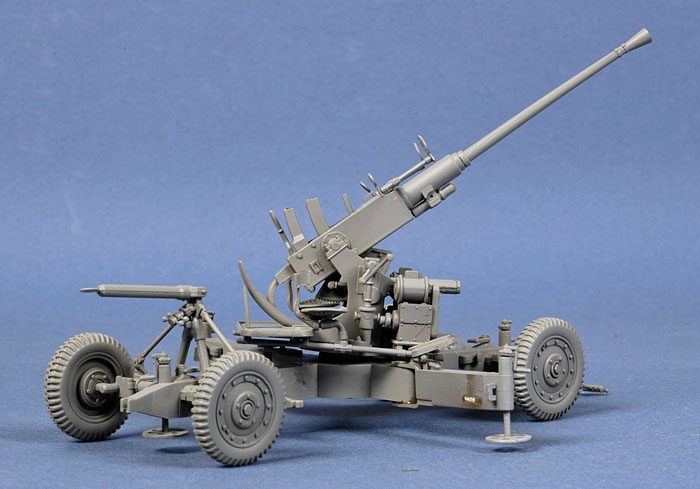
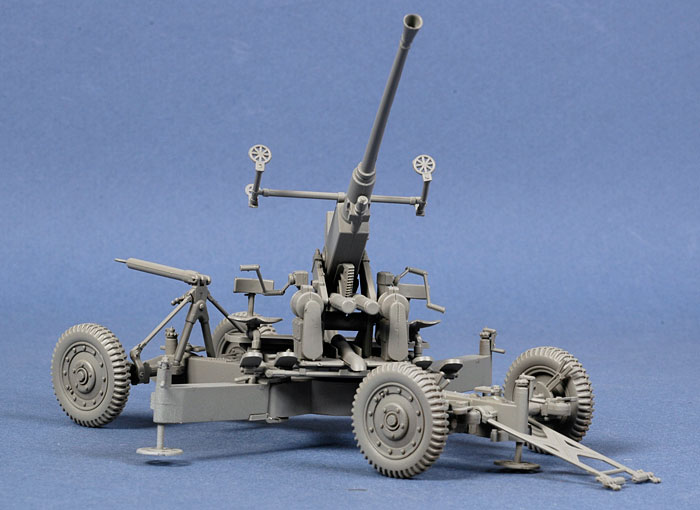
When I opened the kit box I was surprised to see what I thought was so few parts and only the three sprues of which the B sprue is repeated. The kit provides a gun and carriage, 4 crew (more on these later) and a spare Barrel and box. No decals were provided.
Click the thumbnails below to view larger images:
|
|
|
|
|

Construction
Construction was broken into 12 steps in the easy to follow instructions and I pretty much followed these throughout and with only a few small issues I’ll mention as I go.
Stage 1: This covers the building of Carriage axles and wheels. The wheels are split along the centre axis and unlike previous new releases are solid plastic.
Stage 2: This commences the carriage assembly and the attachment of the axles. You are given the optional positions for towing or firing. The location of some of these parts is quite vague with no locator pins or placement markings shown wrongly on the instructions (Outrigger locking arms - 56B). If you are doing a towed version leave these off and attach them in Stage 4 to ensure correct alignment. I would suggest if you wish to build a firing example that you leave off parts 46B until later and place them onto the stakes (44& 45B) before gluing them to the carriage. This will ensure their correct alignment on the carriage and won’t see you frustrated by them shearing off as you try to force the stakes through them.
Stage 3: This is the instructions for the Firing position assembly of the carriage. Note carefully the outrigger positioning so that the clips face the side with the Outrigger locking arms. Parts 55B are the Carriage footstands and I feel Italeri have molded these with the stems too short. They should be firmly on the ground with the carriage in the firing position. The kit pieces do not reach the ground being 1-2mm short. I thought I had incorrectly mounted the axles but a check of the instructions indicated they were correct. To correct it I would suggest to cut off the rod, drill a hole through the pad and insert a suitable diameter rod or Pin cut to the desired length (about 4mm longer than the kit ones).
Stage 4: This is the towing position of the carriage and presents no problems providing you have left parts 56B (outrigger locking arms) off in Stage 2.
Stage 5& 6: continues detailing of the carriage for the towing or firing position. Again there are some location issues of parts with no positive location provided (8A & 46B). As I suggested earlier 46B are better slid onto the stakes (44B) and them glued to the kits trails.
Stage 7: We assemble main Gun assembly with no a deal of frustration and one which left me looking for a third hand. You must ensure that the insides of the recuperators (81B) are not fouled by flash or glue and ensure that rods 82B can move freely in and out. I strongly suggest you sand down the thickness of the elevation teeth under the main gun body to ensure free movement in the mount and the ability to get working elevation. You then juggle all these parts between the mounts and if you have done it right you should have functioning elevation.
Stage 8: This is gun platform and presented no problems. Ensure you file/sand the leading edges of part 10A so that the entrance to the ammo discard shute looks like a sheet metal pipe when assemble. This will be hard to do later (trust me on this). The foot pedals lacked positive alignment but went on ok.
Stage 9: We add the Gun and gunnery azimuth and elevation gear to the mount. The traverse motors (I am assuming that is what these are – anyone?) parts 40 and 36B are added but in my example the locating tabs had to be cut of to get them to line up with the elevation gear boxes. The two parts interconnect in the real thing but are a simple but joint in the kit. A positive pin locator would have been a better idea in this case. Ensure these line up as they will look funny afterwards if the don’t (don’t ask me how I know). The seats go together with no problems and are gems of molding. If you plan on using crew in firing positions leave of the Elevation cranks for later positioning with the crew in section 12.
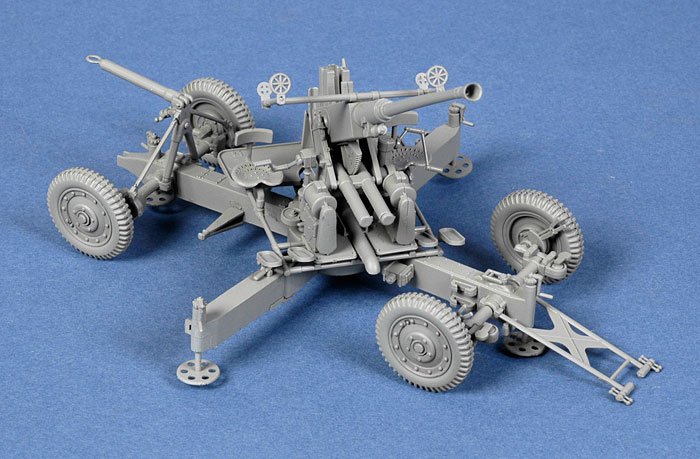
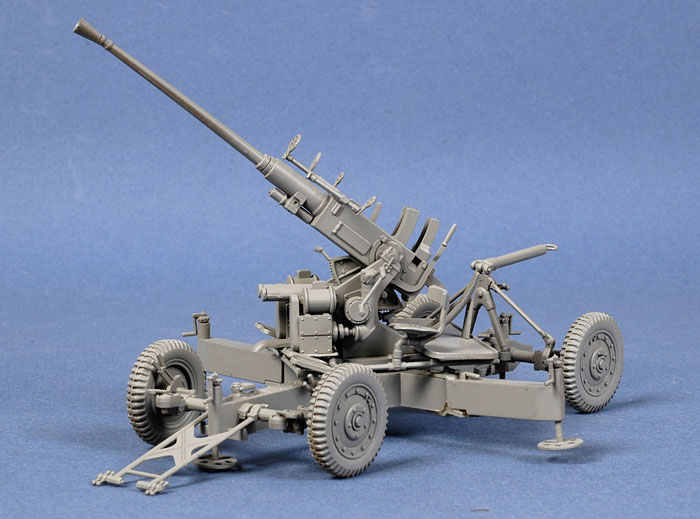
Stage 10 & 11: This is the final assembly of either a towed or Firing gun. The gun wobbles in the mount and needs to be fixed by glue or maybe a piece of tape around the mount pin to ensure a snug fit.
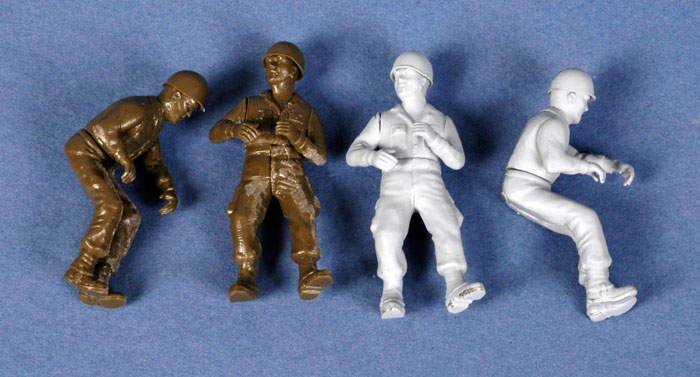
Stage 12: This is where you add the crew which I feel are the poorest part of the kit. They are poorly detailed and appear to be wearing m43 uniforms but with nondescript gaiters more like Australian post ww2 ones. They are like Peerless or Heller figures from the 70’s and not up to the standards we know Italeri are currently capable of. Two figures are provided with positionable arms. Duplicates of each are also provided. The Sights are added at this stage for a firing version and I stress patience as these are fragile. The spare barrel and shipping crate are assembled in this stage.
Marking Options:
No Markings are provided
NOTE: The kit as presented in these photos was built for review and primed only. It has not had gaps filled, sanded etc in an effort to show the kit's fit
Click the thumbnails below to view larger images:
|
|
|
|
|

Conclusion
This is a welcome kit but, after the hype and expectation I was left seriously underwhelmed when I saw the parts in the box, mainly due to the figures and lack of detail on some parts. After seeing other recent excellent Italeri releases such as the AS42, Barchino and “Pig”, I feel this may have been a long dormant project remaining from the 1970’s or early 1980’s. It is not in the same league as there other new releases and really could have benefited from some PE for the gunsights at a minimum. It is definitely not a “Shake and Bake” offering like DML artillery kits. Check out this link to Toadman's website to see the detail on the real piece http://www.toadmanstankpictures.com/40mmbofors.htm
Having said that, the finished model looks good and certainly looks like a Bofors. It seemed a lot better when it was finished and I am happy with it. It isn’t a detail masterpiece like some of DML’s later artillery pieces, which is probably why I was underwhelmed.
This is an adequate model of an important weapon. As such I would recommend this kit. With the application of basic modelling skills and some aftermarket PE you could produce a masterpiece from this kit.
I can see a number of after market kits coming for this with the parts you will need to model British/Commonwealth guns which will require a bit of effort to scratch build.
I commend Italeri for there subject choice which I believe is the most balanced of all the 35th manufacturers and look forward to one of there update kits with PE and new crew etc. When compared to their other new releases and the DML 88 for instance I do not believe this offer good value (at nearly the same price as a DML 88) but it does offer a good and adequate Bofors in 35th.
Full marks to Italeri for providing this genre. This is one of those subjects you may wish to try to get you out of a modelling rut. It is certainly a different build from a myriad of M4 variants that sit unfinished on the workbench!
Recommended.
Thanks to
Italeri for the review sample.
Home
![]() Discussion Groups
Discussion Groups
![]() Gallery
Gallery
![]() Articles
Articles
![]() Reviews
Reviews
Copyright
![]() Vendors Room
Vendors Room
![]() Links
Links
![]() Contact us
Contact us
Copyright www.missing-lynx.com 2007
![]()
Text and Images by Alastair
Bowie
Page Created 06 October, 2007
Page Last Updated
05 October, 2007