MOVE ON!
Painting the Pershing
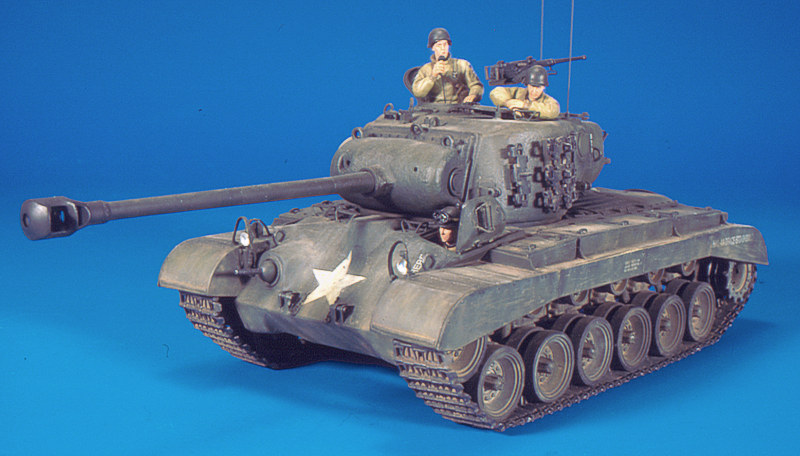
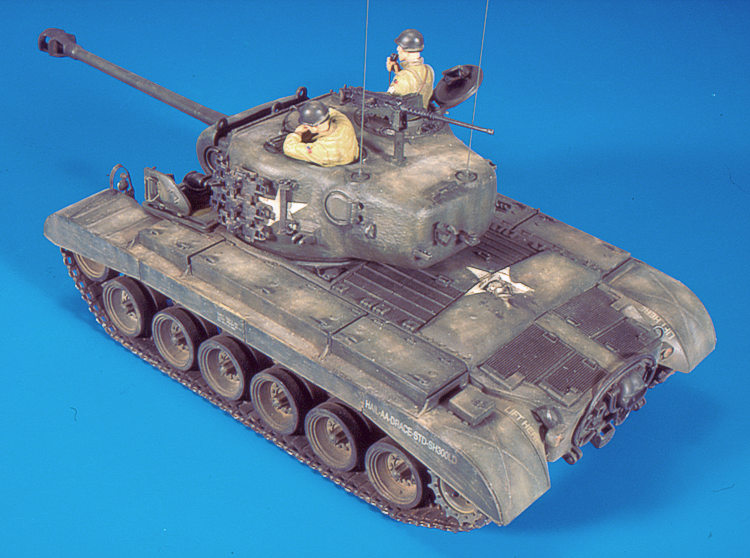
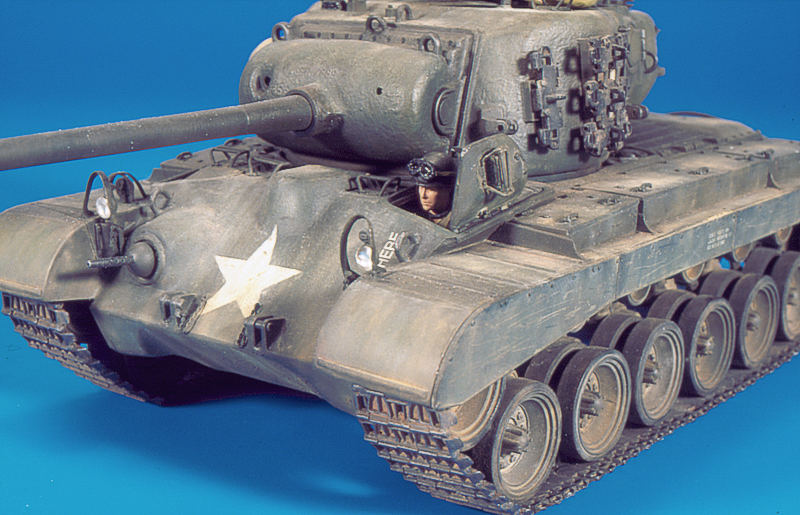
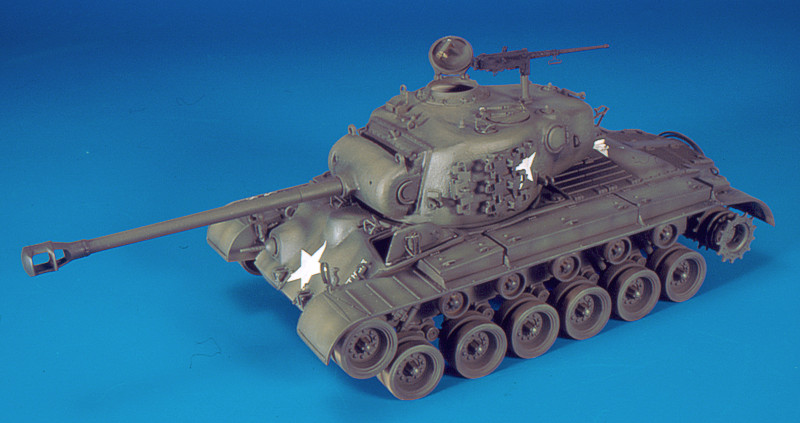
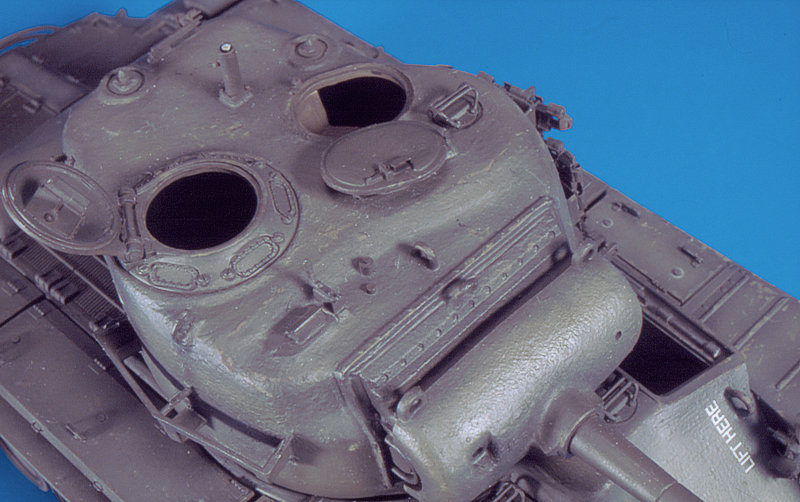
The base coat is airbrushed with Tamiya acrylics diluted with isopropyl alcohol in a ratio 25% paint and 75% solvent. The base color was a 50% mixture of dark green and olive drab. When this was dry (almost instantaneously) I gave a coat with pure olive drab in the center of the panels and surfaces, allowing to the previous color to show in the edges or lines of the model. A third airbrushing was done with a mixture of 70% olive drab and 30% dark yellow. Finally, some pure dark yellow were used sparingly to highlight some volumes. At this moment, the model had some zones very contrasted, with a lighter color in the center, and a gradation towards the darker base color in the edges.
Next step was to mark the profiles and lines airbrushing a very diluted (more than 90%) mixture of black and matt earth, more of the first colour than of the second. With this mixture, some vertical lines were also made on the sides, front and rear plates, to simulate dirt. It is important to dilute quite a lot the paint and to be quite subtle. It is better to give several quick airbrush strokes if you want to mark more a line, than to use less diluted paint or to move slowly the airbrush.
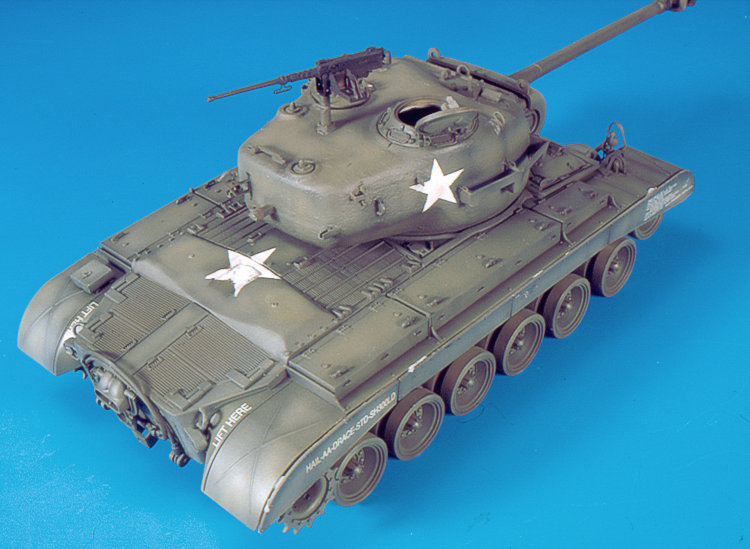
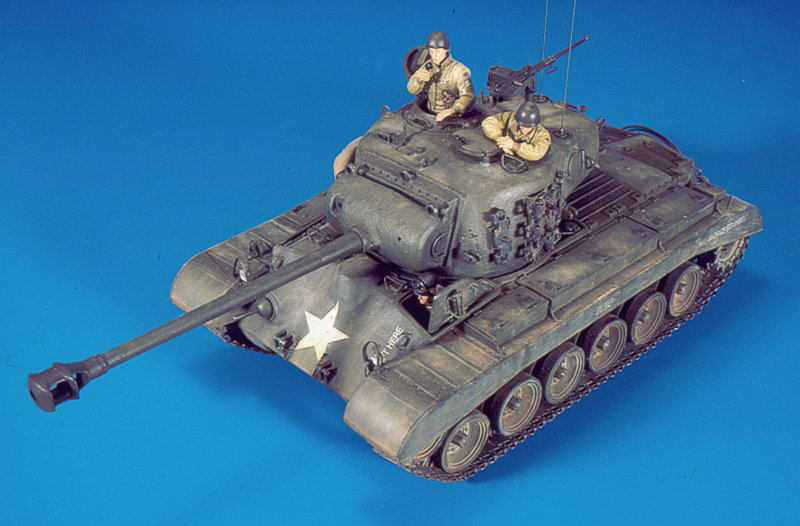
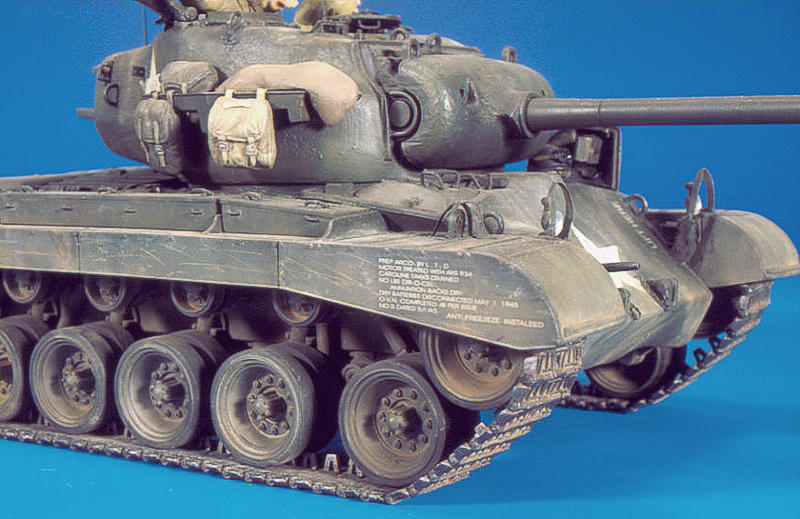
The white stars were airbrushed by using a template made with adhesive paper. The rest of the decals are the ones supplied in the kit. The method to put the decals was as follows: First, I applied gloss varnish on the zone where the decals had to be. After dry, I cut the decals on the paper with a x-acto with a new blade just until the printed area, eliminating all the surrounding film. After some few minutes in water, I slipped the decals into their position, which previously had been wetted with Microset. I removed the excess of liquid with tissue paper and applied more Microset on the decal. After some minutes, with a brush I damped the decal with Microsol. Sometimes, the decals wrinkle, but there is no problem. It is better not to touch the decal while it is wet, because it is very fragile. Let the decal to dry completely and apply a coat of matt varnish on the zone to protect the decal, and to eliminate the glossy look of the previous varnish.

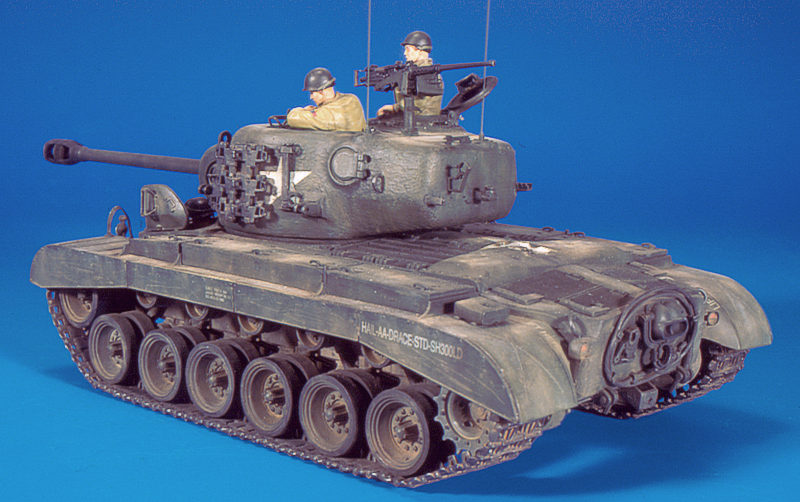
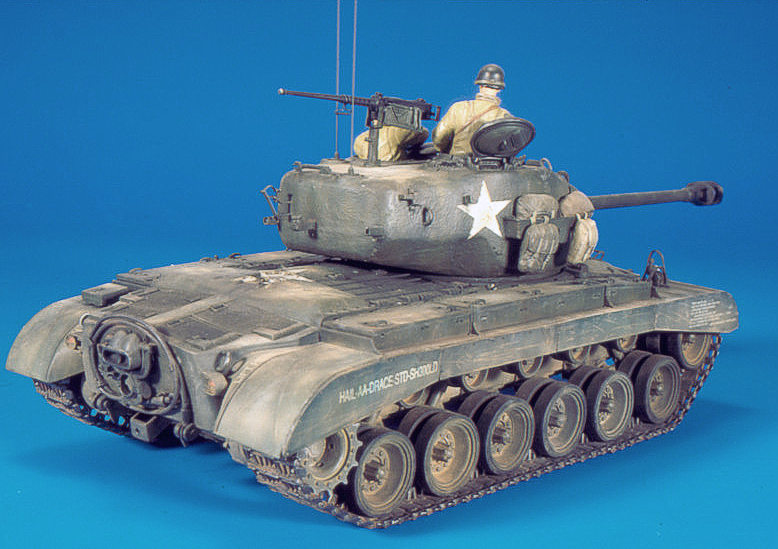
Next step was to achieve the chipped and scratched paint effect. There are to main types of chipping in this model. One was made with the base color lightened, as if the outer paint was chipped off, and a previous coat arose. The other was made with dark brown or reddish brown colors, simulating the bare, slightly rusted metal. In both cases I used a thin brush, and made small, irregular dots, or lines. I insisted along the edges, hatches, tool clamps and were I thought it was more likely the paint was chipped off or simply worn out, such as the zones were the crew would climb up and stand. I also did some chipped paint simply with a well sharpened soft lead pencil, specially were the surface should look shine because the frequent use, such as handles or the edges of the hatches.
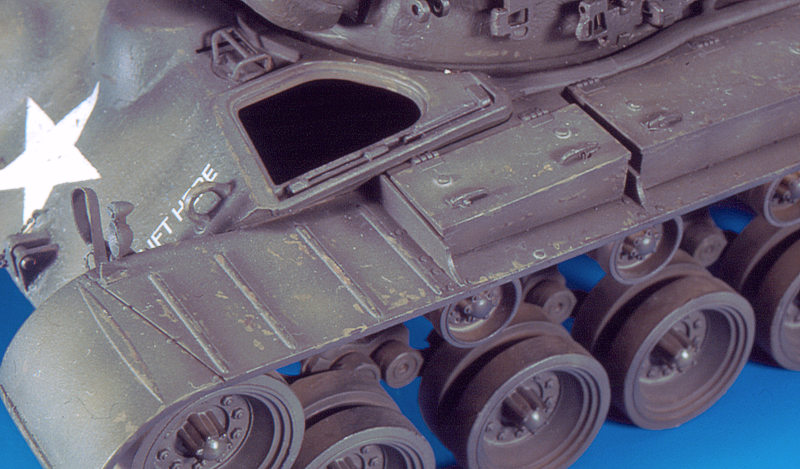
On the side fenders I painted some scratches, since these parts should be more prone to this type of damage due to the rubbing with branches, other vehicles or obstacles. The colours are the same as for the chipping and straight lines were carefully painted with a very thin brush.
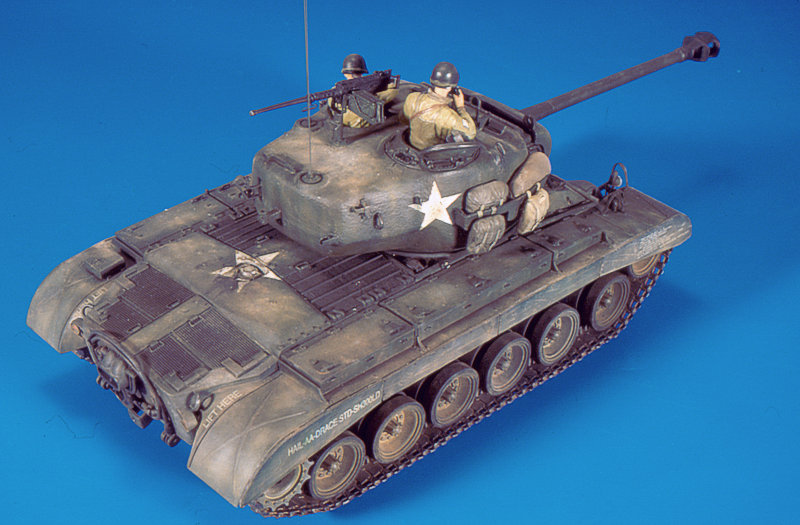
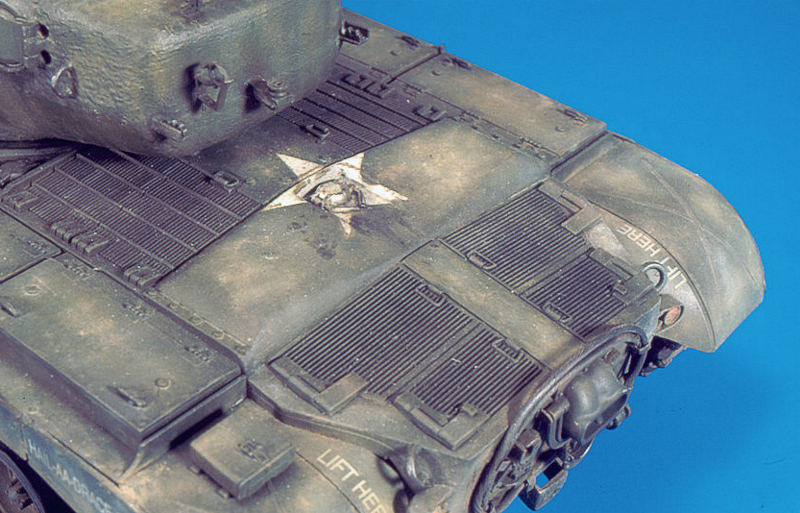
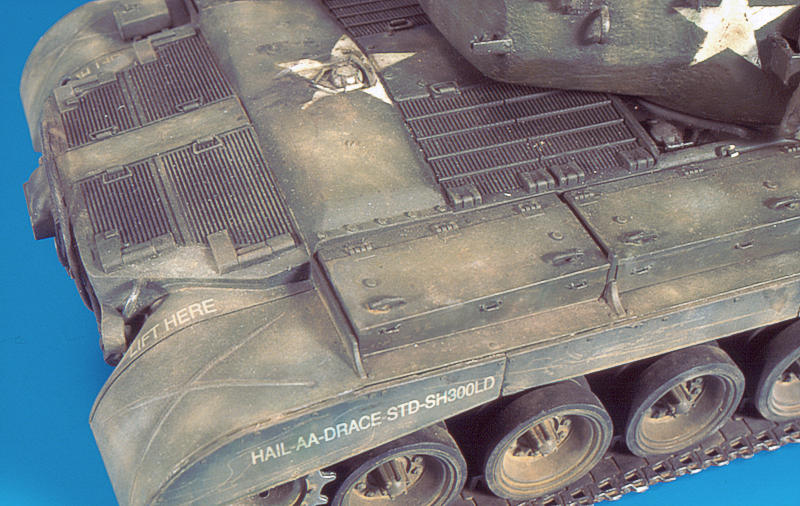
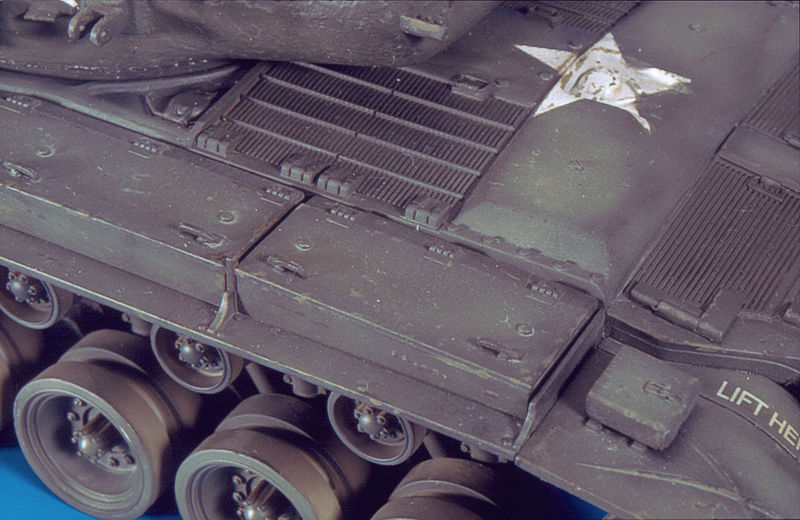
The following step was the oil washes. First some general comments about this technique. I use Humbrol enamel thinner as solvent since it dries fairly quickly, does not produce these glossy stains and dilutes the oils perfectly. About the oils, I think that the brand is not very important, neither the exact tone or colour. As a general rule, I deposit a small fraction of the oils on a tissue paper and wait for 15-30 minutes. Some of the greasy components of the oils (responsible for the "oily" glossy stains) are absorbed by the paper and this does not affect to the pigment. I wet a zone of the model with clean Humbrol thinner and then apply a very small quantity of oil directly on the model, blending it quickly, or I dilute previously the oil in more thinner and brush this on the wet surface, dispersing it. I never use a general wash, but small washes of several shades in small zones. In my opinion, the trick is that the oil has to be blended with the surroundings (no hard edges should be visible), and to achieve subtle tonal variations in different parts of the same zone, for instance the side walls.
I started with a white oil wash. The white colour gives some dusty and degraded look to the paint. Anyway, it is better to do it very smoothly twice tan one with the brush heavily charged of white oil. A couple of green tones followed, and finally, several shades of ochre and browns. With burnt umber I marked some recesses and details, but avoiding to leave a very dark ring around the nuts and other raising details. Then, I drybrushed very slightly (very, very slightly) some details with a mixture of Humbrol olive green and dark yellow. It should be so subtle that you almost shouldn't notice it.
For the tracks, a base coat of Tamiya acrylic matt black was firstly airbrushed. Following that, they received several washes of Humbrol enamels and oils of brown and reddish tones. Finally, they were drybrushed several times with a mixture of black and silver enamels, each time richer in silver and of less intensity in the application. The tracks were finally treated with pastels at the same time than the rest of the model, in order to blend them better with the rest of the vehicle.
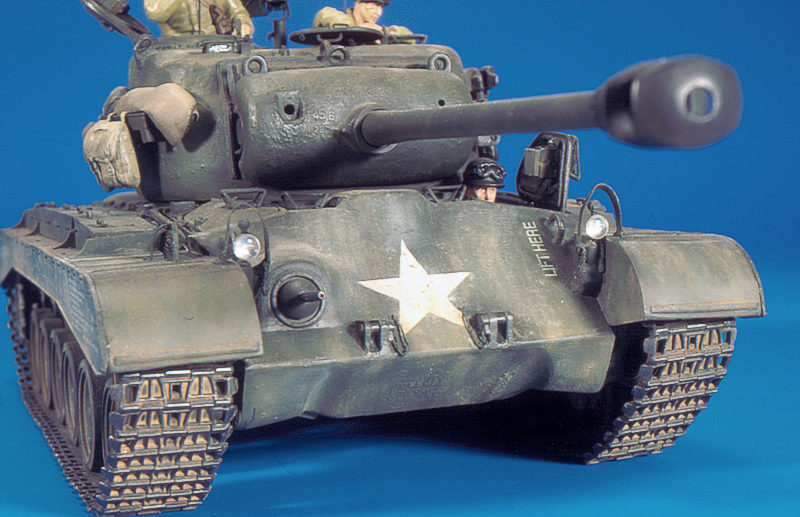
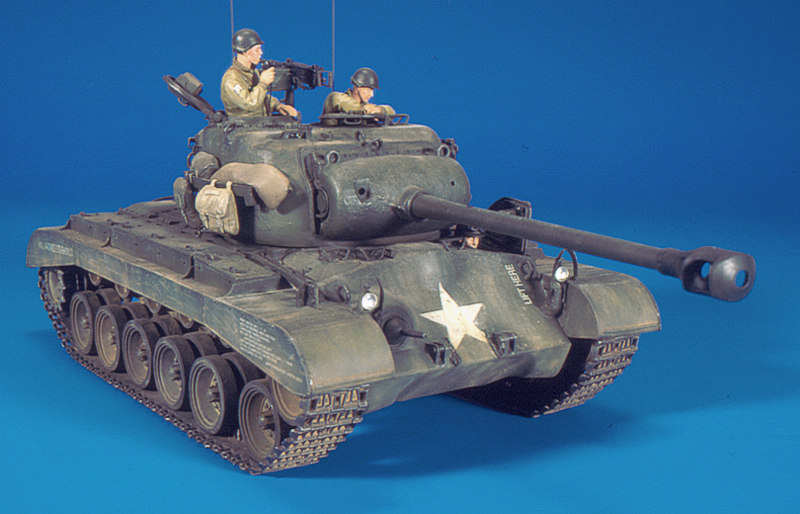
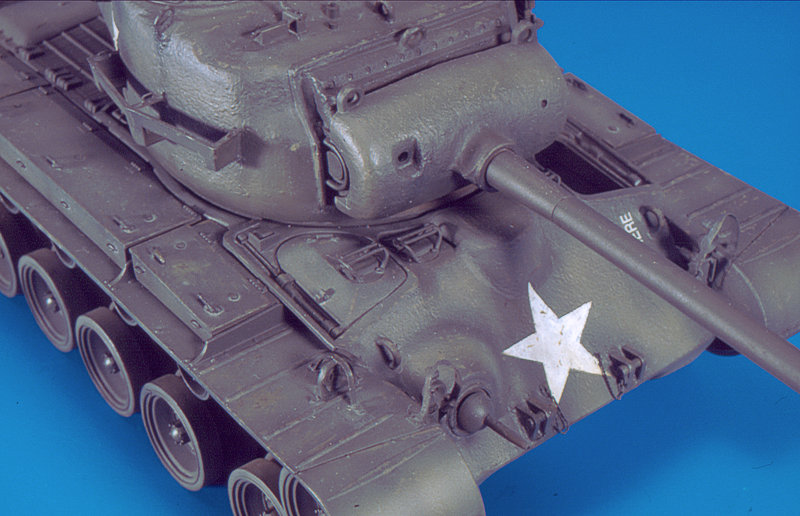
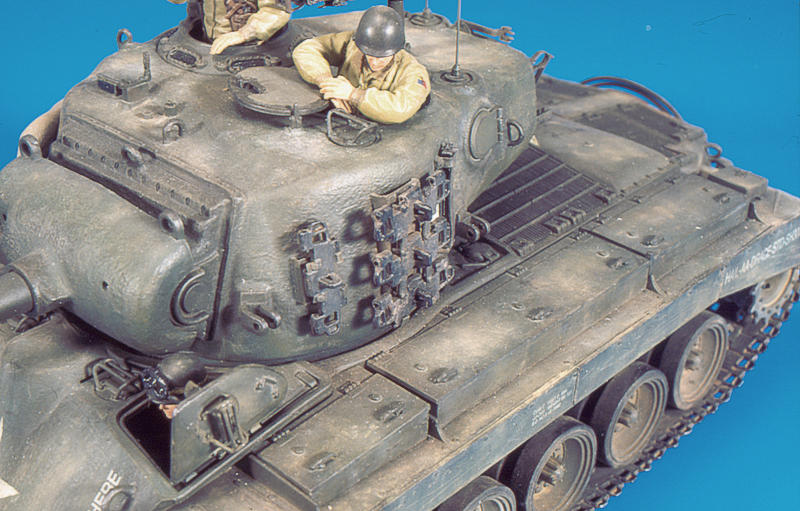
The details were painted now, before the final pastel touches. The glasses of the periscopes were painted in very dark green, and then with gloss varnish. The surrounding areas of the muzzle brakes openings were airbrushed in matt black, and then, drybrushed with graphite powder. Something similar was done in the exhaust mouths. The teeth of the drive sprockets were slightly drybrushed with a mixture of silver and a little bit of grey. The spare track links were painted in black, and later they received an acrylic wash of some shades of brown. Finally, it was brushed with graphite powder to give a metallic look. The same treatment was given to the towing cable. Also, the VM lenses for the headlamps were included at this stage.
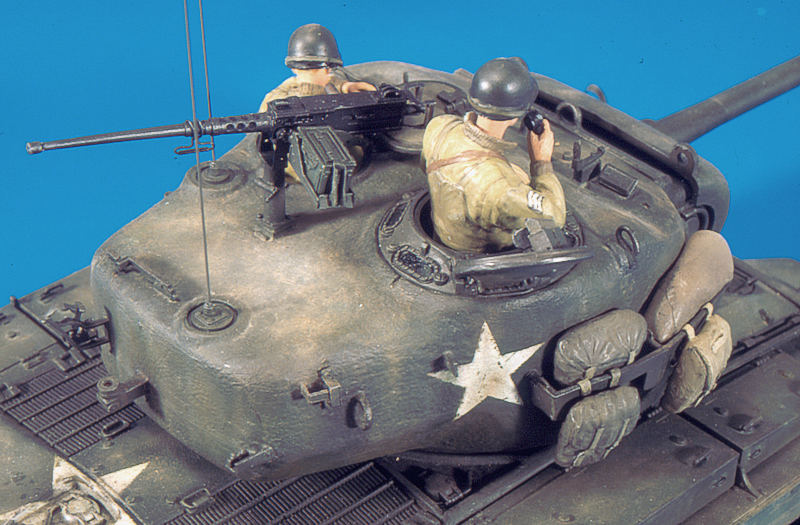
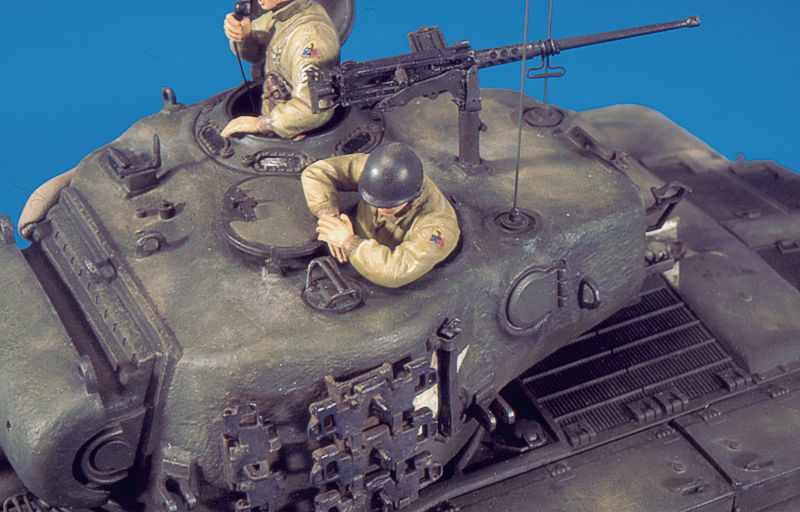
And now, the pastel chalks. Before that, I put the tracks in their definitive position. I used several shades of pastels basically a very light beige, olive green, a couple of ochre, a medium brown, a red brown, and black. With a knife I deposited a small amount of powder from the pastel stick on a small dish and a pick it with a small brush. Then I applied the brush on the model, but just in small, irregular areas. If necessary, the operation is repeated. Again, the trick is to create small subtle chromatic variations, trying not to hide too much the previous work. On the horizontal surfaces, such as turret roof, I mainly used lighter shades to simulate dust and dirty caused by the crew. On the lower parts, a bigger brush can be used. The tracks receive a generous amount of pastel, almost a dry wash, and after that, the excess was removed from the outer details with the finger. The outer details for the links were highlighted with a soft lead pencil, "drawing" directly on them.
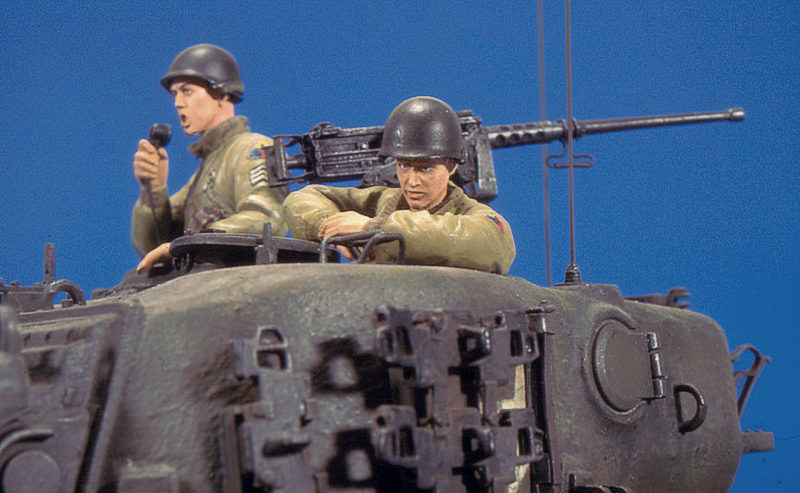
The MG in the commander's cupola was the final touch. It was painted in matt black, and later brushed with graphite powder. Very light and subtle touches of a mixture of black and silver, drybrushed, completed the weapon itself. The ammo box and the mounting was painted in olive drab, and some chipping was made here.